
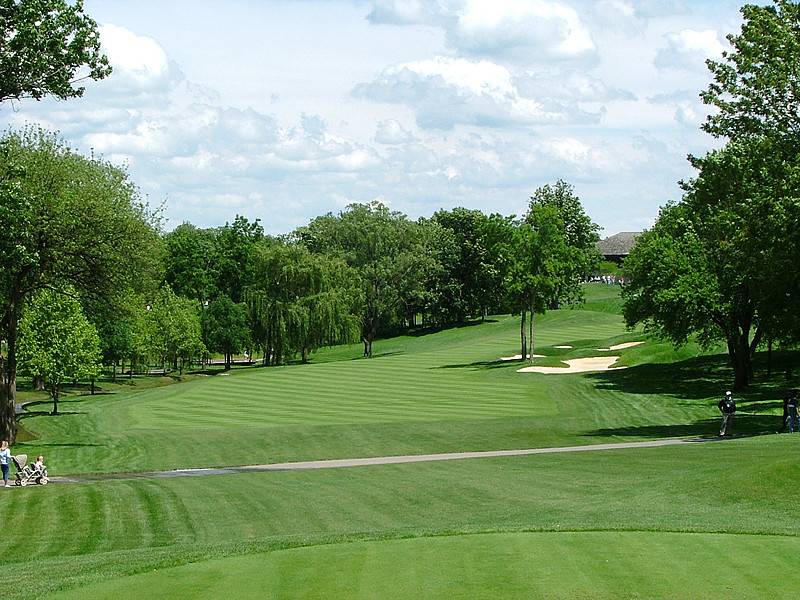
Hole 10 • Tee Shot — Open uphill drive with sand guarding both sides of the landing area.
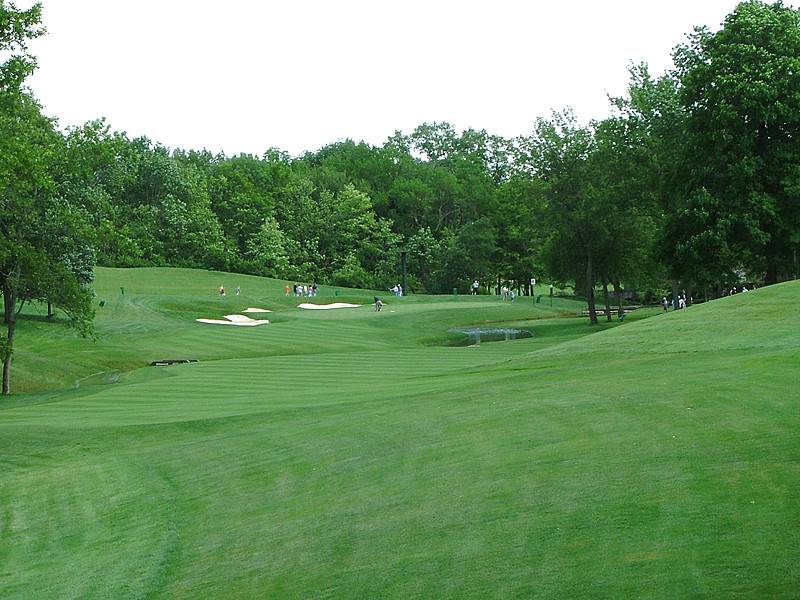
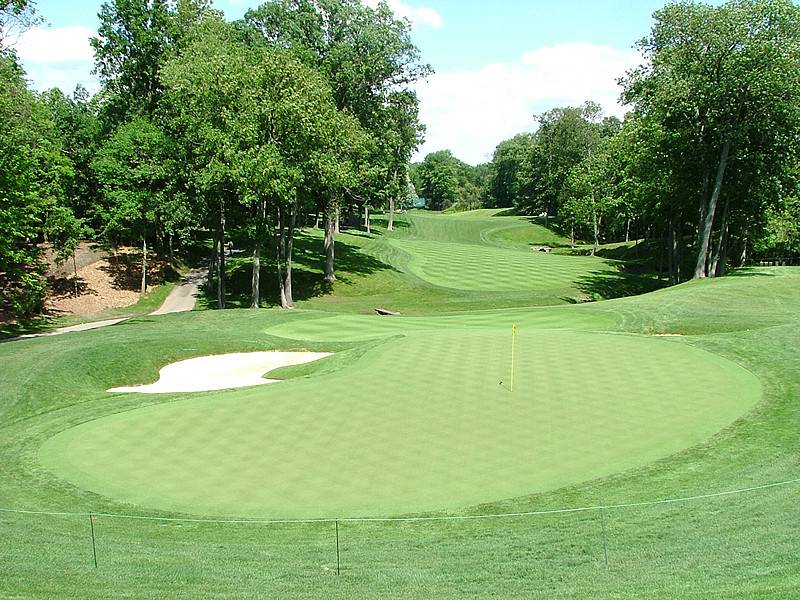
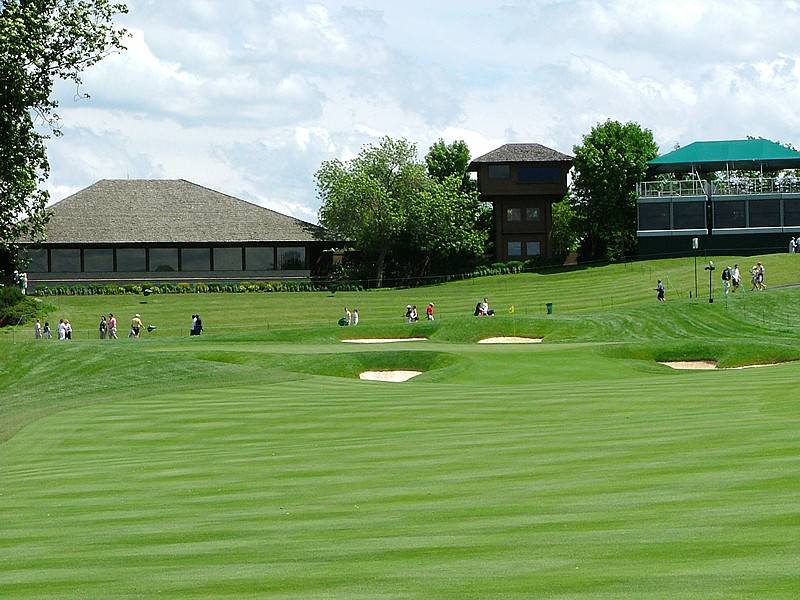
Hole 10 • Approach — A large front bunker makes the under-hit second shot a real problem.
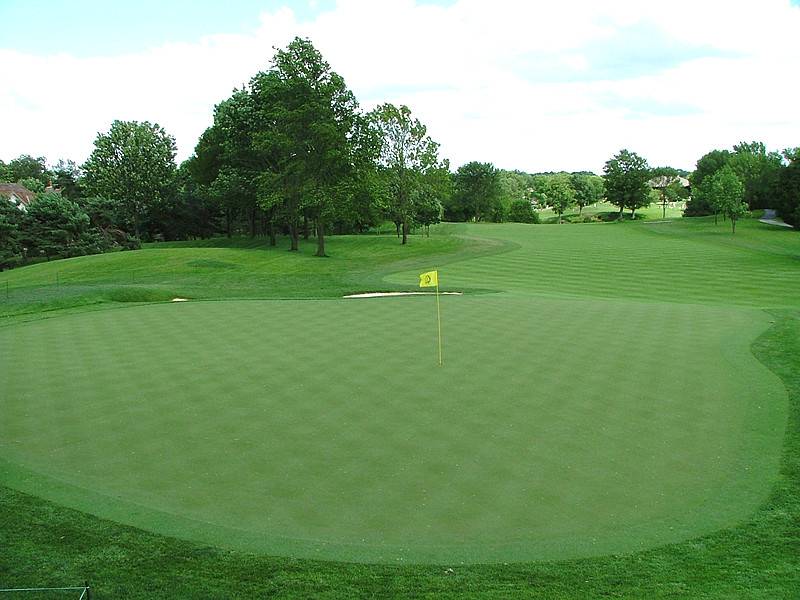
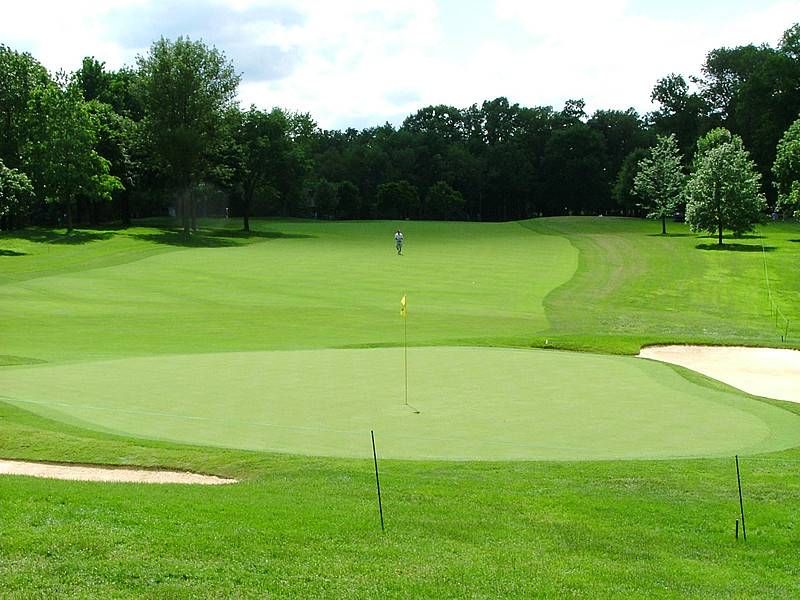
Hole 10 • Green — One of the tougher back-nine par 4s, especially when it plays into the wind.
Hole 11 • Tee Shot — Downhill par 5 through a natural valley with room to drive it.
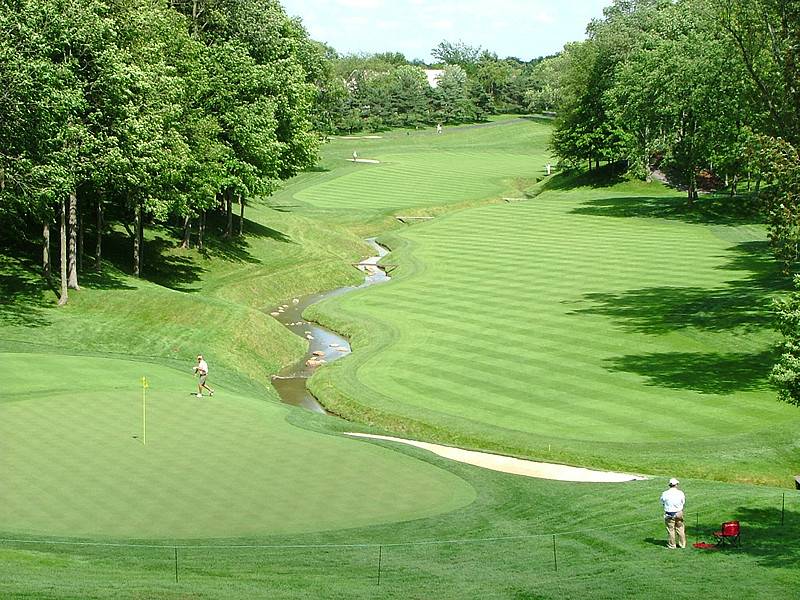
Hole 11 • Second Shot — A diagonal creek cuts across the fairway and forces a committed layup or carry.
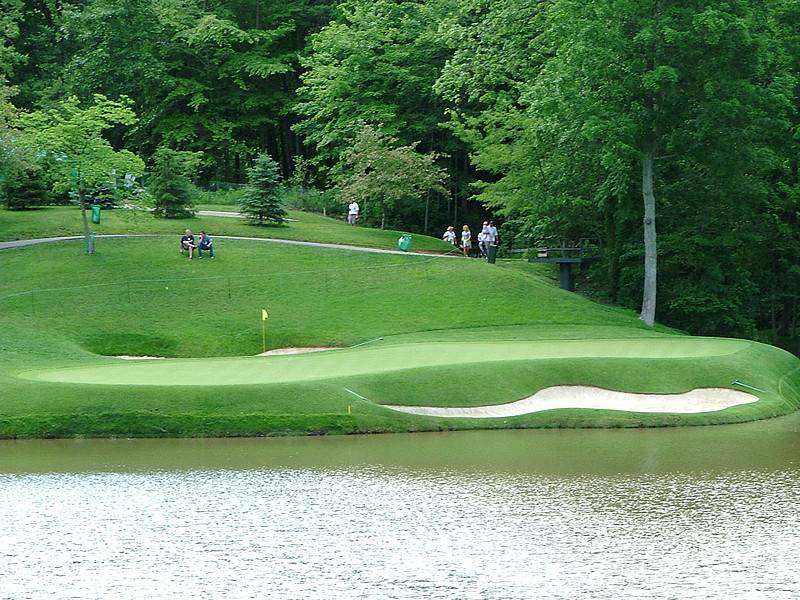
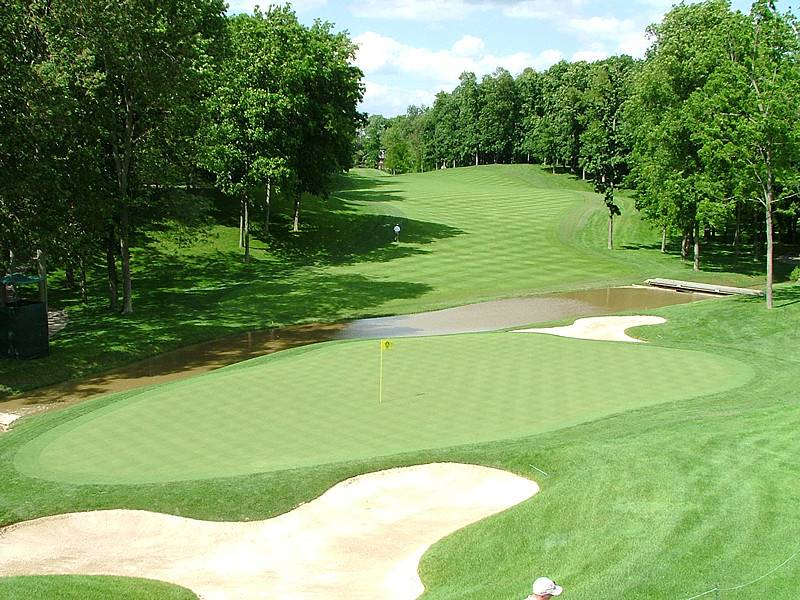
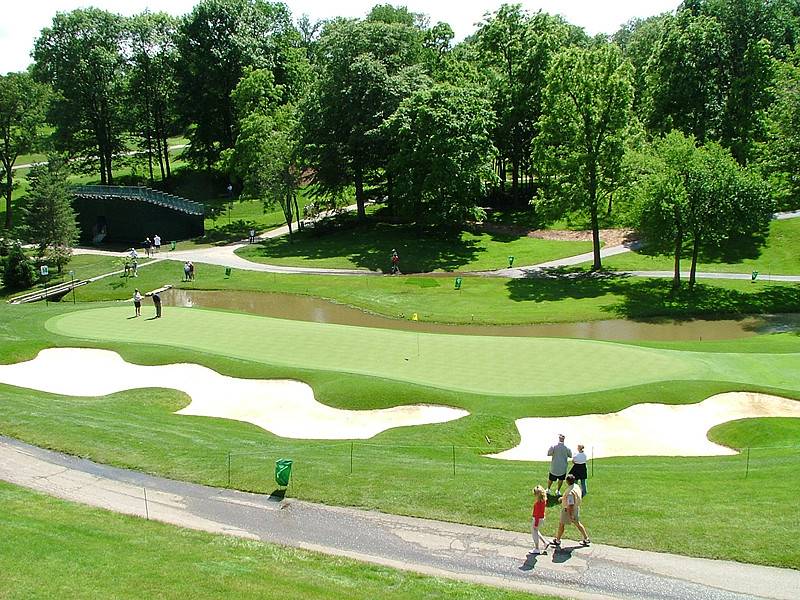
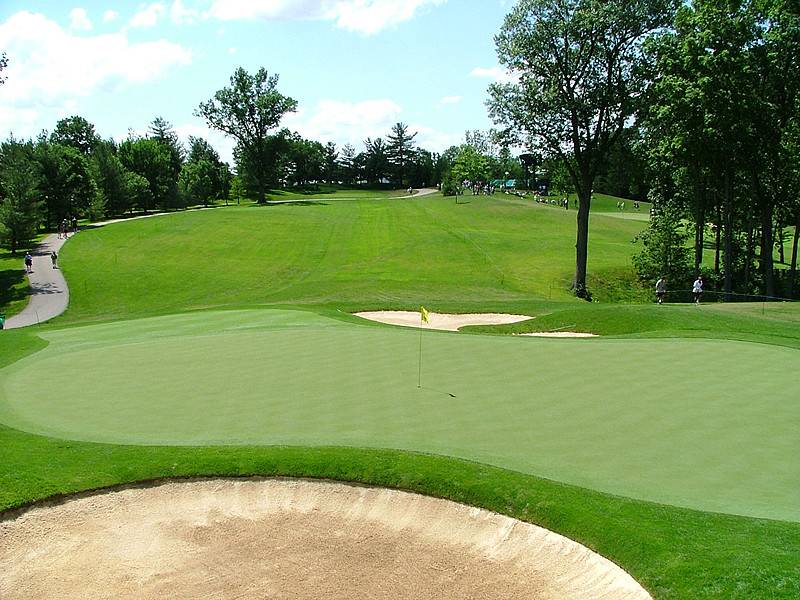
Hole 12 • Par 3 — All-carry tee shot over water to a two-tiered green set on a diagonal.
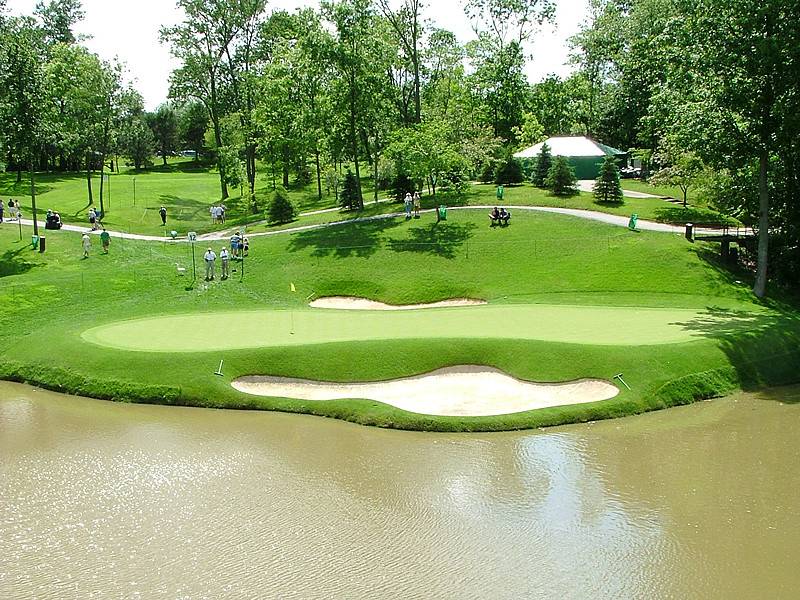
Hole 12 • Green — Miss the proper section and the ball usually finds sand, water, or a tough two-putt.
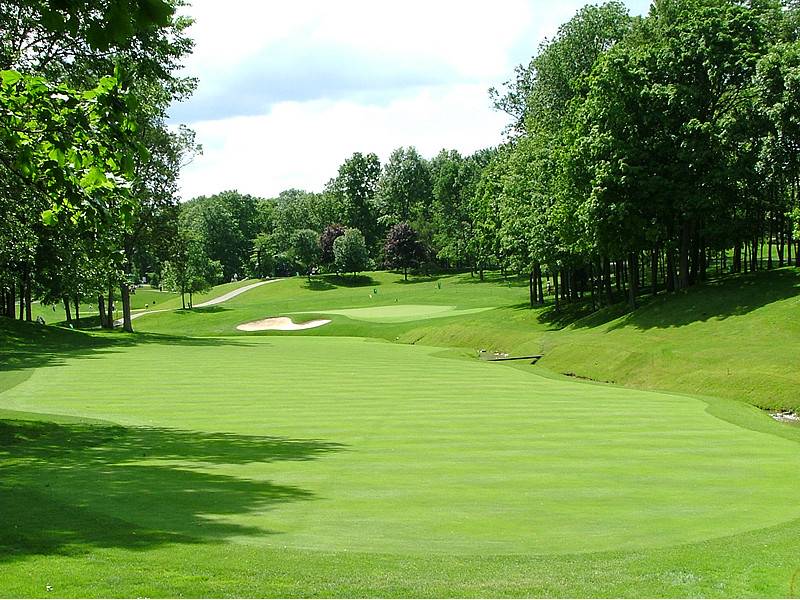
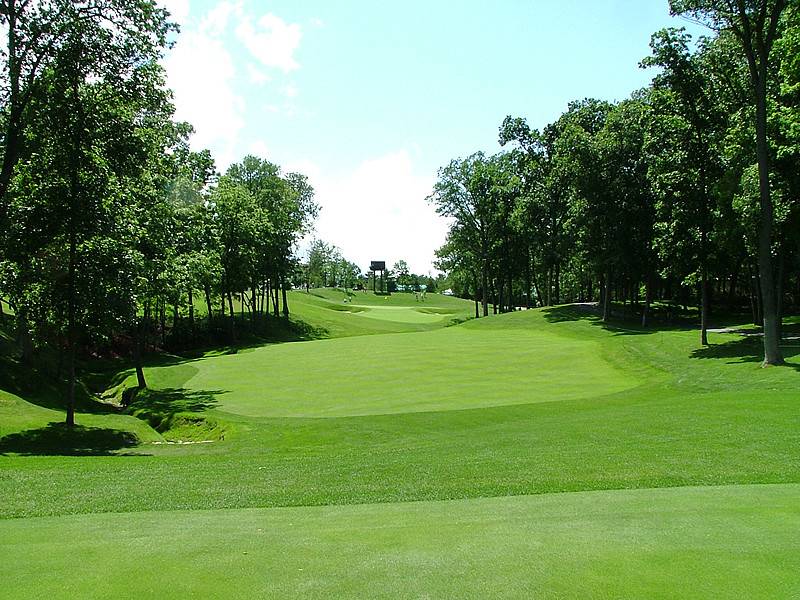
Hole 13 • Tee Shot — Downhill drive through a wooded chute to a narrow, fast-running fairway.
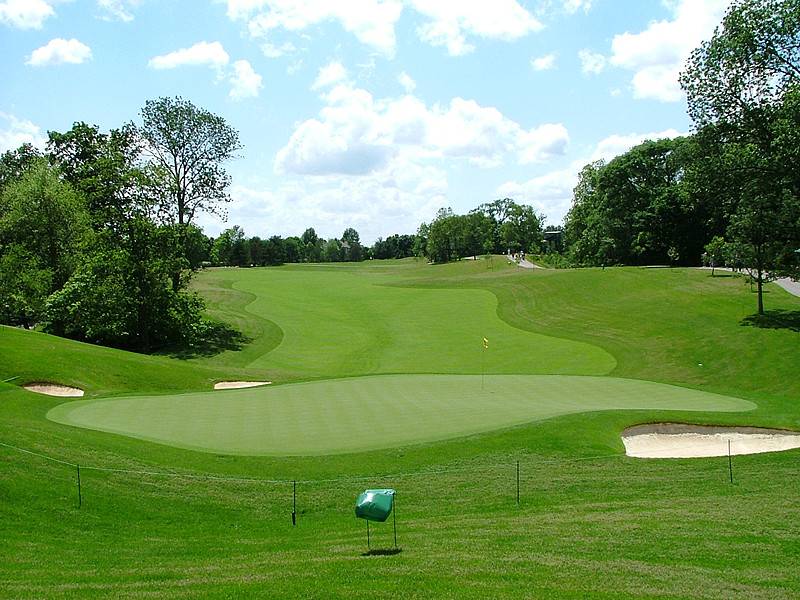
Hole 13 • Approach — The right half of the fairway gives the best angle into a long, narrow green.
Hole 14 • Tee Shot — Short par 4 with a creek crossing the fairway and accuracy mattering more than power.
Hole 14 • Green — A birdie chance, but only if the approach avoids the creek and left-side bunkers.
Hole 15 • Tee Shot — Straightaway par 5 through the trees; the ideal drive reaches the crest of the hill.
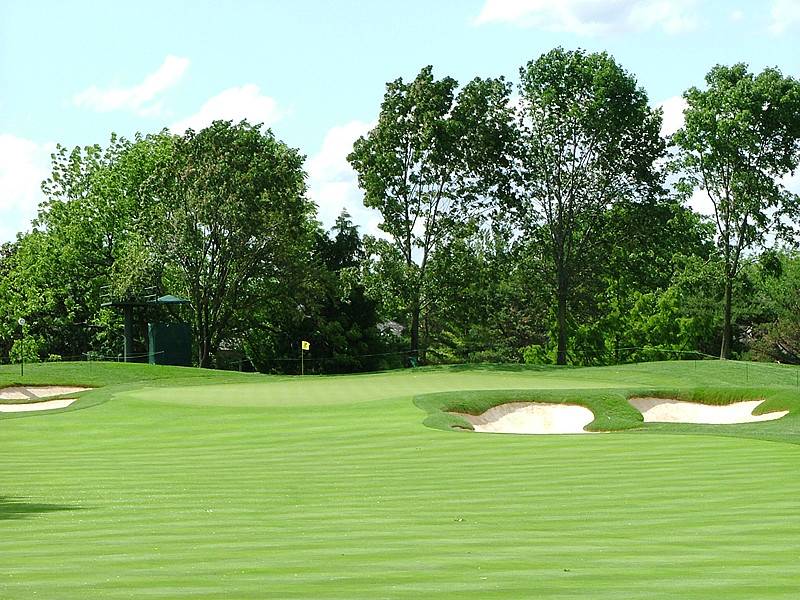
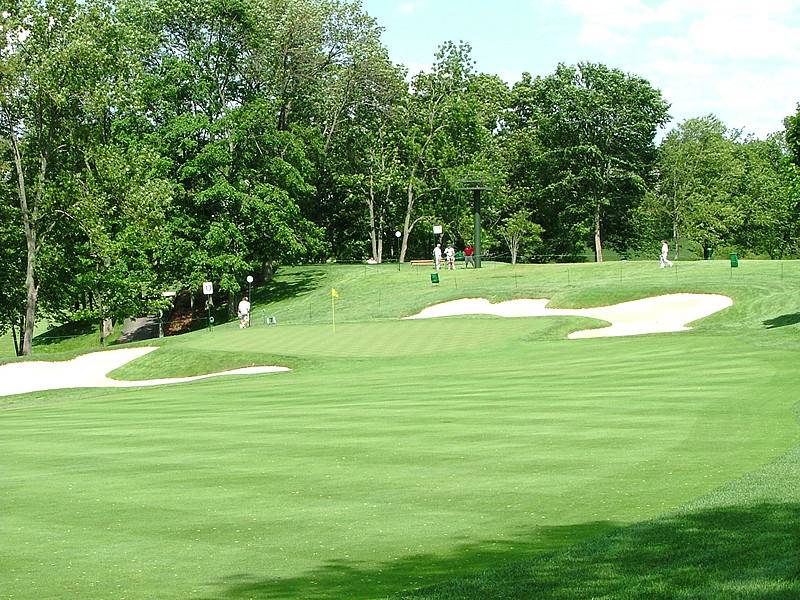
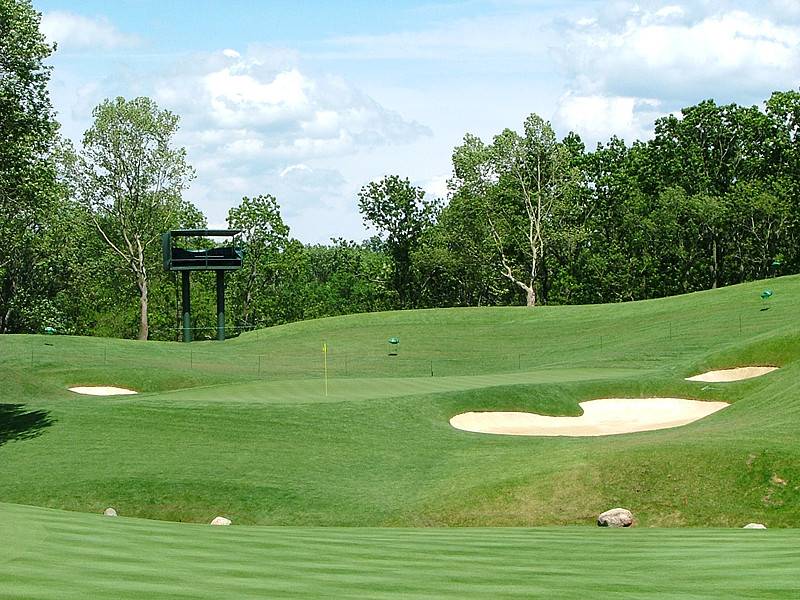
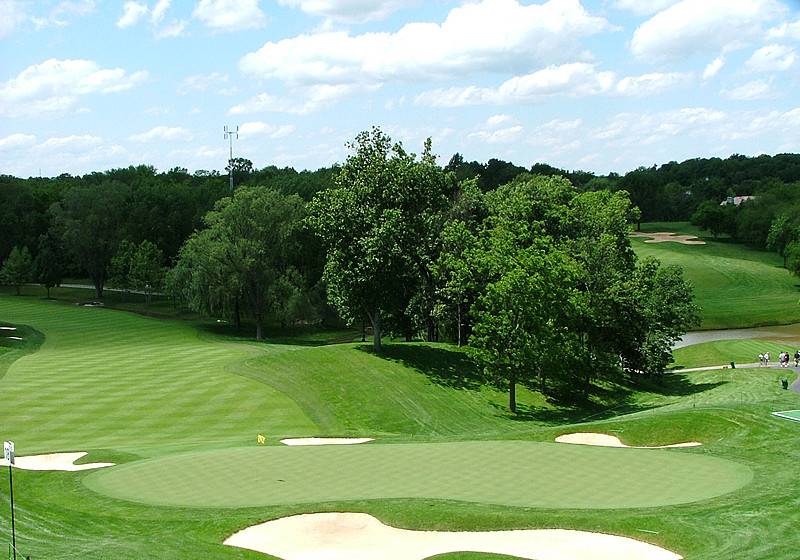
Hole 15 • Green — Small target with a steep front slope and deep bunkers ready to punish the miss.
Hole 16 • Par 3 — Long-iron test to a generous green framed by trees, mounds, swales, and bunkers.
Hole 17 • Tee Shot — Long par 4 where the right trees can block the approach and make par difficult.
Hole 17 • Green — Small, rolling, heavily bunkered target with a deep rough-filled valley short.
Hole 18 • Tee Shot — Downhill drive to a generous fairway, but the dogleg bunkers still demand precision.
Hole 18 • Approach — Uphill second over a swale to a large, two-tiered green with bunkers all around.
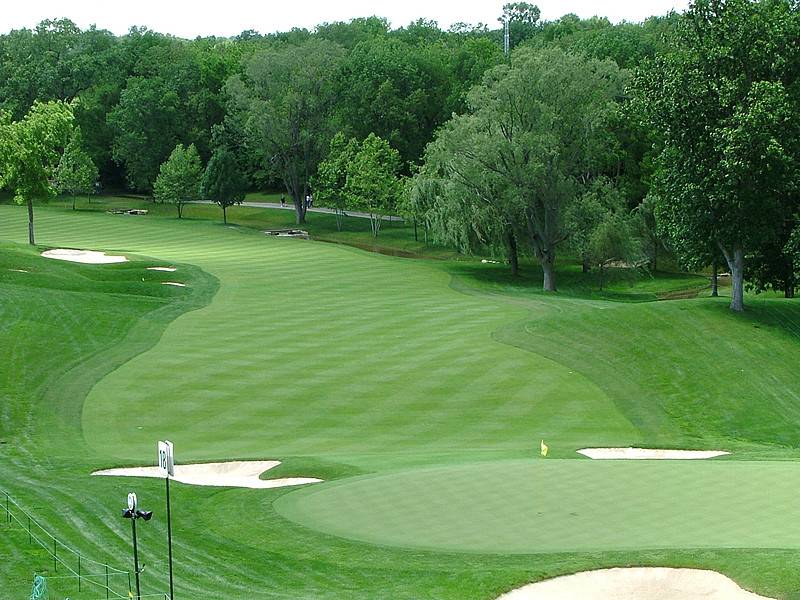
Hole 18 • Green View — A demanding final target where the wrong tier can leave a brutal two-putt.
Hole 18 • Finish — Muirfield’s closing hole rewards a clean drive, controlled approach, and calm nerves.