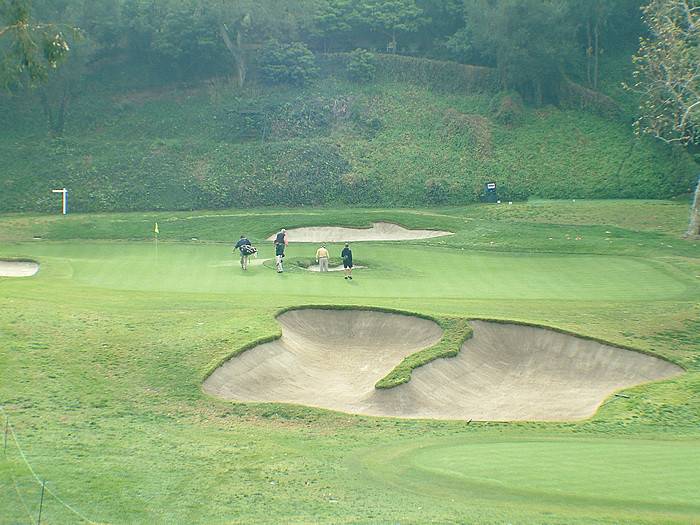
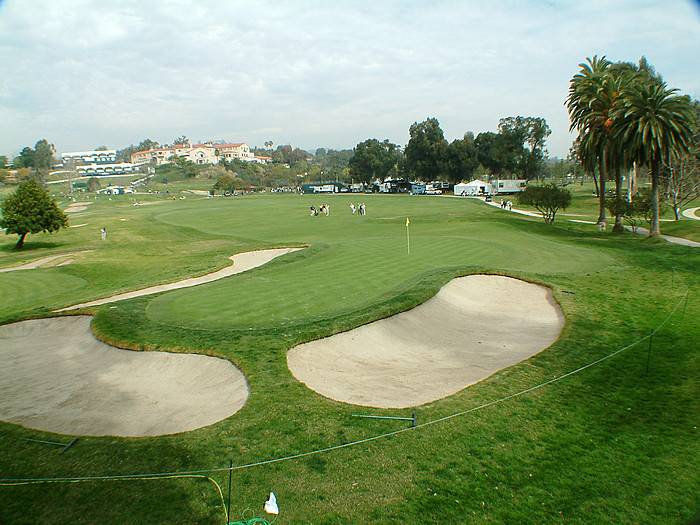
Hole 6 • Par 3 — slightly elevated green George C Thomas design signature bunker located in the green
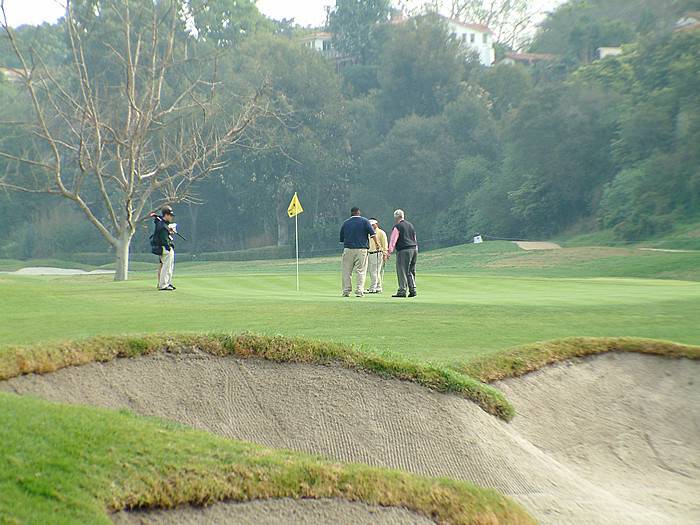
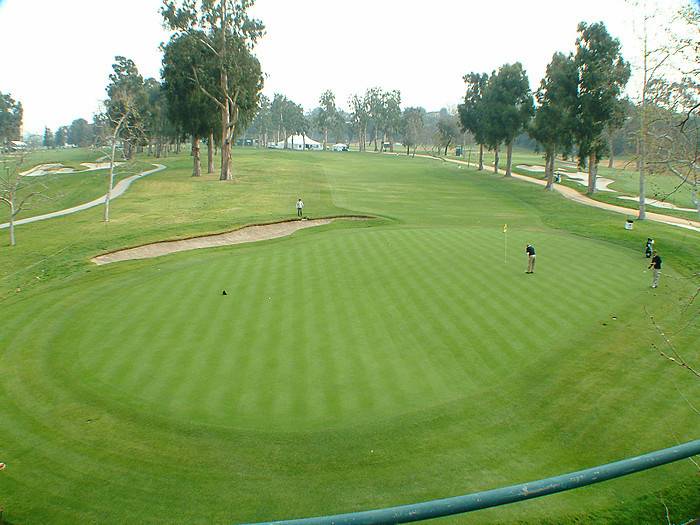
Hole 7 • Par 4 — a good look at the typical deep George C Thomas bunkering that surrounds these greens
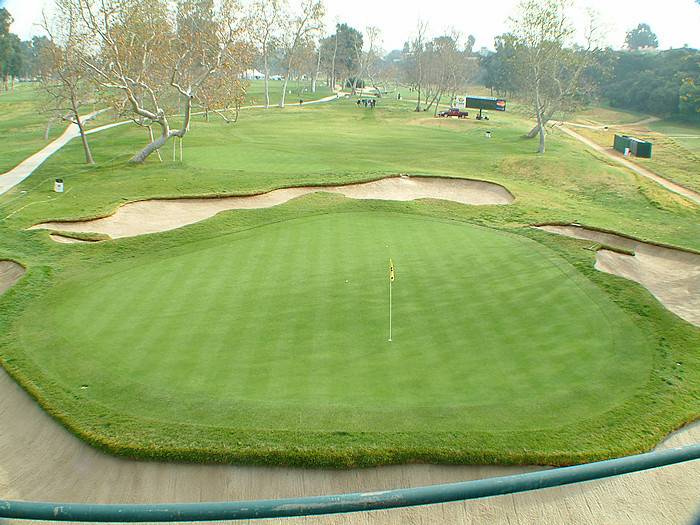
Hole 8 • Par 4 — tee shot sets the angle; favor the side that opens up the green left side fairway looking back at tee
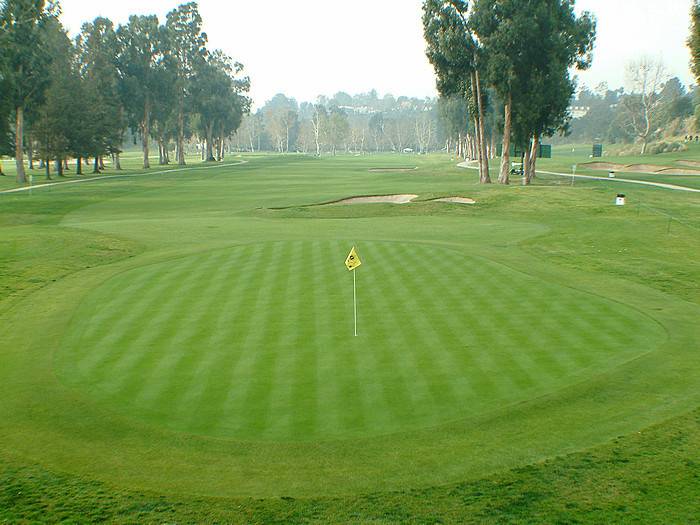
Hole 9 • Par 4 — uphill to one of many greens cantered one way or another with the original terrain
Hole 10 • Par 4 — classic short par 4; go for it or layup then to a very tiny green that at times will not hold
Hole 15 • Par 4 — one of the long back nine holes left to right big eucaliptus trees can obscure 2nd shot access
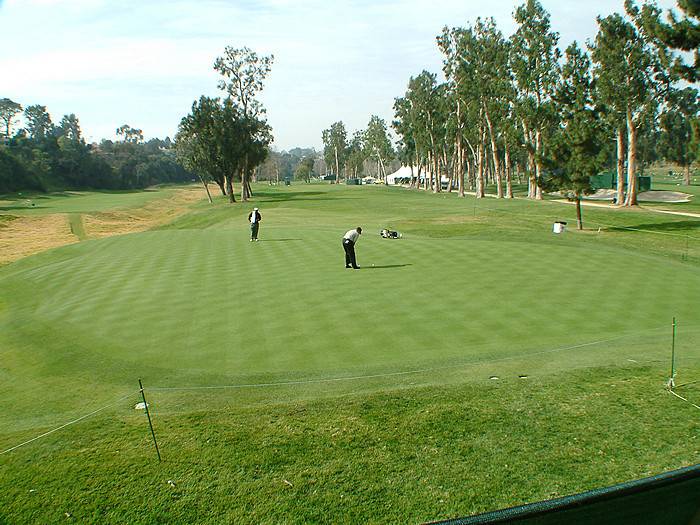
Hole 16 • Par 3 — small green and a scorable hole with tricky subtle breaking putts that can fool you
Hole 17 • Par 5 — reachable with position; you must carry that cross bunker short of green
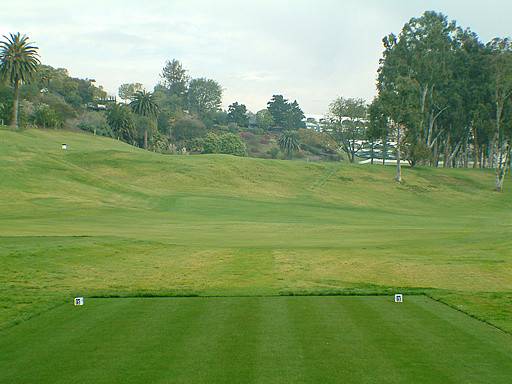
Hole 18 • Tee Shot — iconic finishing hole; drive left-center to open the approach
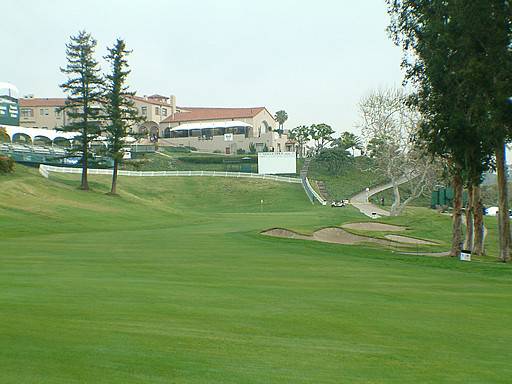
Hole 18 • 2nd Shot — long approach into a narrow shallow target; avoid the short-side left miss
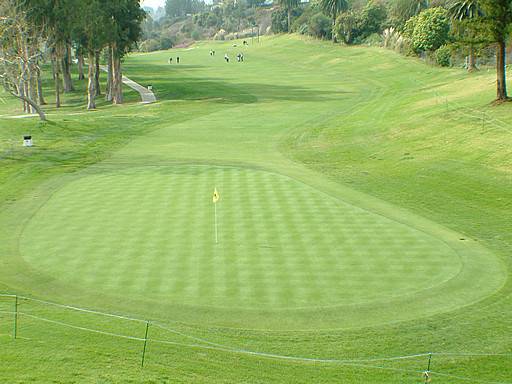
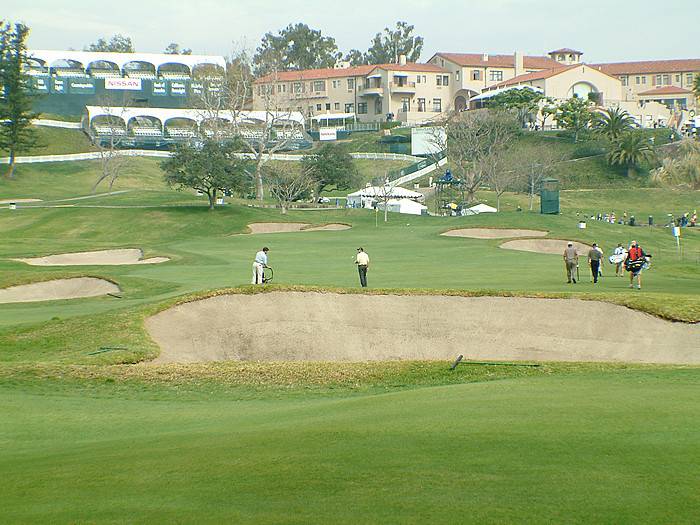
Hole 18 • Green — subtle breaks and fall-offs; where many previous LA Opens have been decided