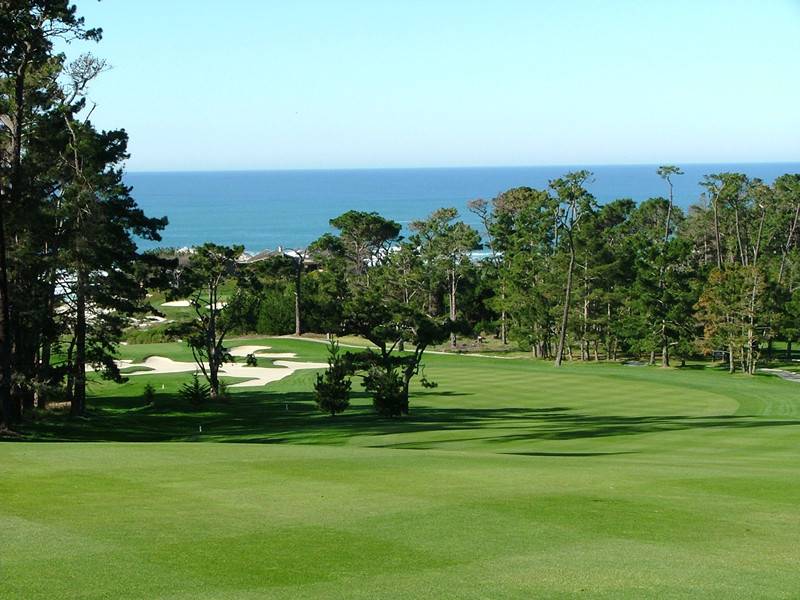
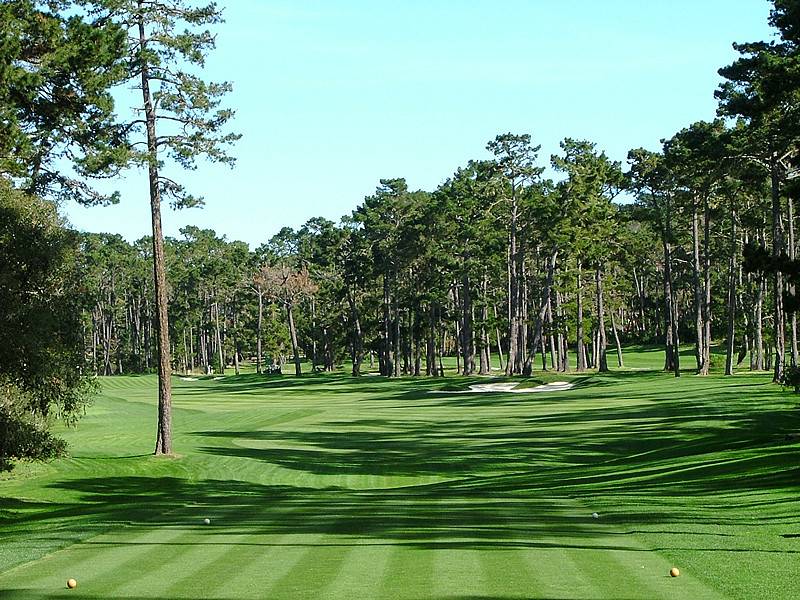
Hole 1 • Long downhill Par 5 — towards the ocean green perched above the Pacific

Hole 1 • 3rd Shot layup — corner pin placements requiring accurate short iron play
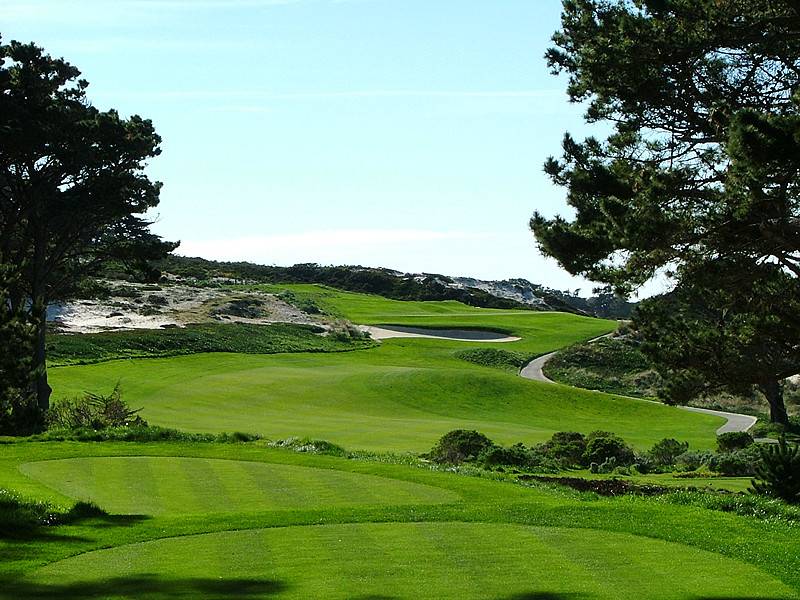
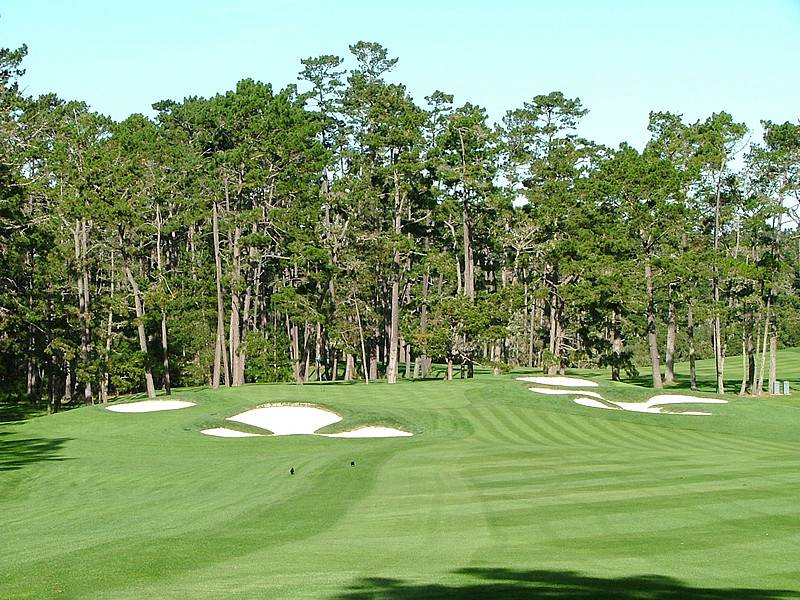
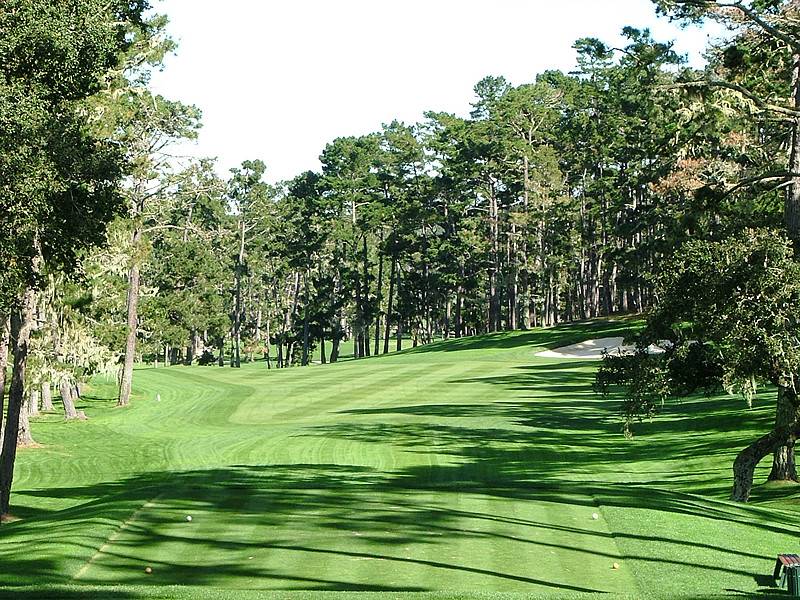
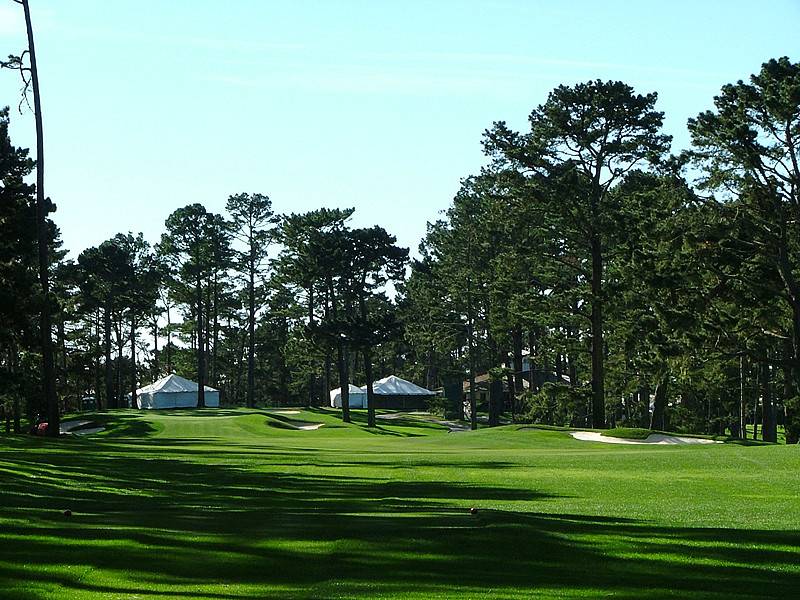
Hole 2 • Position tee shot to uphill second
Hole 2 • Blind uphill 2nd shot to tight protected corner pin locations
Hole 3 • Downhill par 3 wind & cross winds expose an errant shot
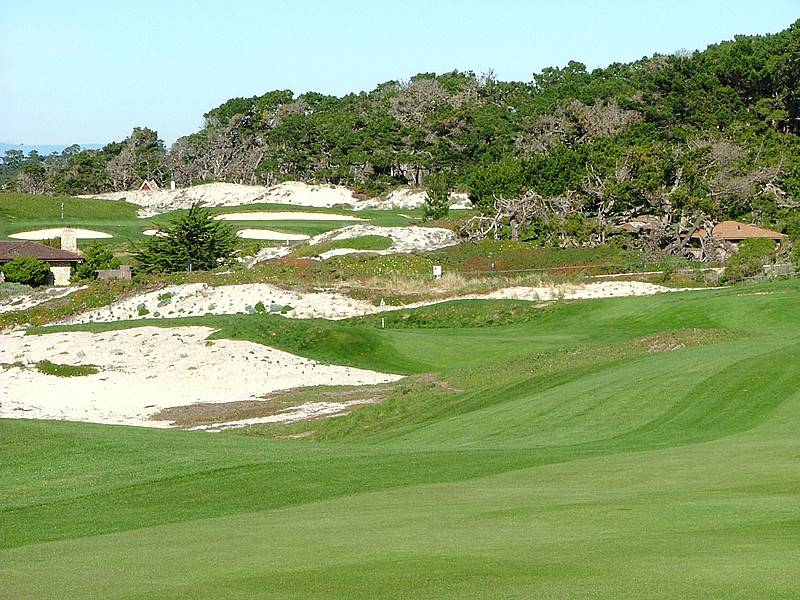
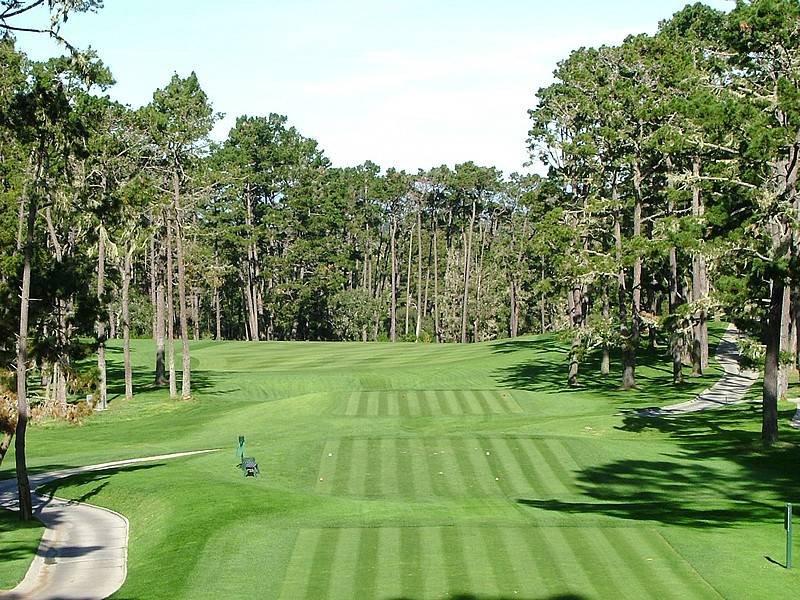
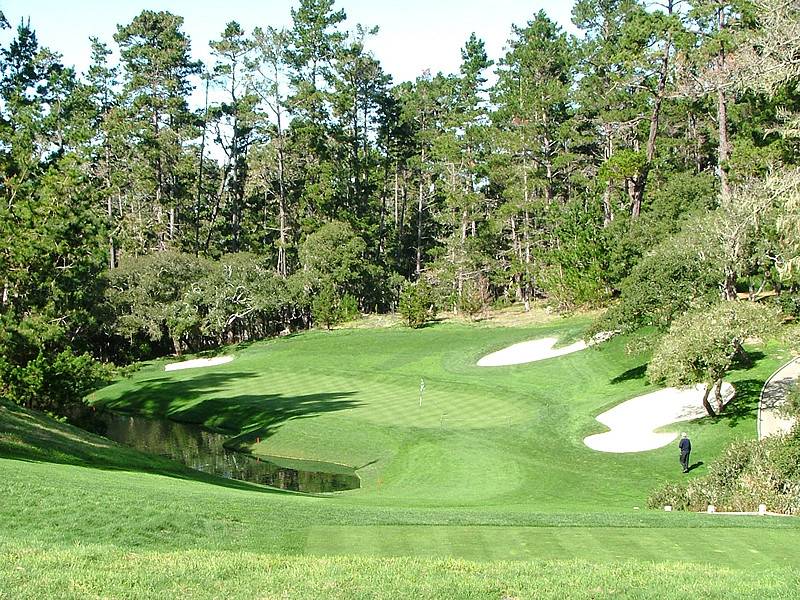
Hole 4 • Par 4 position tee shot short iron into a downhill hidden targe
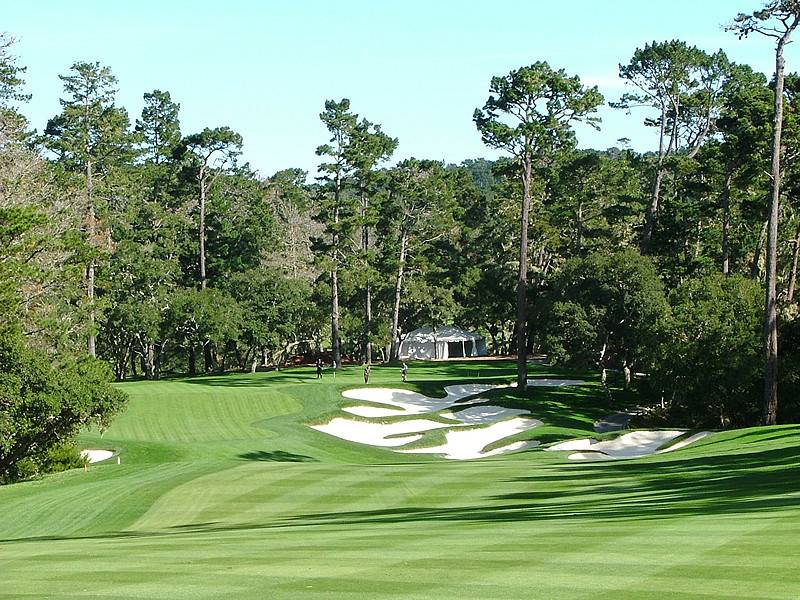
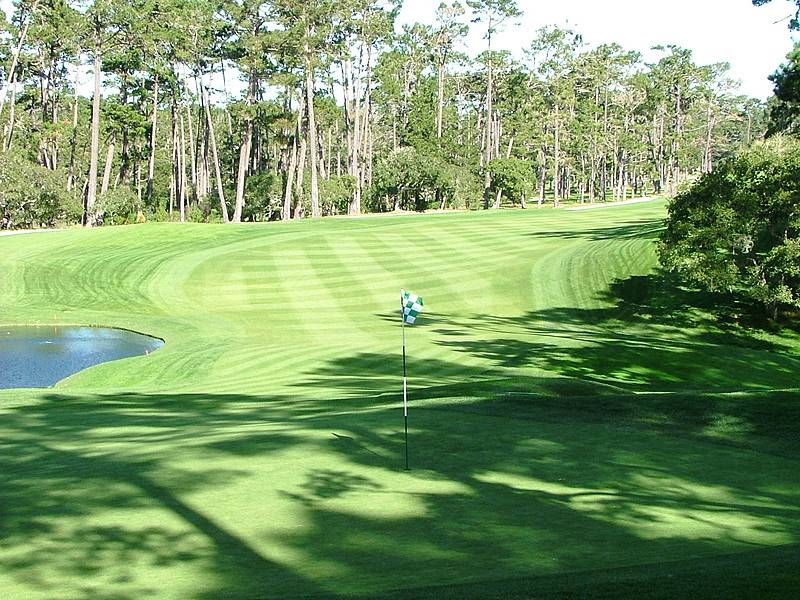
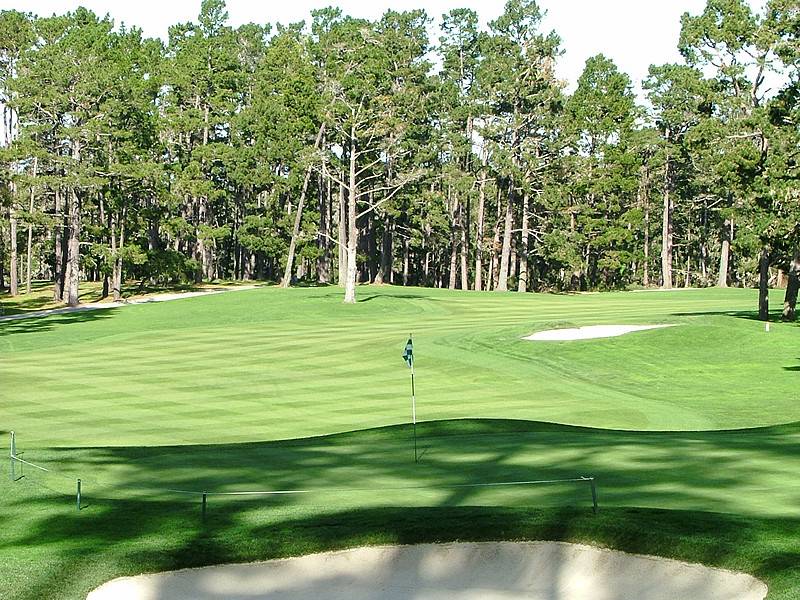
Hole 4 • Front - corner - side - back - pins requiring accuracy
Hole 4 • Green — where blind - left side and through carry numbers are relevant
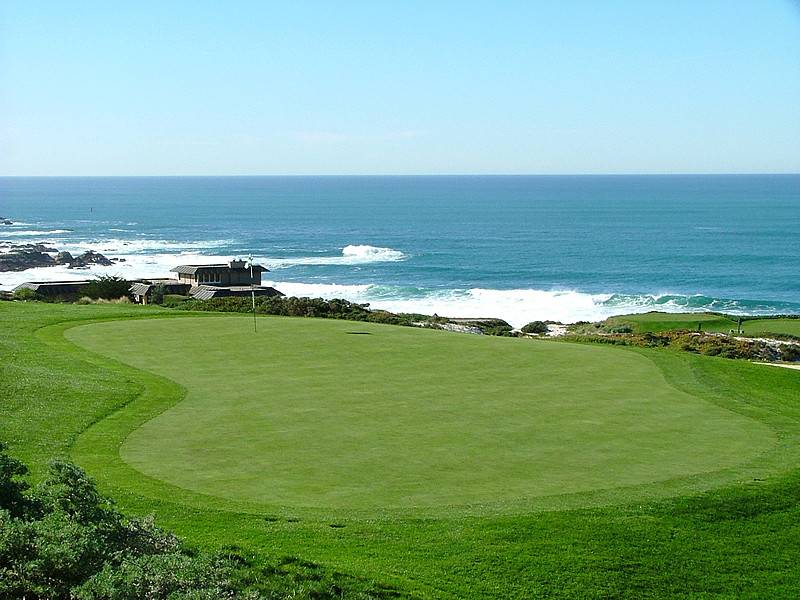
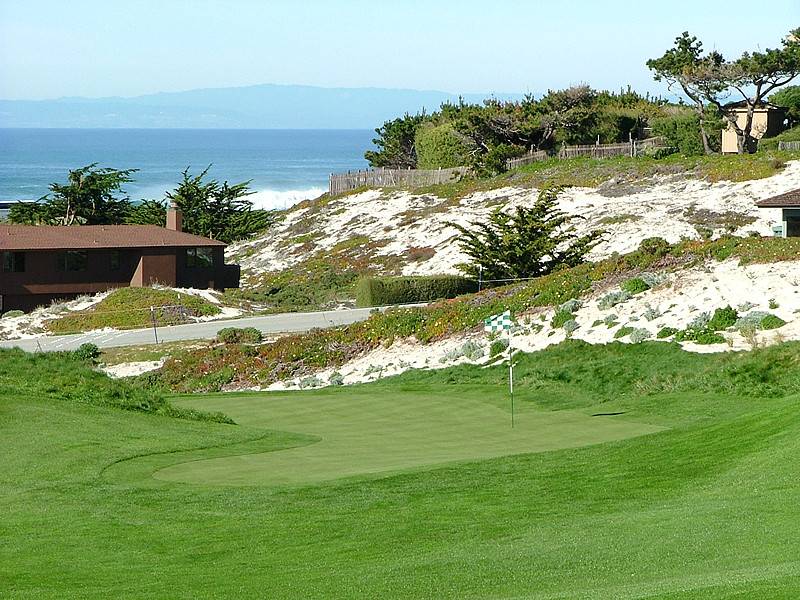
Hole 5 • Par 3 Fifth Hole Tee Shot — Coastal hole shaped by elevation and wind
Hole 10 • Par 4 dogleg left bunker straight out
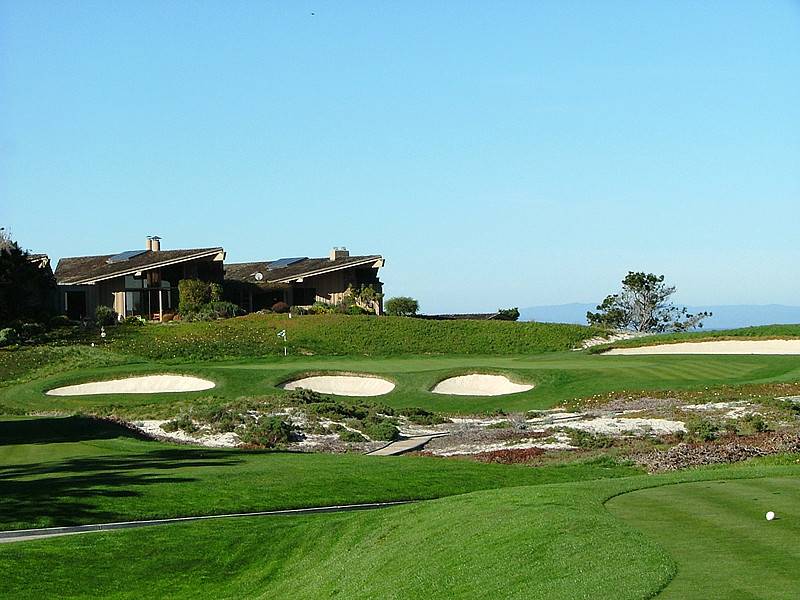
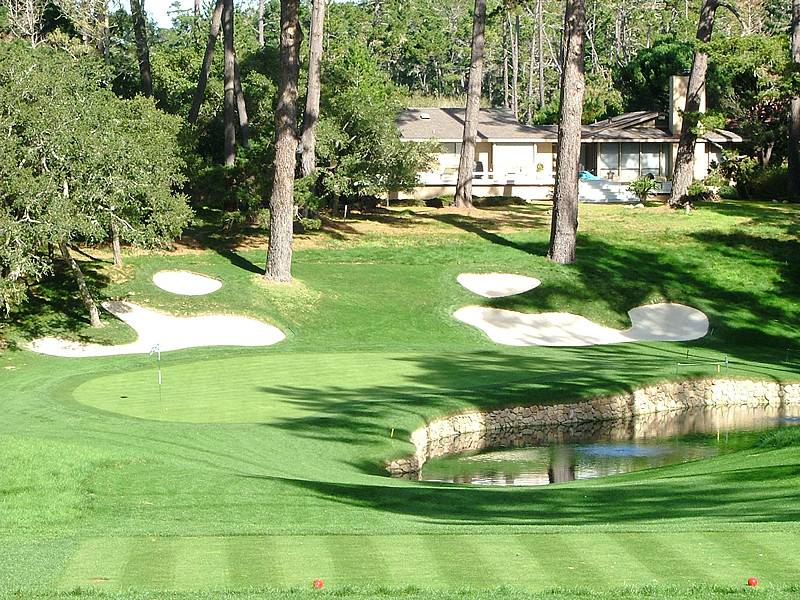
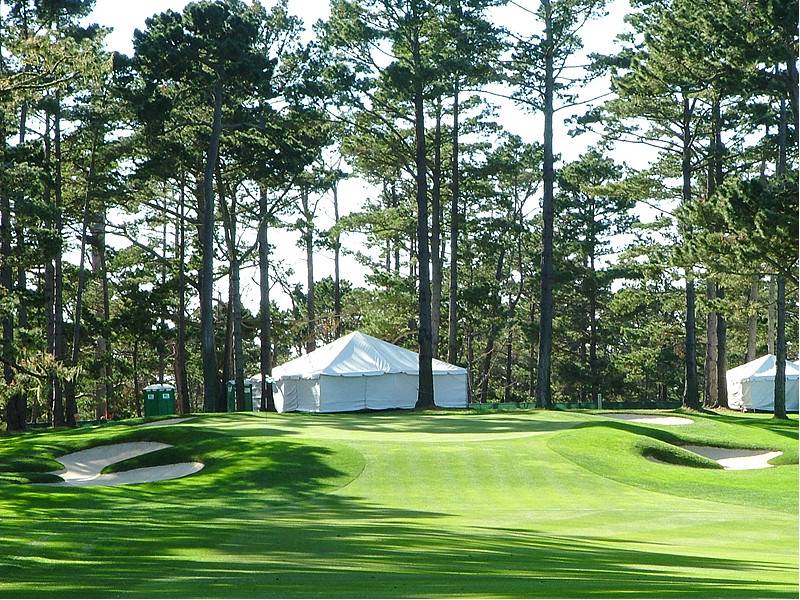
Hole 10 • Par 4 2nd shot into false front & bunkers guarding pin locations
Hole 11 • Par 5 Tee Shot long and left side to have angle in two to green
Hole 11 • Long second required in two or a precision layup to a scorable third required
Hole 12 • Par 3 Downhill left hand carries and through numbers relevant on club selection
Hole 13 • Par 4 tee shot baby dogleg left with terrain sloping left off the tee
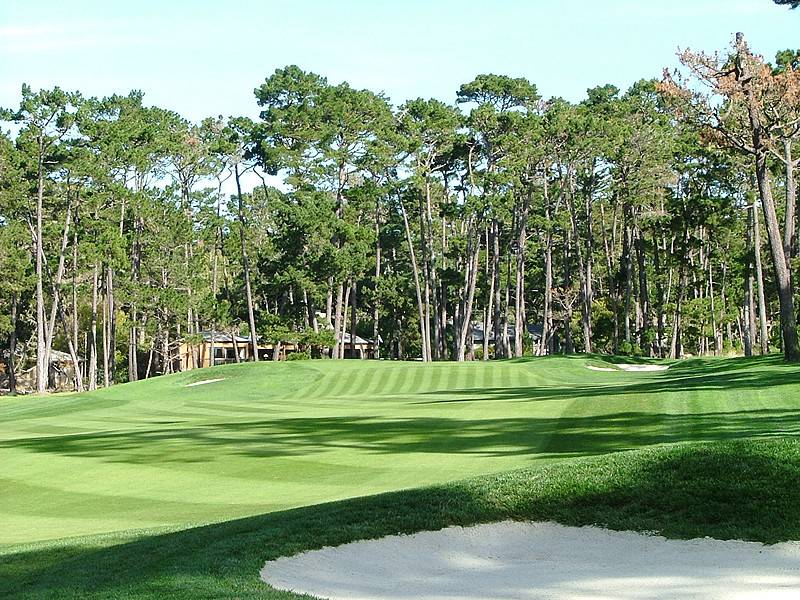
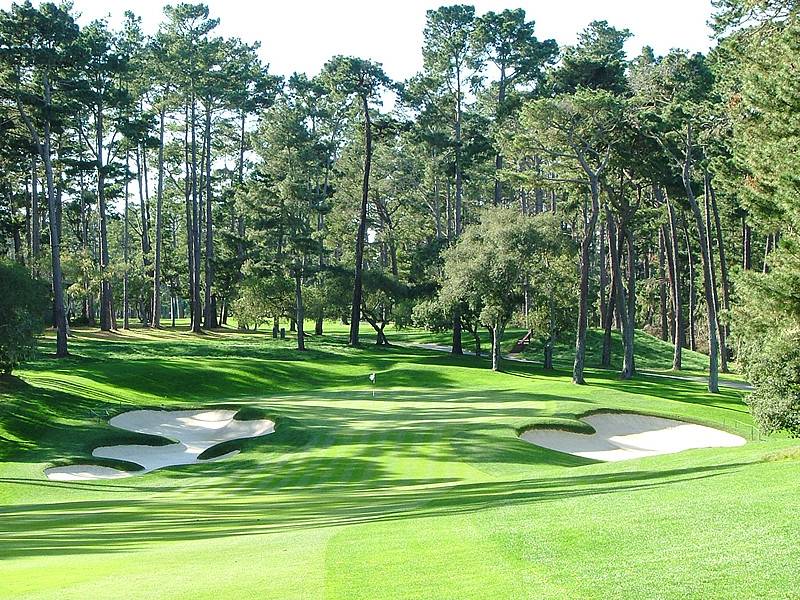
Hole 13 • Second shot — corner pins protected guarded by bunker and rough
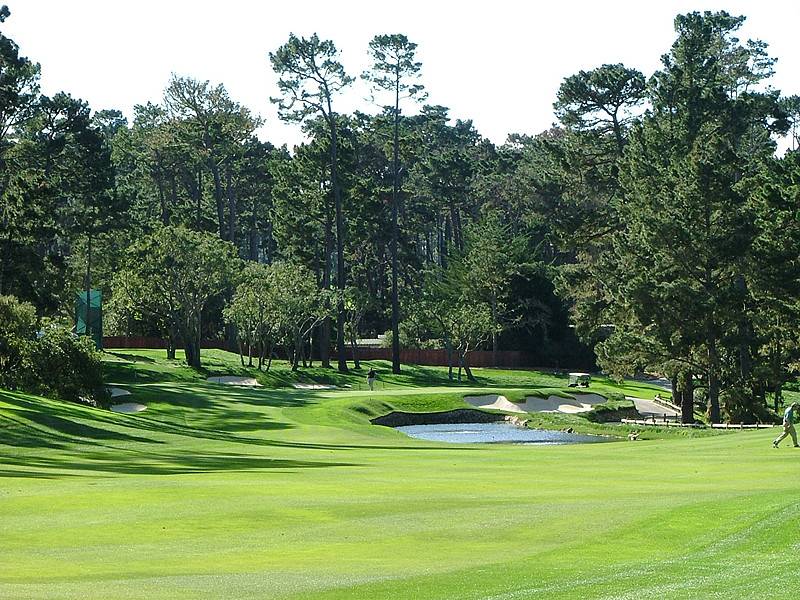
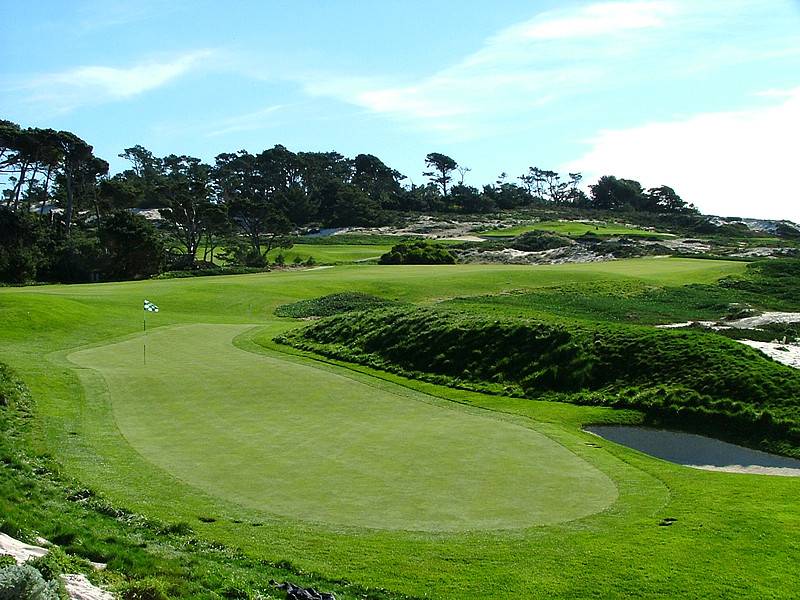
Hole 14 • Long par 5 with water guarding going for it or layup precise
Hole 14 • Green is narrow front to back requiring exacting shot making
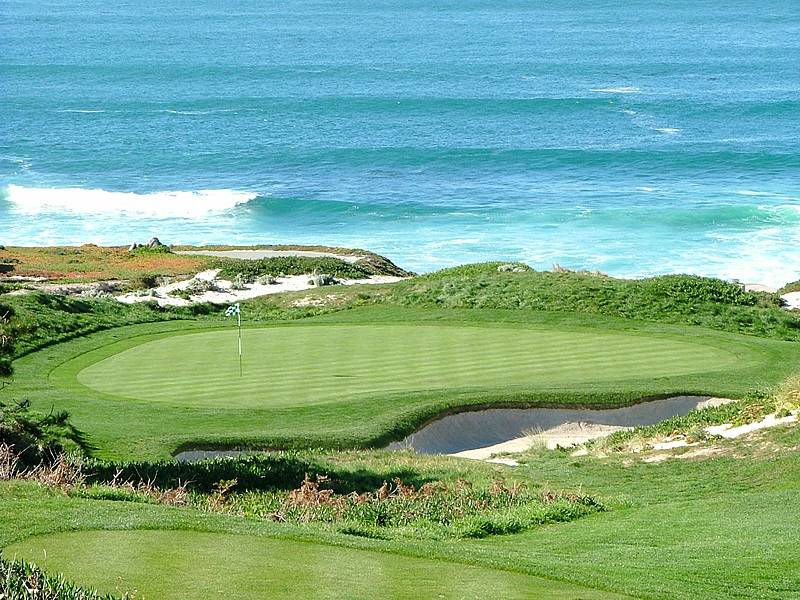
Hole 15 • Par three Tee Shot — water hazard protecting all right hand pins
Hole 16 • Long par 4 into the wind at AT & T some could not reach it in those conditions in the old balata ball AT & T Days!
Hole 17 • Relatively short Par 4 'scorable' golf hole
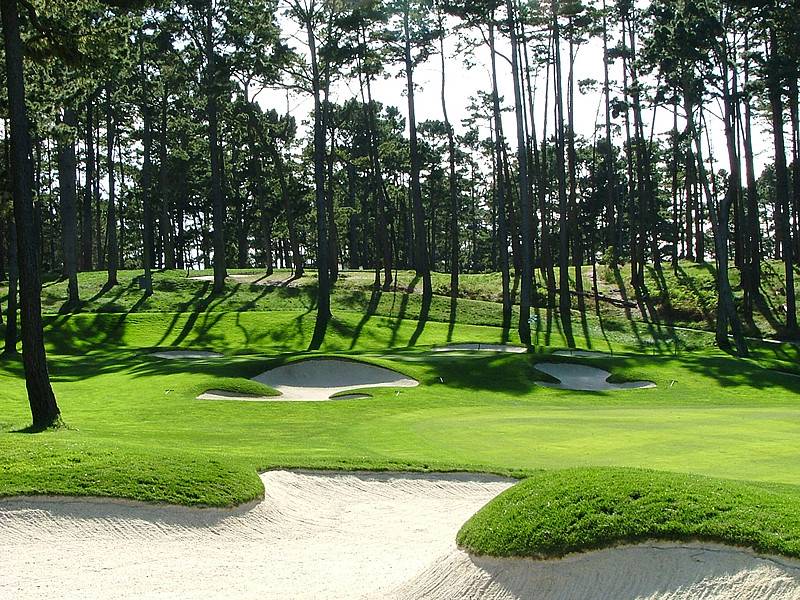
Hole 17 • Green elevated and blind in view and very narrow front to back landing areas
Hole 18 • Par 4 finishing hole requiring an accurate drive to a mid to long iron into the green
Hole 18 • Green entry and back up the hillside that the entire course was built upon