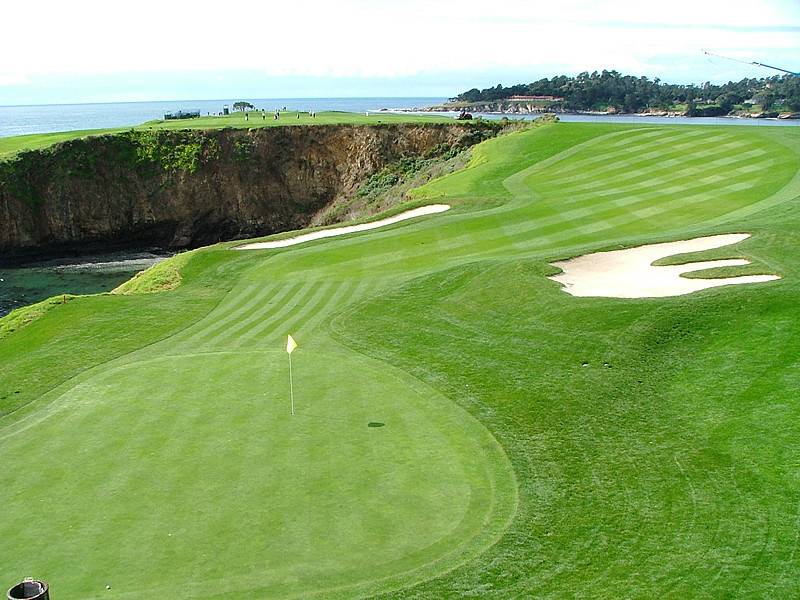
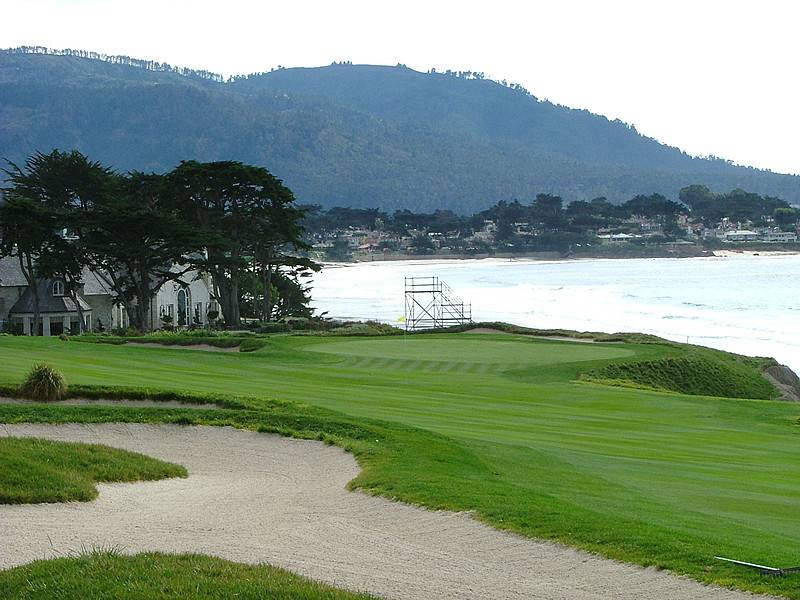
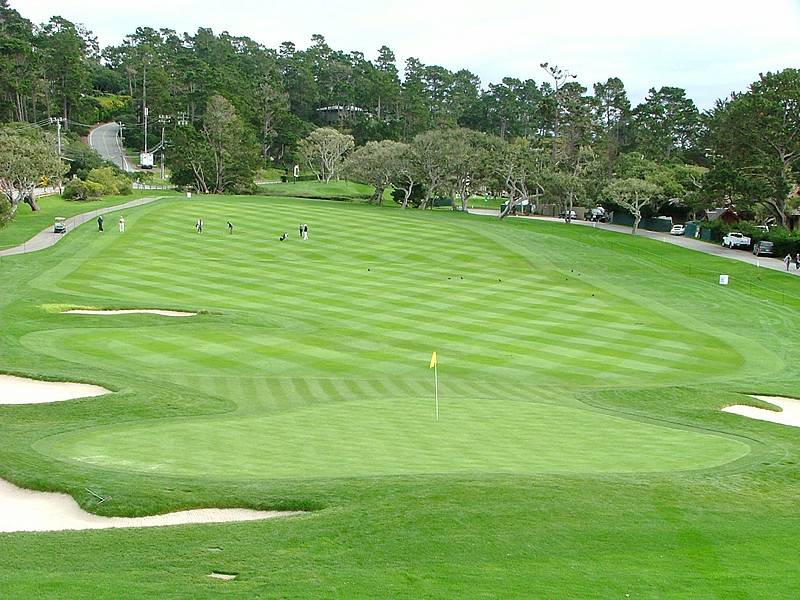
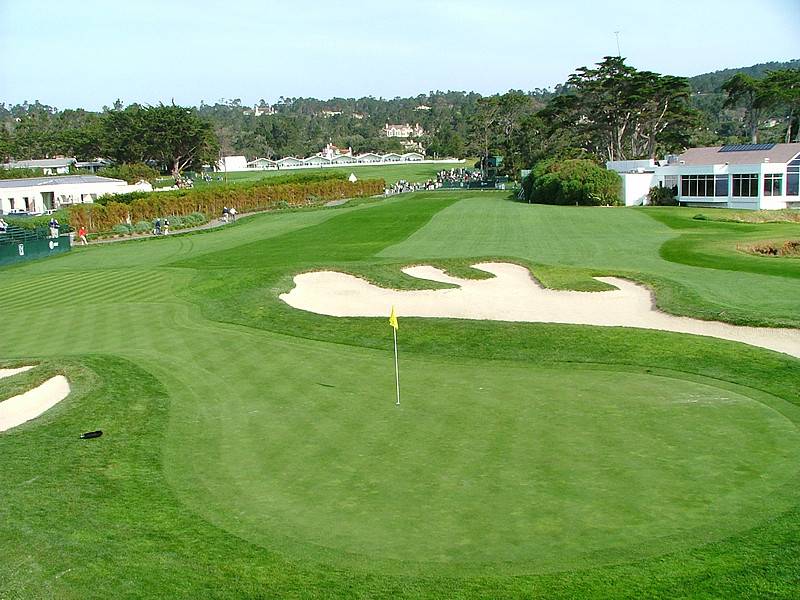
Hole 8 • Green — Pebble’s cliffside target where wind & slope 7 good club selection decide everything
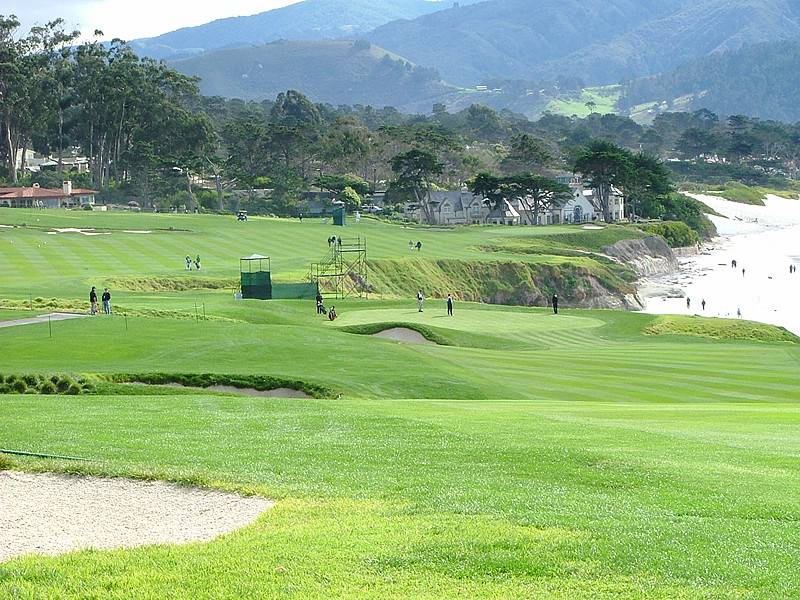
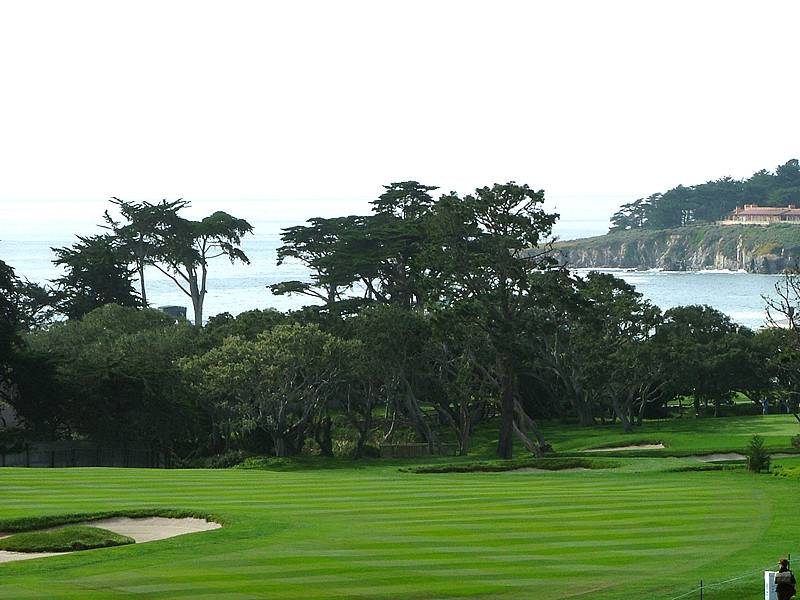
Hole 9 • Second Shot — Long approach framed by ocean breeze and bunkers
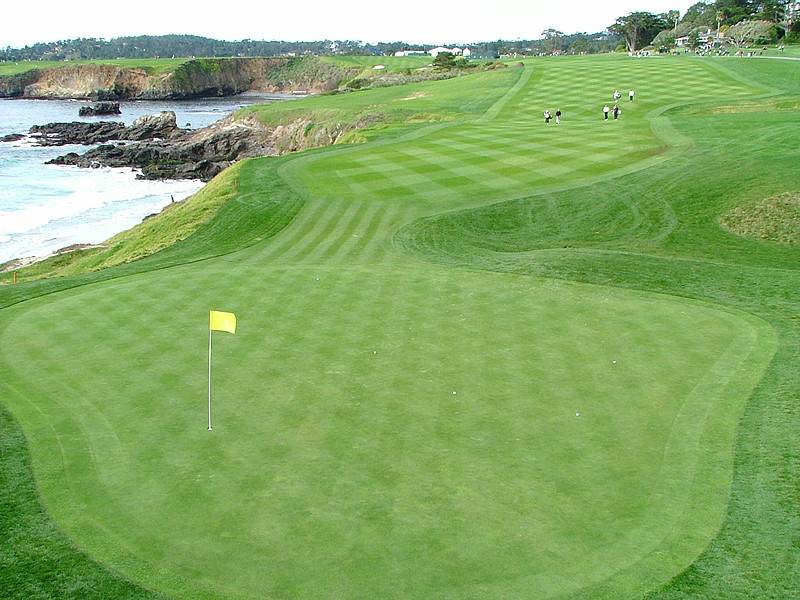
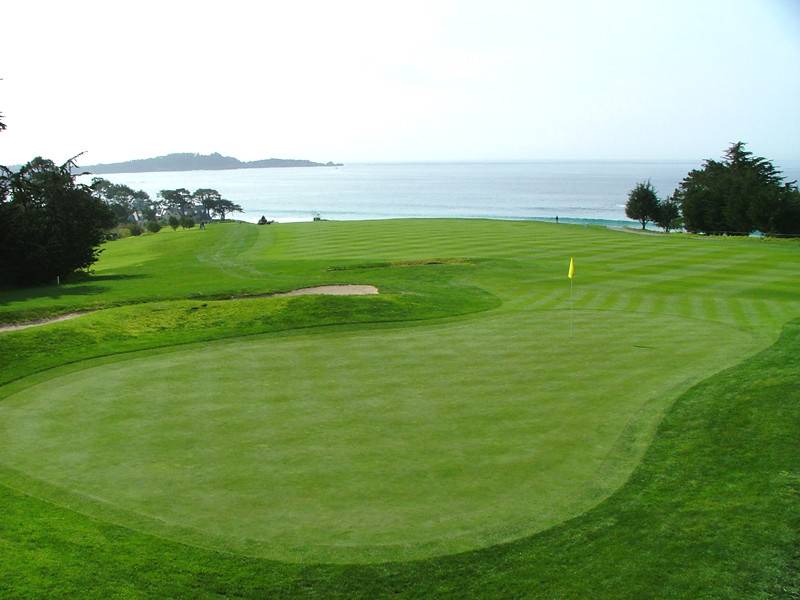
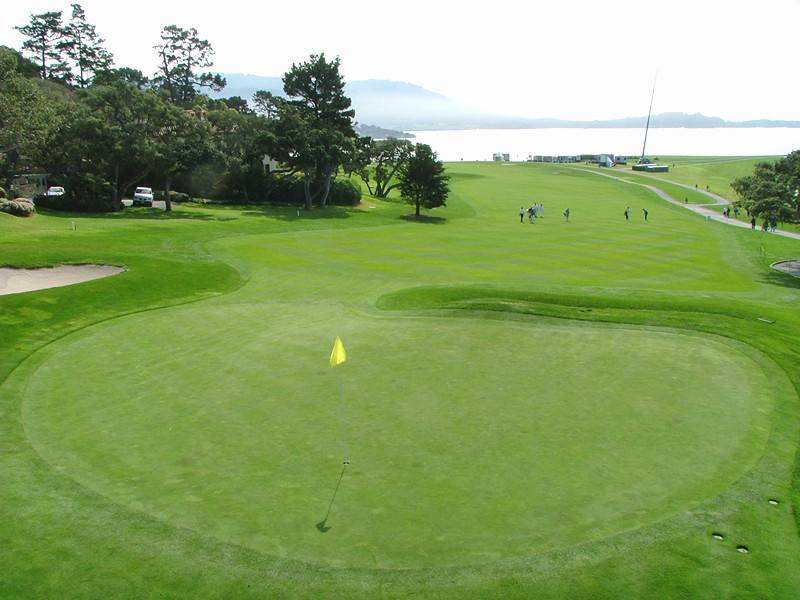
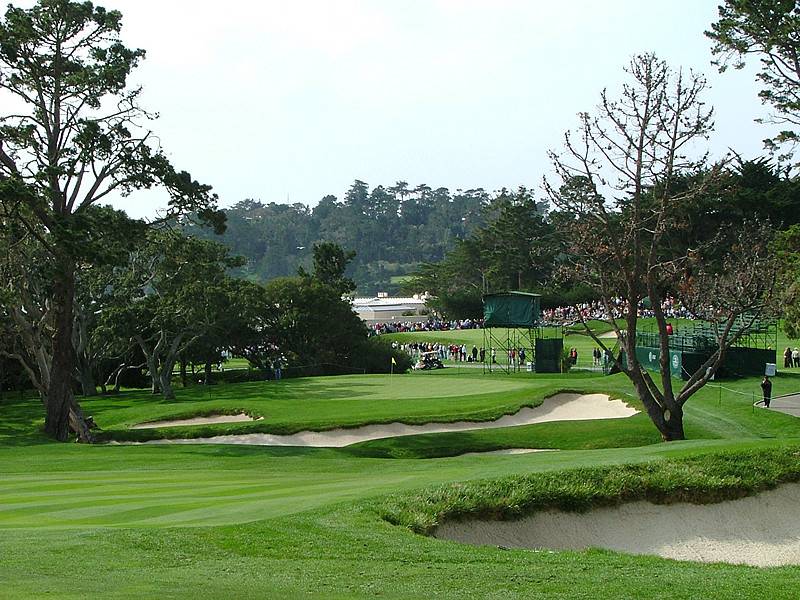
Hole 9 • Green — Coastal target where distance control is everything
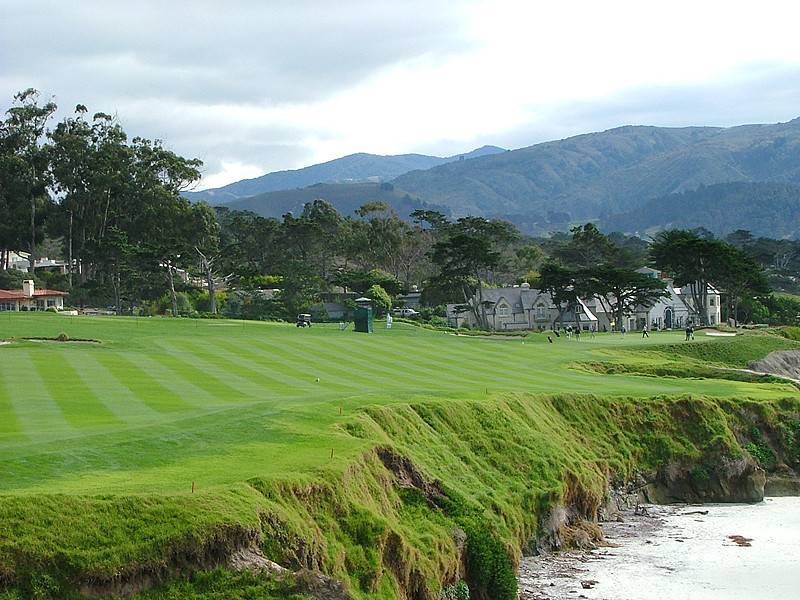
Hole 10 • Tee Shot — A scenic back-nine drive that demands perfect placement
Hole 10 • Second Shot — A tough approach where misses long or short right can cost big

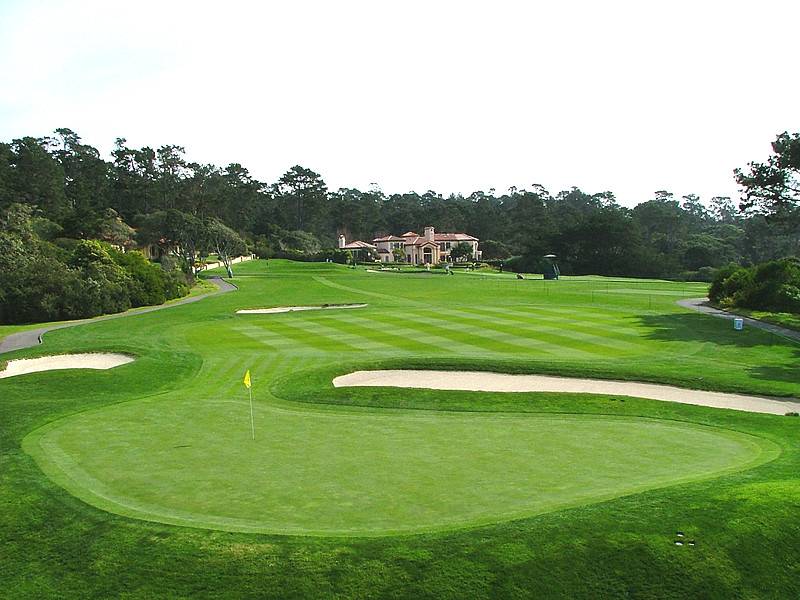
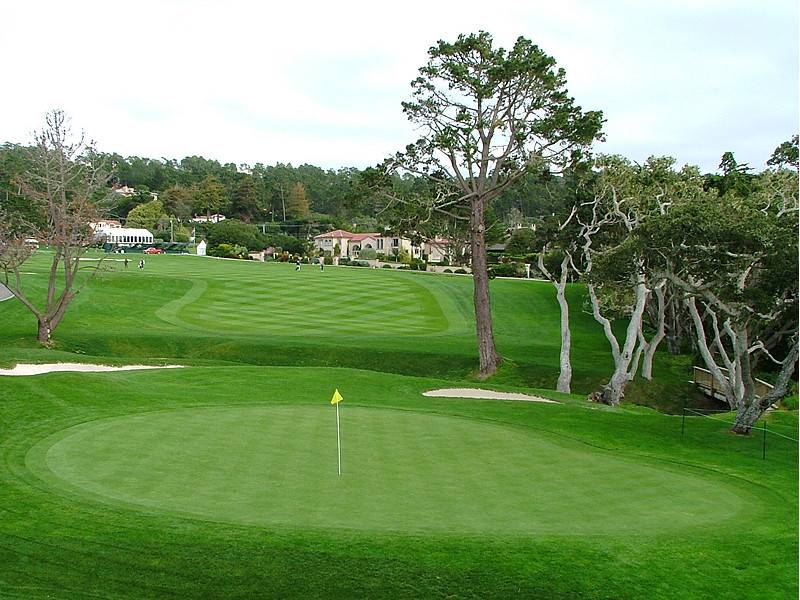
Hole 10 • Green — Perched near the coast with subtle breaks that fool first-timers
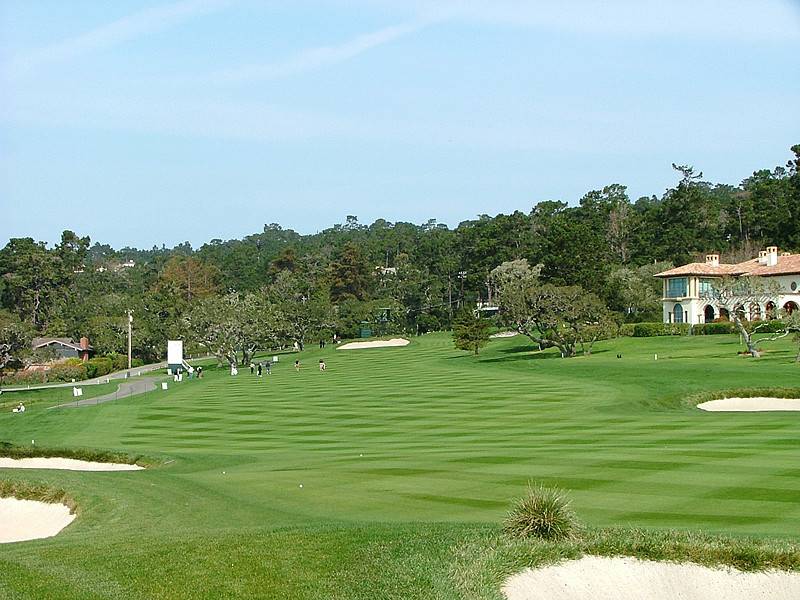
Hole 11 • Par 4 — A strategic hole that rewards a controlled second to uphill hidden green
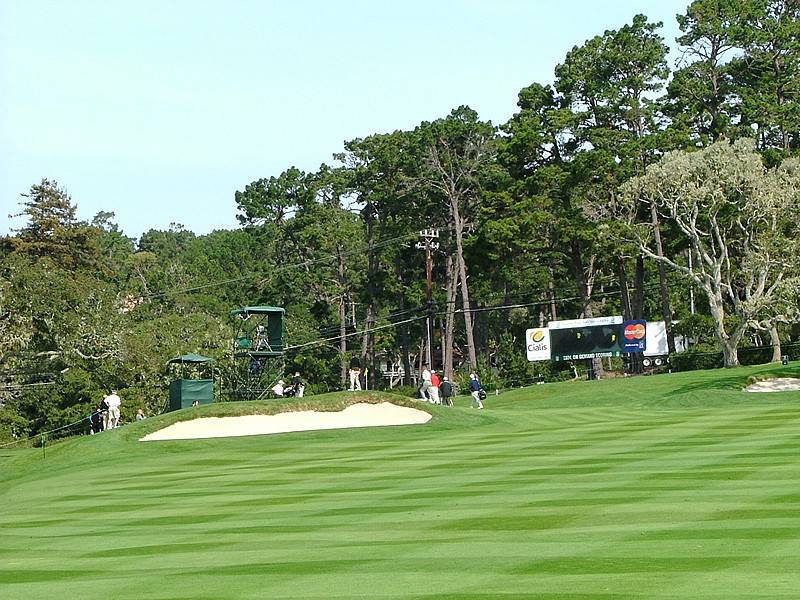
Hole 12 • Green — Small target that demands a confident mid to long iron
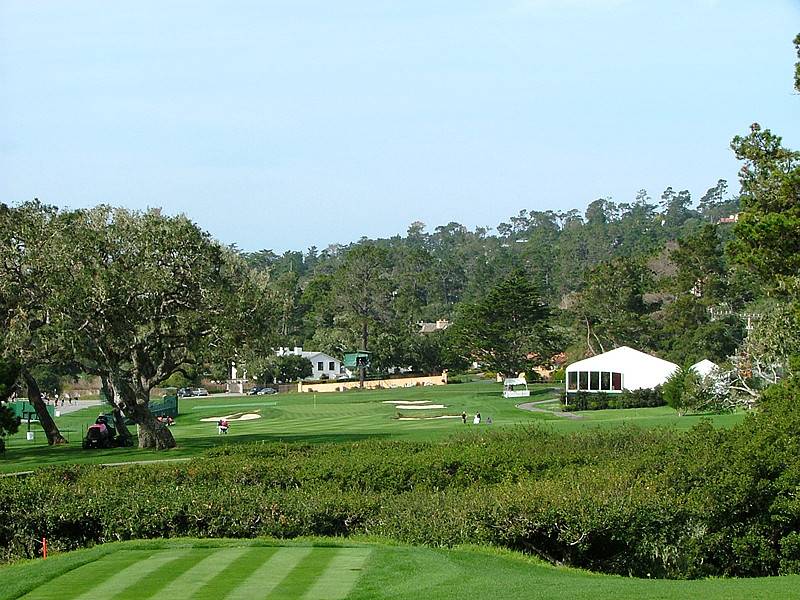
Hole 13 • Par 4 — Position off the tee sets up one of Pebble’s trickier blind approaches
Hole 14 • Second Shot — Decision time: lay up safely or attack the green
Hole 14 • Third Shot — Scoring blind wedge uphill to another small target
Hole 14 • Green — Birdie chances depend on reading the tricky poana green
Hole 15 • Par 4 — A classic setup hole before Pebble’s legendary finish
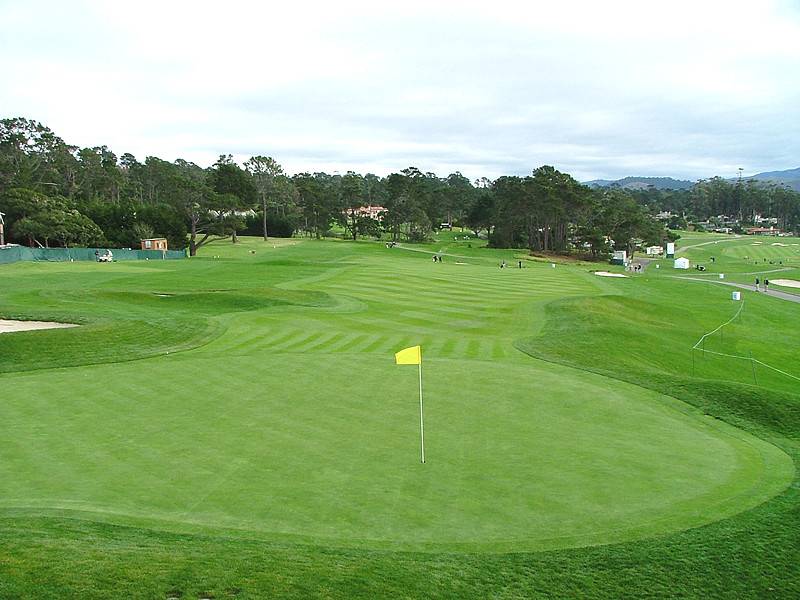
Hole 15 • Green — Subtle slopes lots of good pins makes putting far tougher than it looks
Hole 16 • Tee Shot — Dramatic coastal drive where any miss right is punished
Hole 16 • Second Shot — One of Pebble’s most demanding framed approaches under pressure
Hole 16 • Green — A nerve-testing right to left slope to a Sunday pin
Hole 17 • Green — The legendary par-3 stage - a Nicklaus 1 iron in '72 - or the Watson chip in '82 US Opens
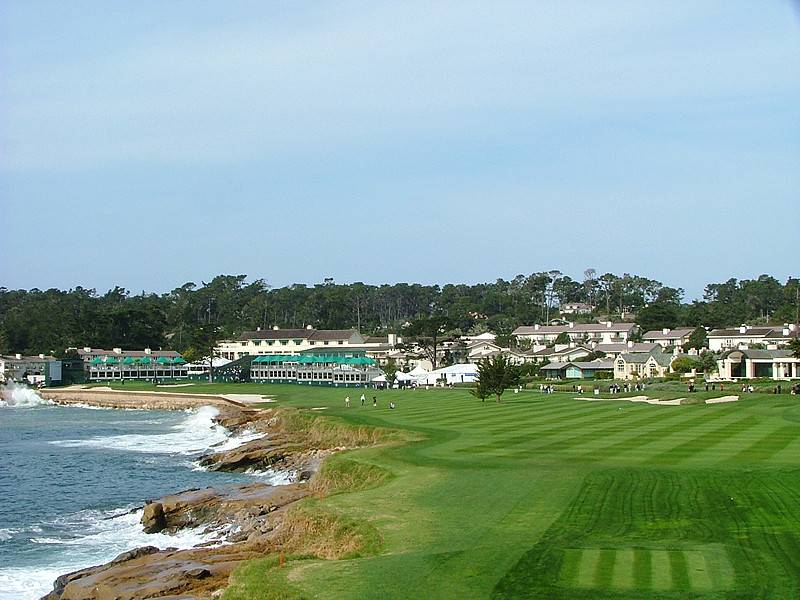
Hole 18 • Tee Shot — Iconic closing drive with the Pacific defining the entire left side
Hole 18 • Shortcut — The aggressive line where big hitters gamble wind and surf near the shoreline
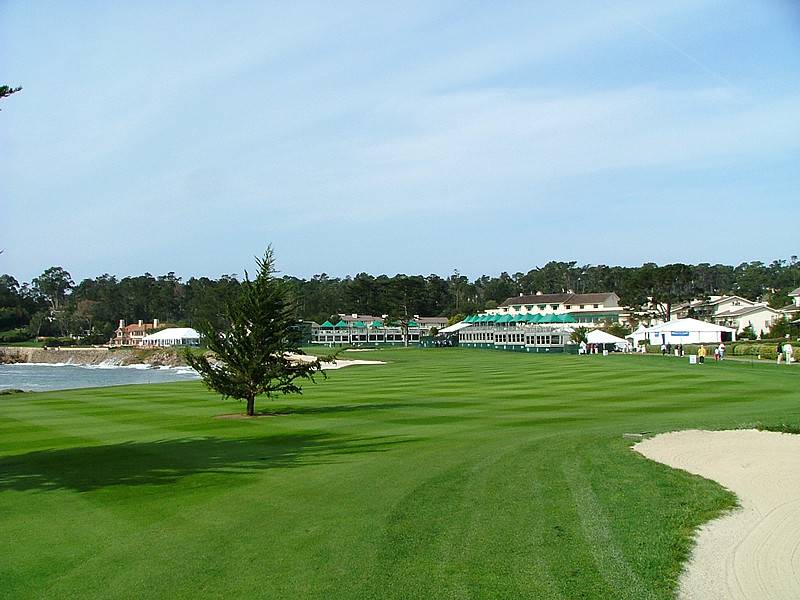
Hole 18 • Second Shot — One of the most famous approaches in golf
Hole 18 • Third Shot — short shot where nerves and a tree could collide
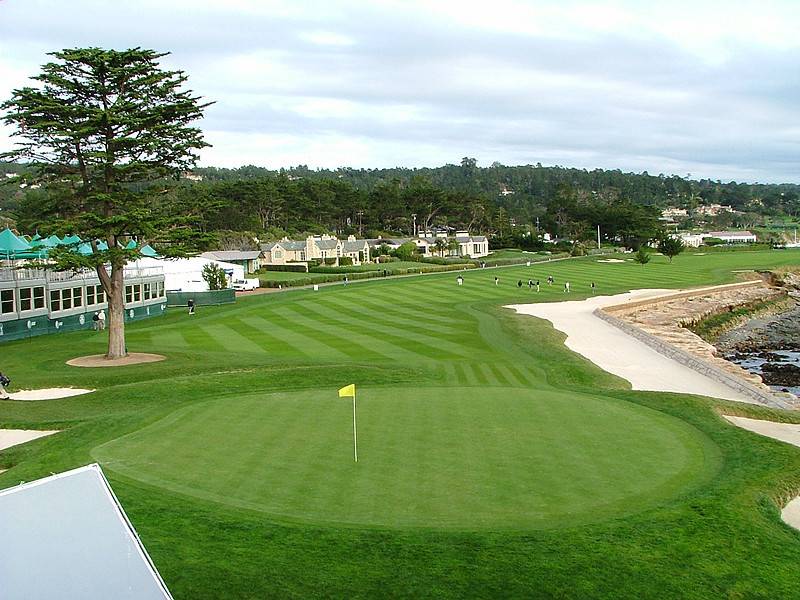
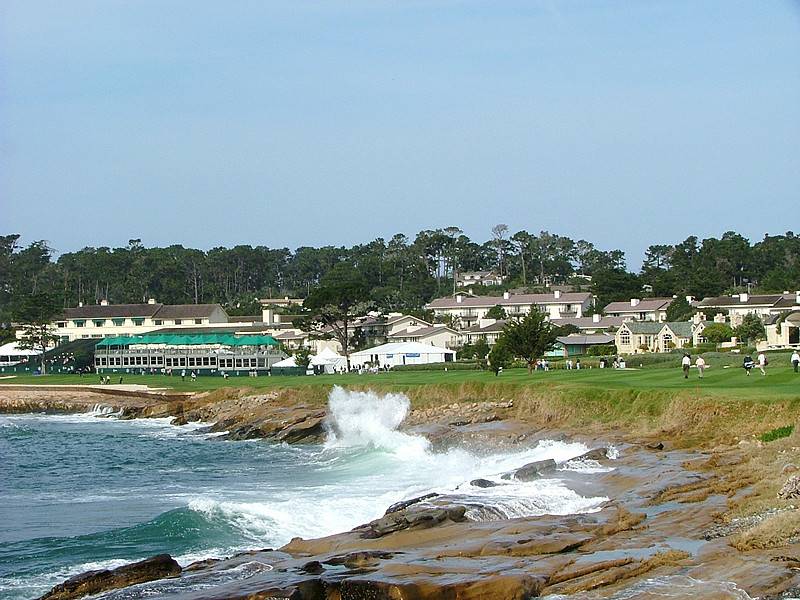
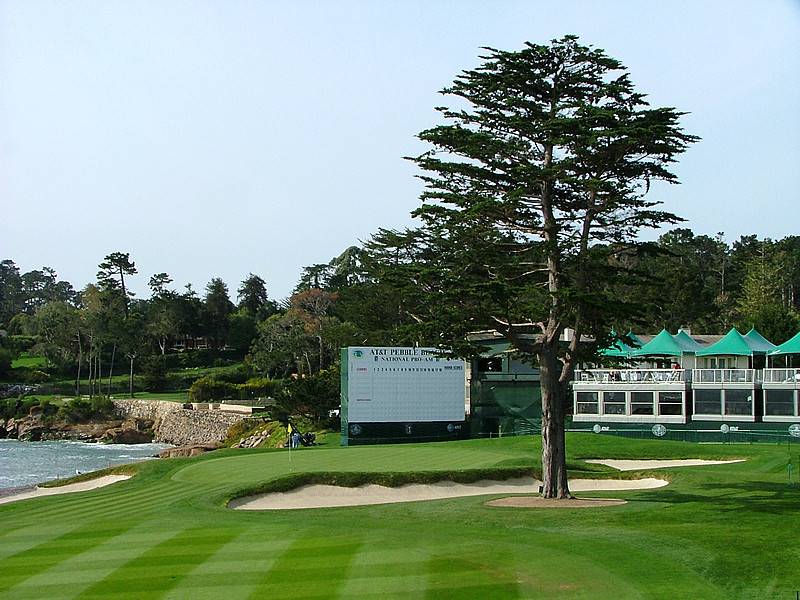
Hole 18 • Green — Pebble’s iconic finishing stage, where championships are decided