
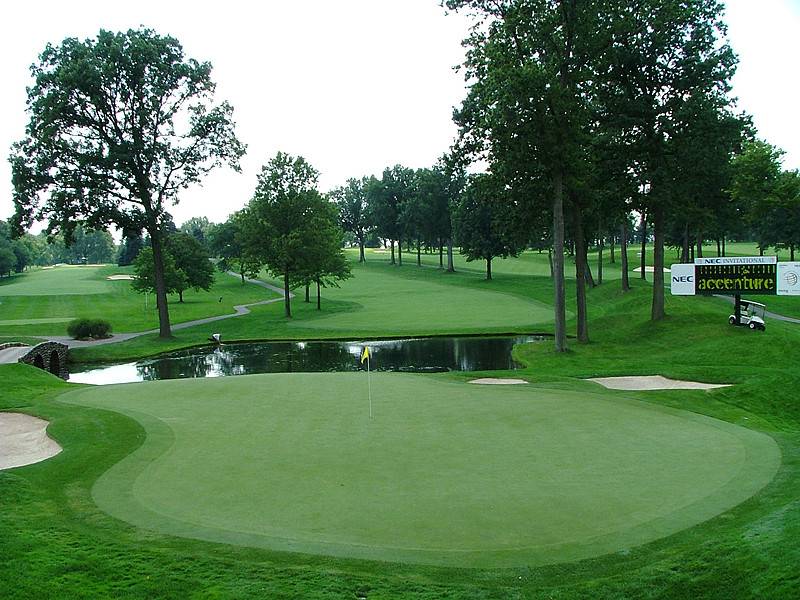
Hole 3 • Par 4 — A long dogleg left-to-right par 4 at Firestone, with the second shot angled into a kidney-shaped green over water. Front-right pin positions invite a bold line, while water guards the back-left side and trees can interfere with approaches that miss the proper angle.
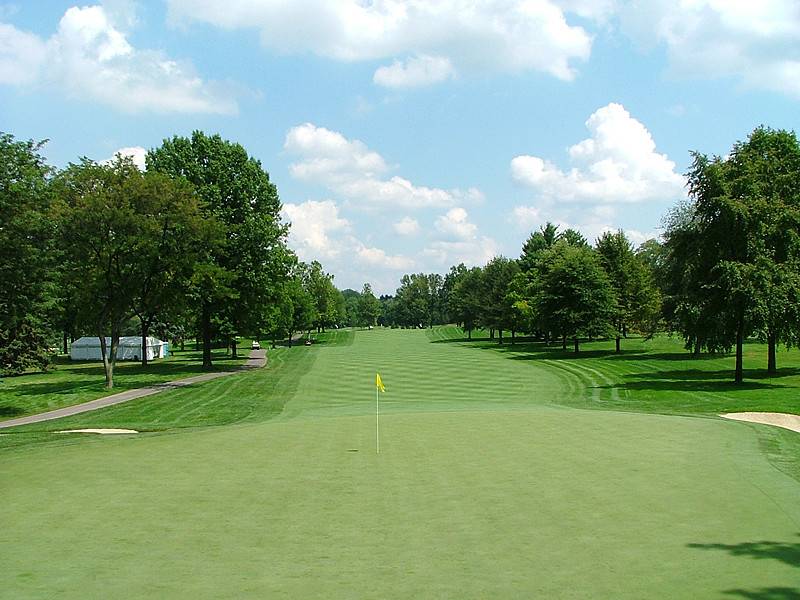
Hole 6 • Par 4 Green Looking Back — From behind the green, this long tree-lined par 4 shows the full shape of the hole, with a bunker short right and multiple pin positions that make distance control into the green important.
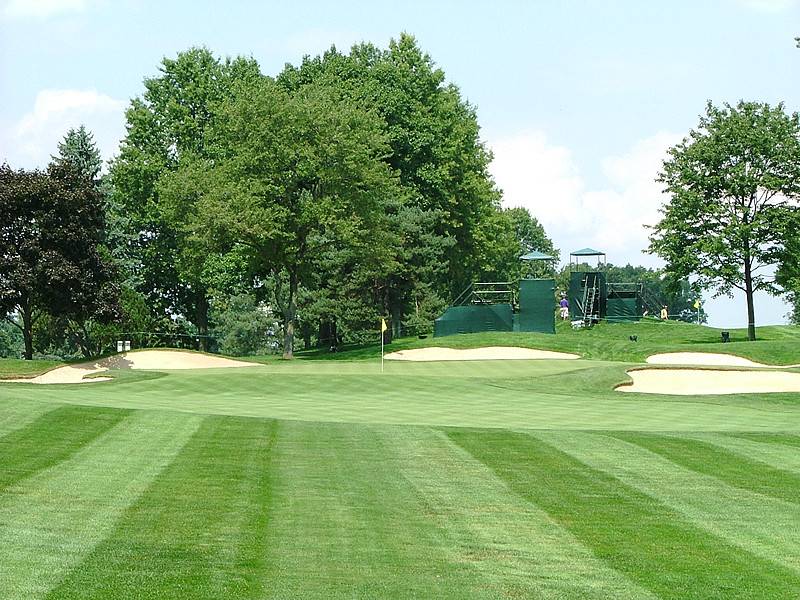
Hole 7 • Par 3 — This zoomed-in view shows the par-3 green guarded by bunkers around the putting surface, with an elevated false front that can reject shots that come up short.
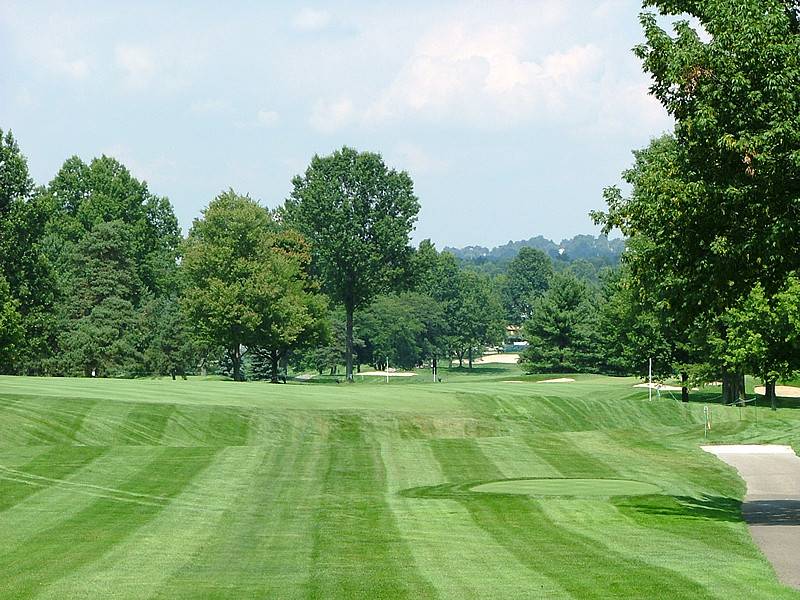
Hole 8 • Par 4 Tee View — A long downhill dogleg-right par 4 where the fairway slants across the landing area, putting a premium on a controlled tee shot that holds the proper side.
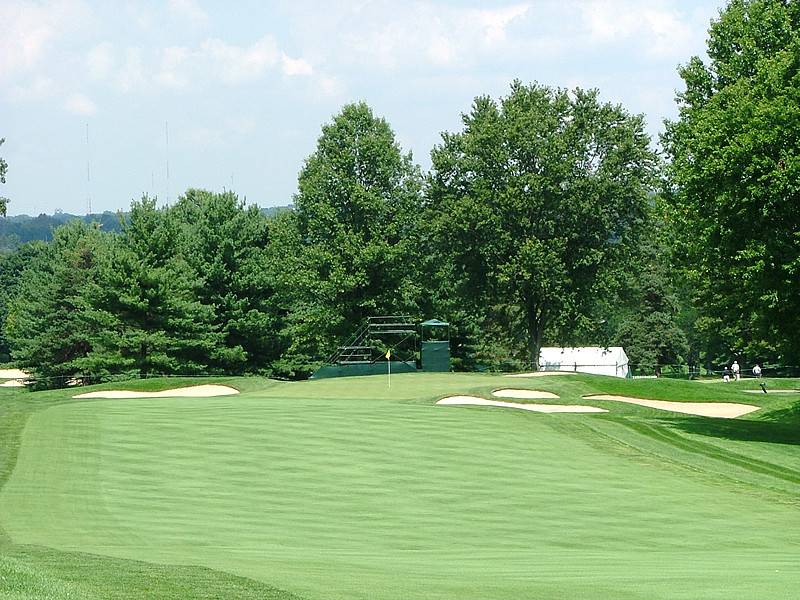
Hole 8 • Second Shot — The approach into the 8th green is guarded by bunkers short, right, left, and back right, with a two-tier putting surface and varied pin positions that reward the correct distance and angle.
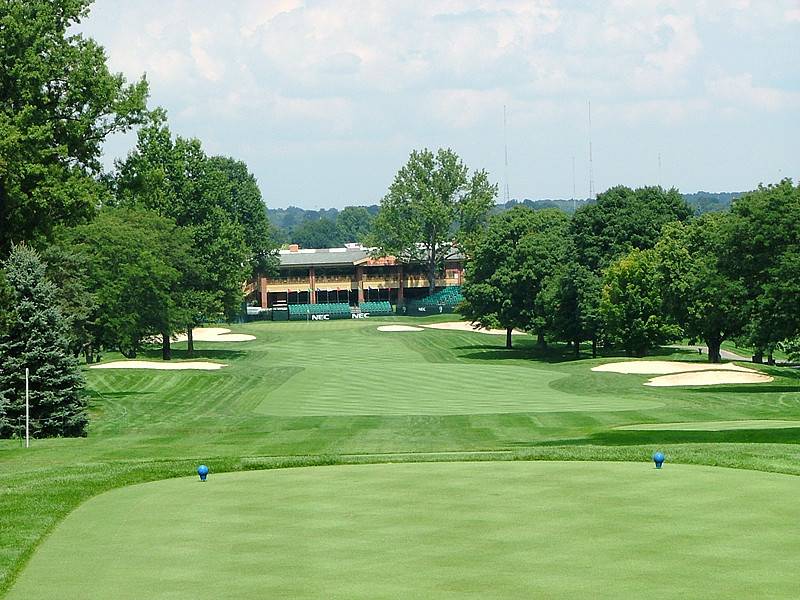
Hole 9 • Par 4 — A long par 4 playing back toward the Firestone Country Club clubhouse, with a narrow fairway and a downhill second shot into a well-bunkered, old-style elevated tiered green with pin positions on the right, left, and back-left sections.
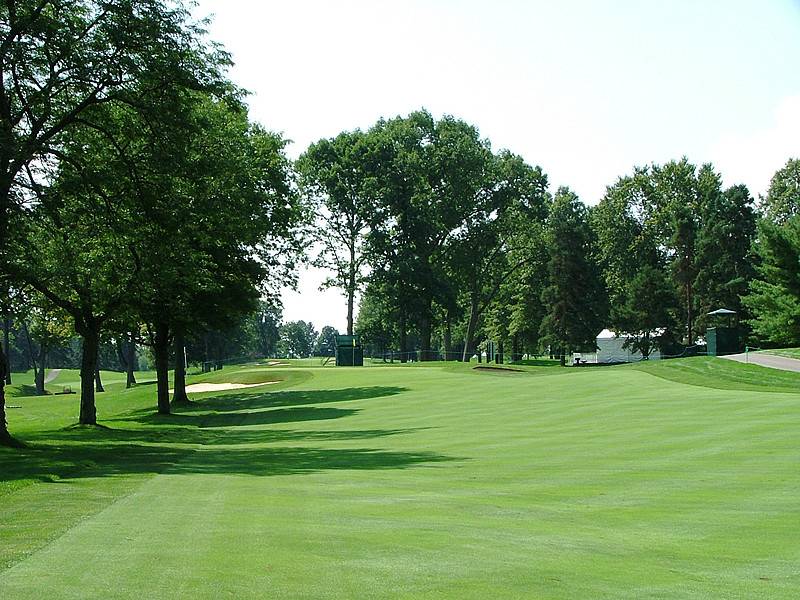
Hole 10 • Second Shot — The 10th approach plays uphill to an elevated green, with tall hardwoods blocking anything from the left side. The tee shot favors center-right position as the fairway slopes right-to-left, setting up a blind uphill second shot.
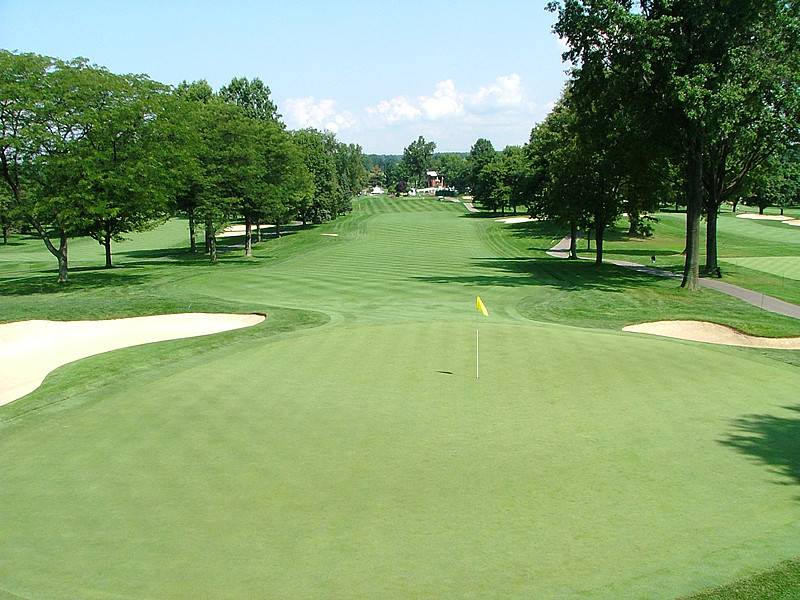
Hole 10 • Green View — From the side angle, the 10th green shows falloff toward the back right, tiering through the putting surface, and front guarding markers that make the correct section of the green important.
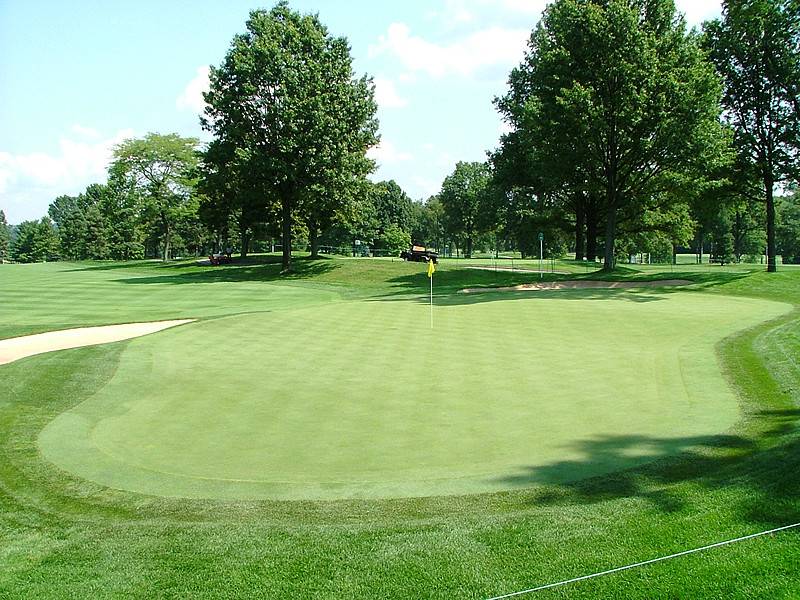
Hole 11 • Green Looking Back — This slanting side view of the par-4 11th looks back into the fairway and shows a tiered green with movement on the left, front-tiering, and a fallaway back-right section that can leave difficult recovery work.
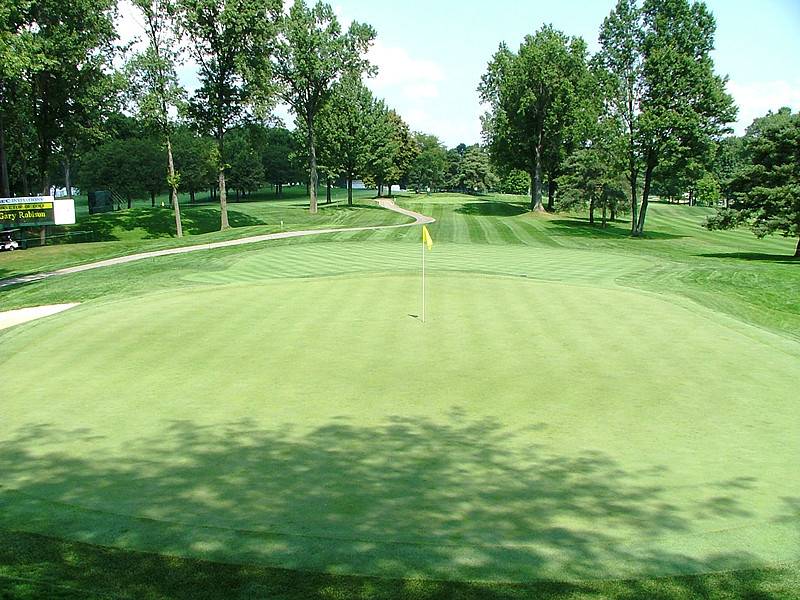
Hole 12 • Par 3 — A long, slightly uphill par 3 where the tee view is partly obscured, with bunkers guarding both sides of the green and distance control at a premium.
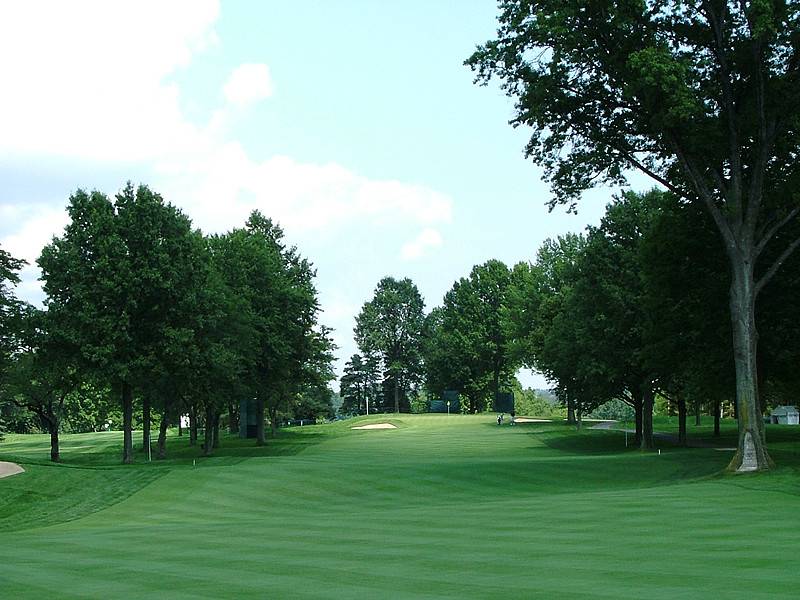
Hole 13 • Second Shot — This long par 4 climbs through a slight left-to-right shape, with trees tightening both sides and a false-front green protected by bunkers front left and front right.

Hole 13 • Green View — From above and behind, the 13th green shows multiple tiers, a false front, and tucked corner pin positions that require precise carry numbers over the front bunkers.
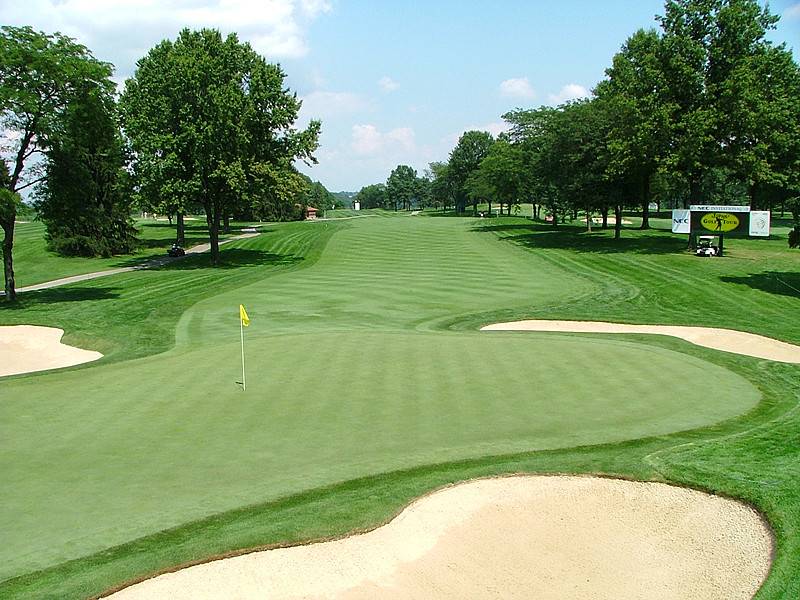
Hole 14 • Par 4 Green Looking Back — This long par 4 plays into a narrow, elongated green running front-left to back-right, with a center spine and bunkers forcing exact carries to left and back-right pins.
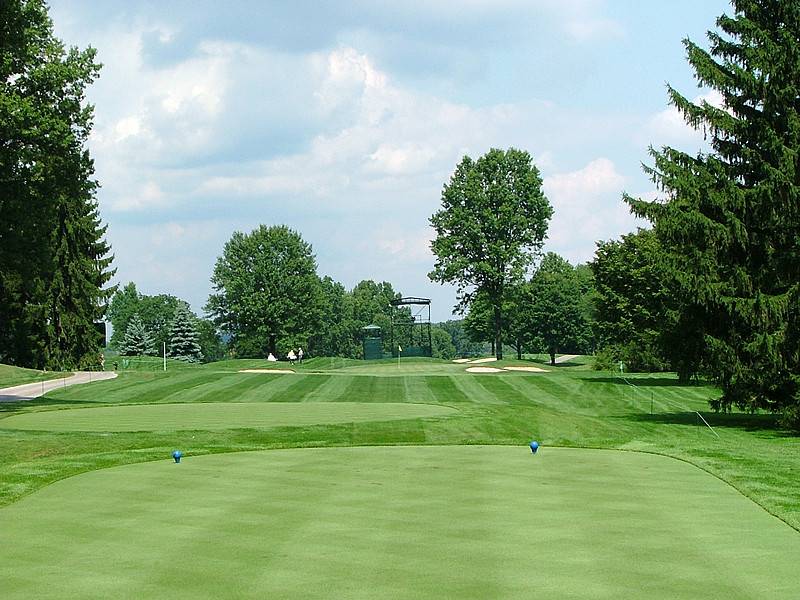
Hole 15 • Par 3 — A long par 3 with two bunkers right, a bunker left, and a green that runs front-left to back-right, making right-side carry numbers and through-yardages especially important.
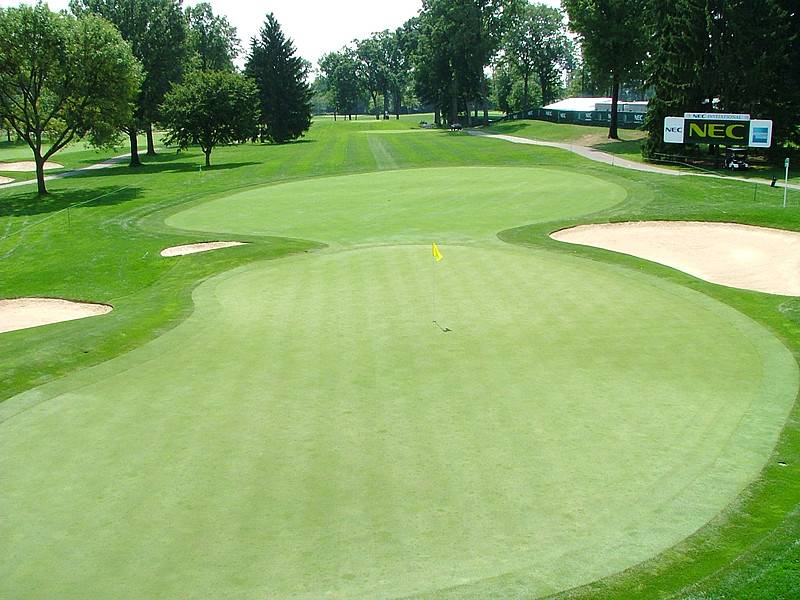
Hole 15 • Green View — The elevated 15th green stretches from front-left to back-right, with right-side pins guarded by bunkers and back-left misses able to run through the putting surface.
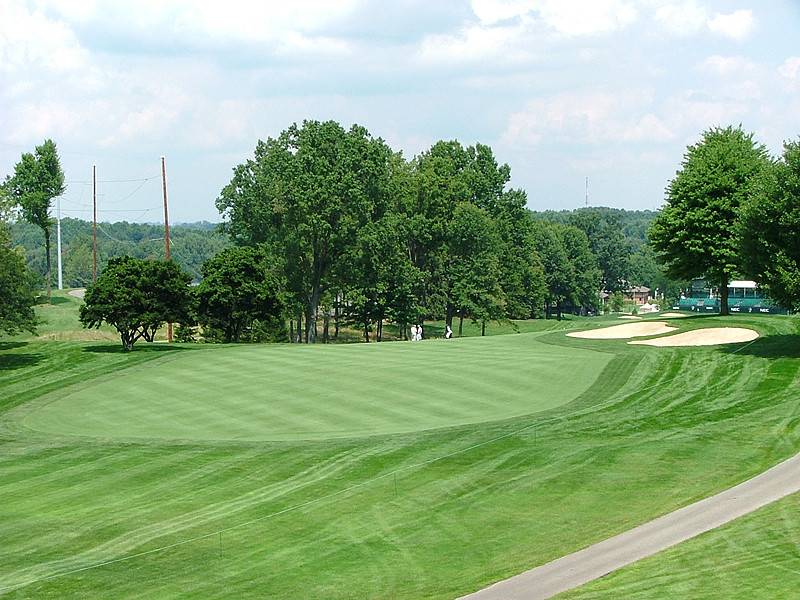
Hole 16 • Par 5 — A long three-shot par 5 that snakes downhill toward a defined landing zone, rarely reachable in two unless the tee shot is perfectly placed.
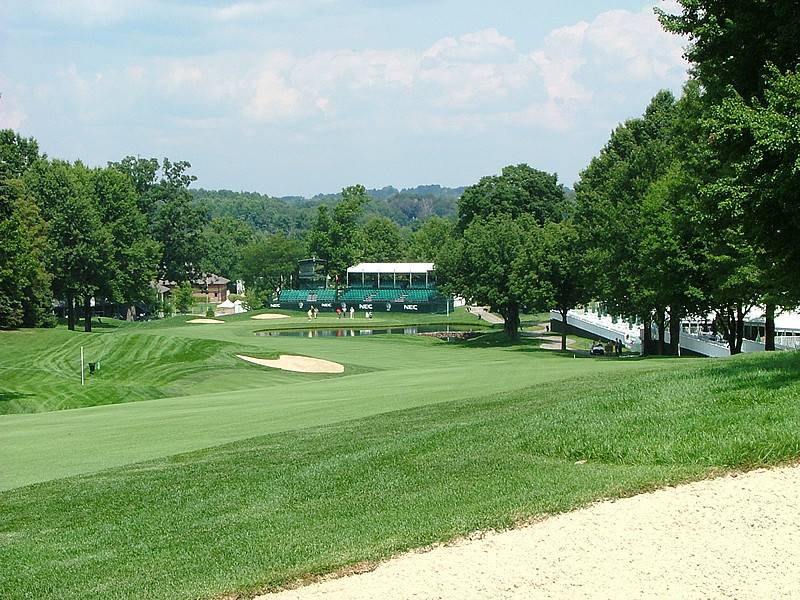
Hole 16 • Layup View — From the second-shot area, the fairway works downhill and turns between trouble, with the right-side bunker and water near the green making the layup yardage and angle critical.
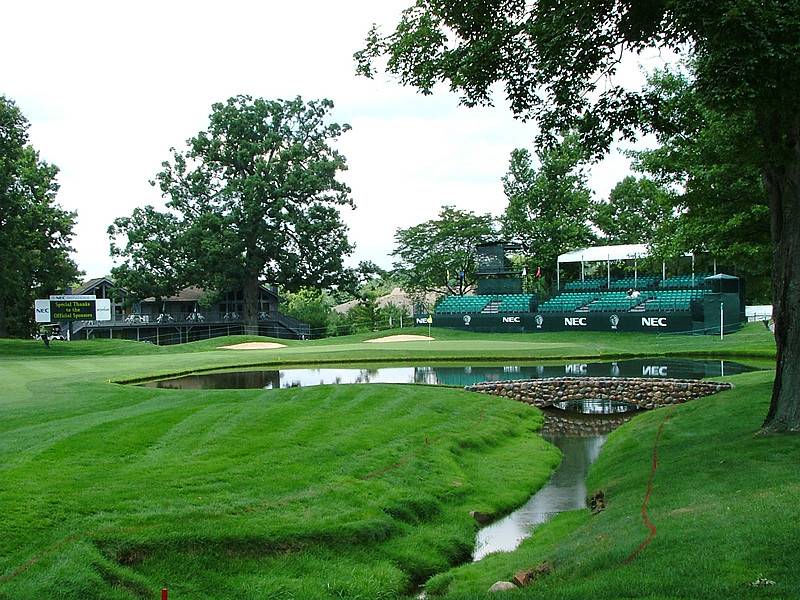
Hole 16 • Water Hazard — This view shows how the water guards the green from left-front through the right side, punishing layups that miss position and forcing a committed third-shot carry.
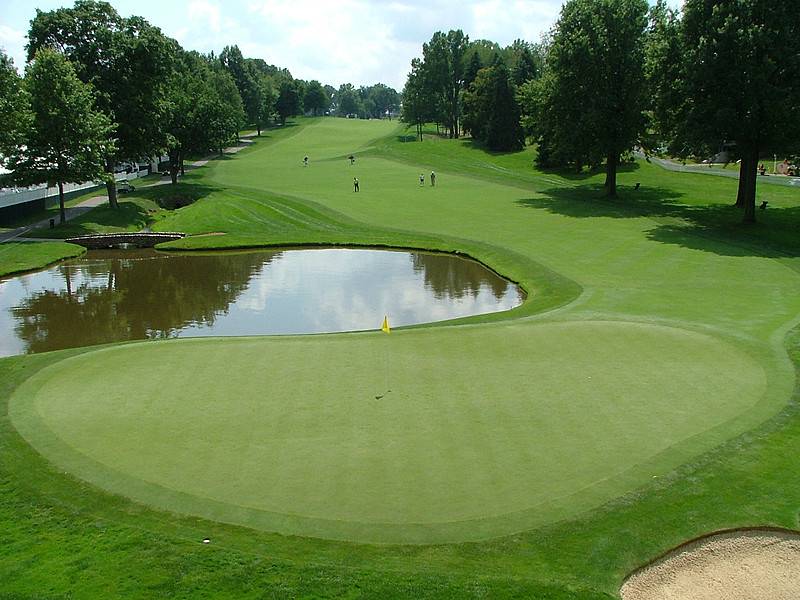
Hole 16 • Green View — From above and beyond the green, the 16th shows water guarding the front and right-side carries into a tiered surface that narrows toward the back-center section.
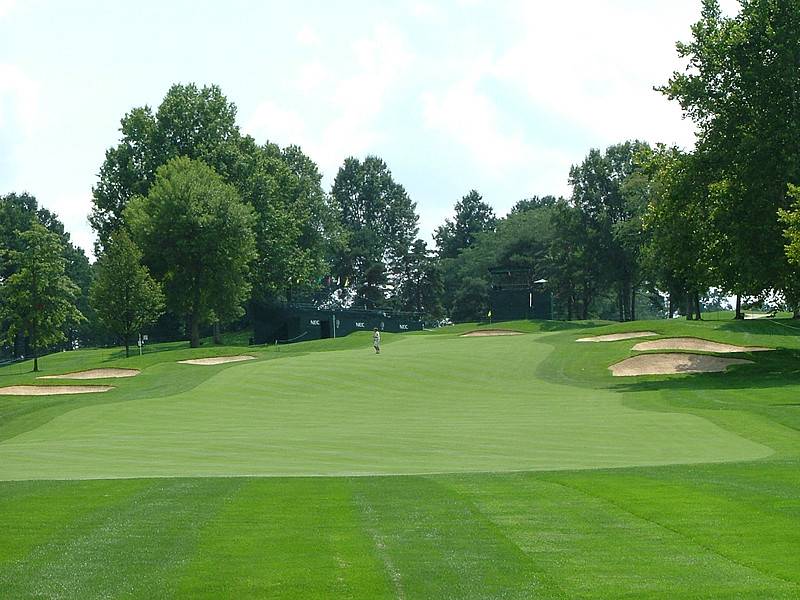
Hole 17 • Par 4 — This uphill par 4 demands exact tee-ball position before a blind second shot, with a center bunker influencing both the landing zone and the approach angle.
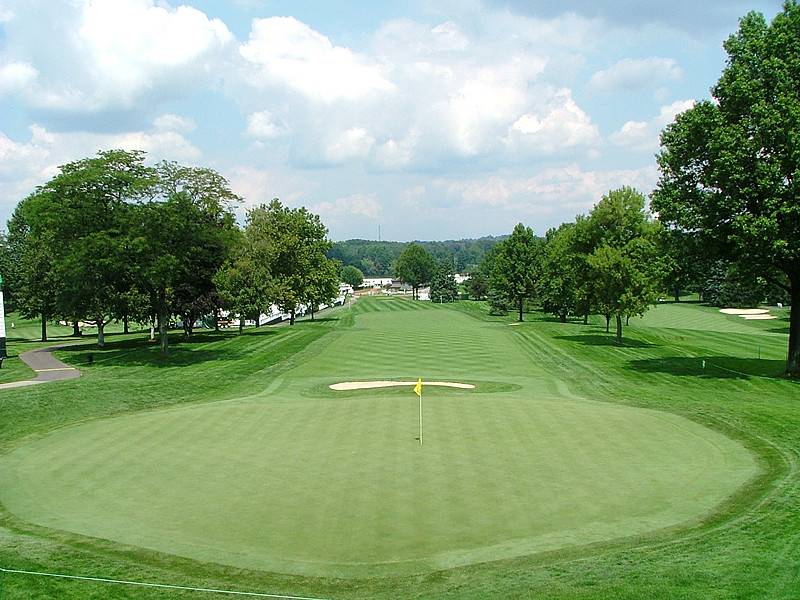
Hole 17 • Green View — From above and behind, the 17th green shows front corner pin options and multiple tiers, creating a real birdie chance before the demanding finish at 18.
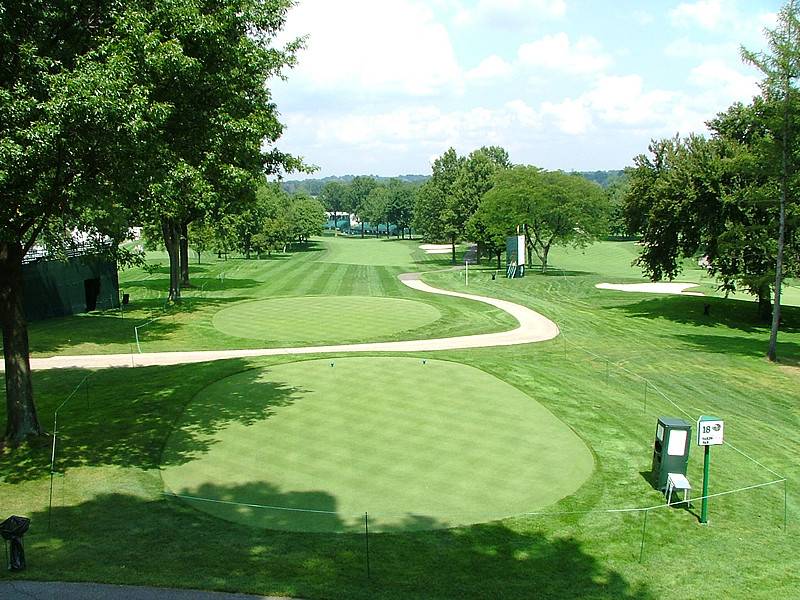
Hole 18 • Par 4 — A long finishing hole where the green is obscured from the tee, bunkers line the right side, and misses left can bring trees into the approach line.
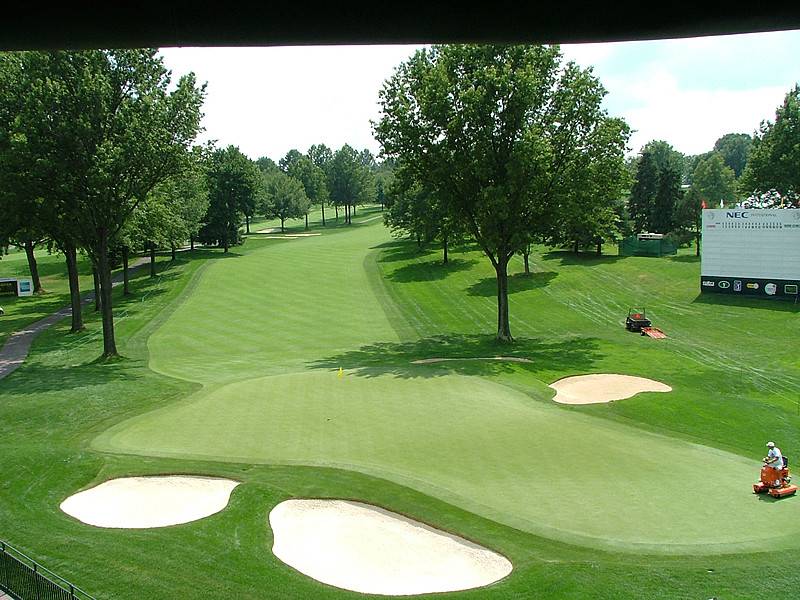
Hole 18 • Final Green — From above and behind, the closing green runs front-right to back-left, with trees guarding the left approach and bunkers through the green demanding precise numbers into the back-left Sunday pin area.