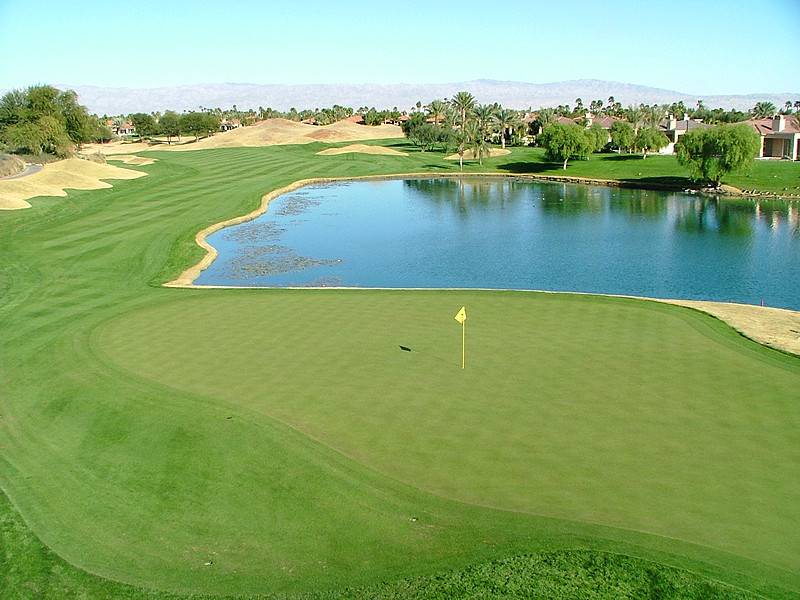
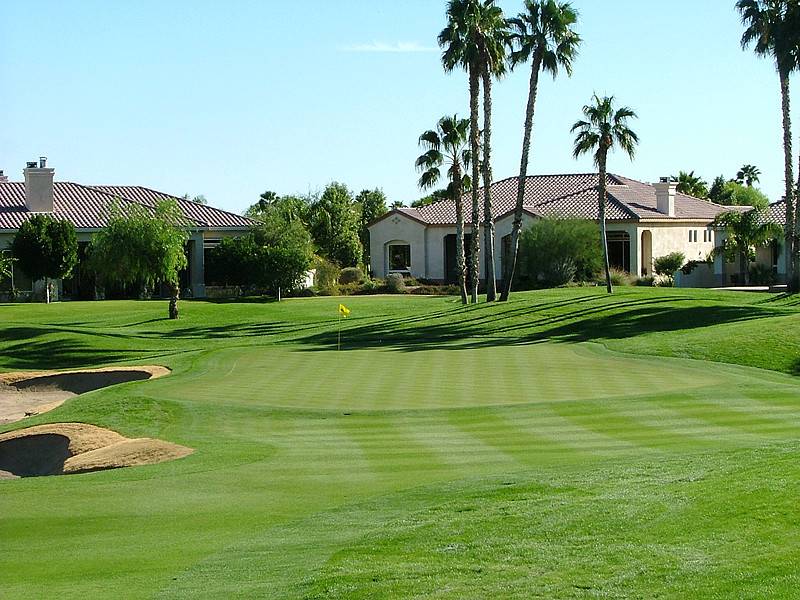
Hole 9 • Par 4 — Green sits slightly elevated with subtle back-to-front slope; approach shots must carry bunkers and land softly to stay below the hole.
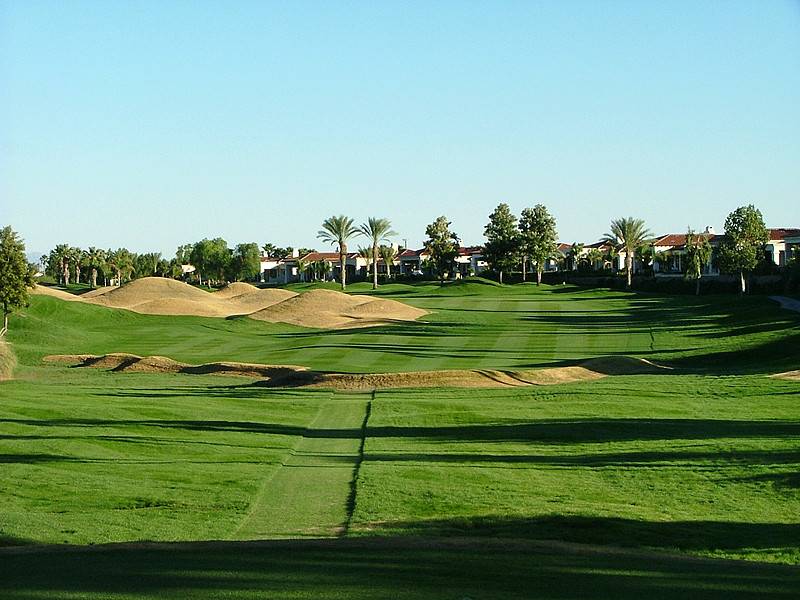
Hole 10 • Tee Shot — Fairway opens left but narrows near landing zones; placement is more important than length to control the next shot.
Hole 10 • Second Shot — Green is framed by desert bunkers; drive it off centers when chasing tucked pins.
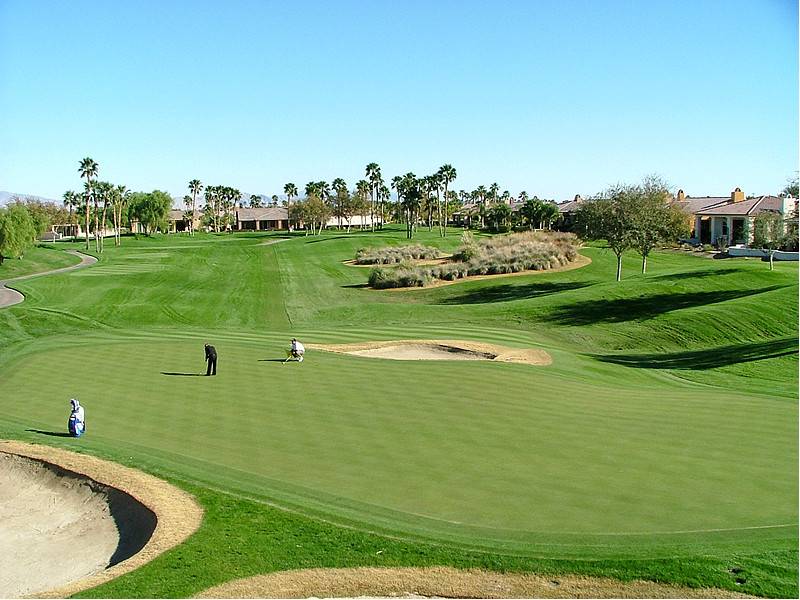
Hole 10 • Green — Large putting surface with subtle tiers; downhill putts become extremely fast in desert conditions.
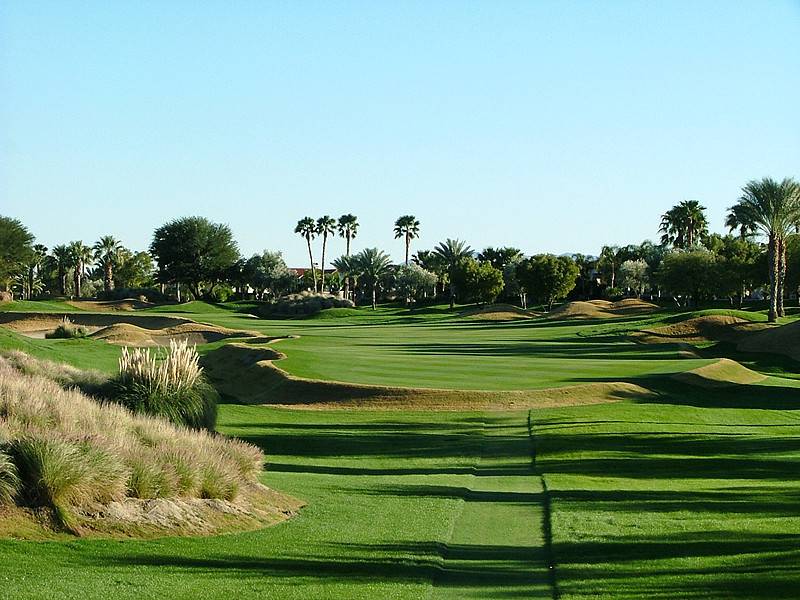
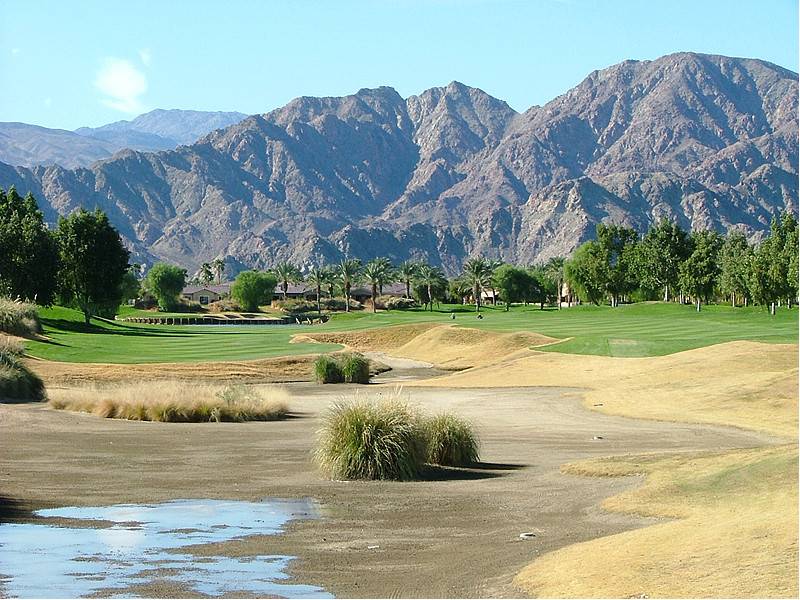
Hole 11 • Par 5 — Reachable for long hitters cross bunkers define the lay-up area; classic Nicklaus risk-reward design.
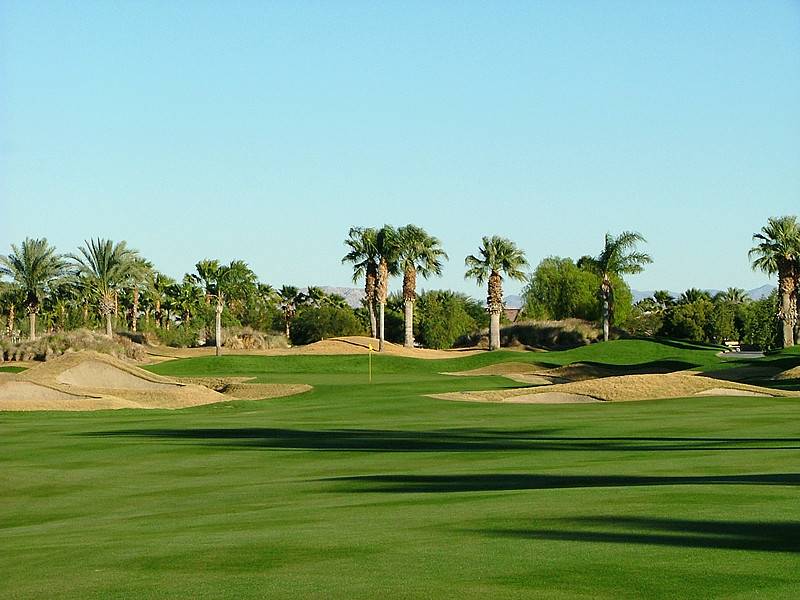
Hole 11 • Second Shot — reachable in two with cross mounded bunker to carry demand commitment; conservative players lay back for a full wedge.
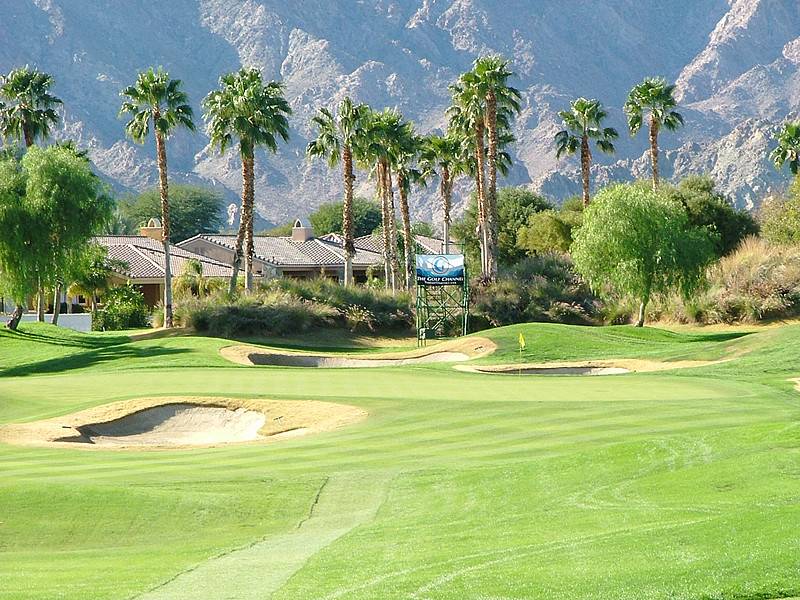
Hole 11 • Elongated Green — narrow left to right 'hidden' effect with influencing depth perception and club selection.
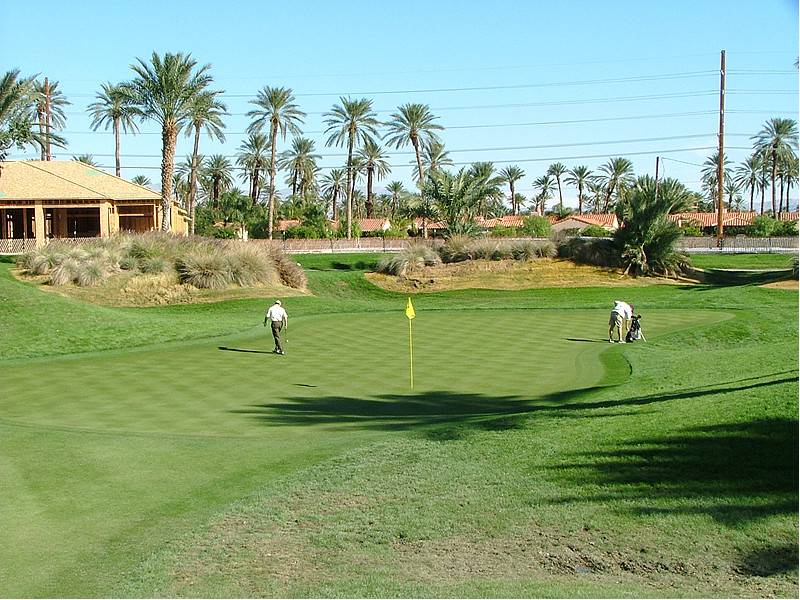
Hole 12 • Par 3 — Bunkers front and long punish anything short or long; clean contact and precise yardage control required.
Hole 13 • Par 4 — Tee shot shapes around desert mounding; ideal angle is from the left half of the fairway.
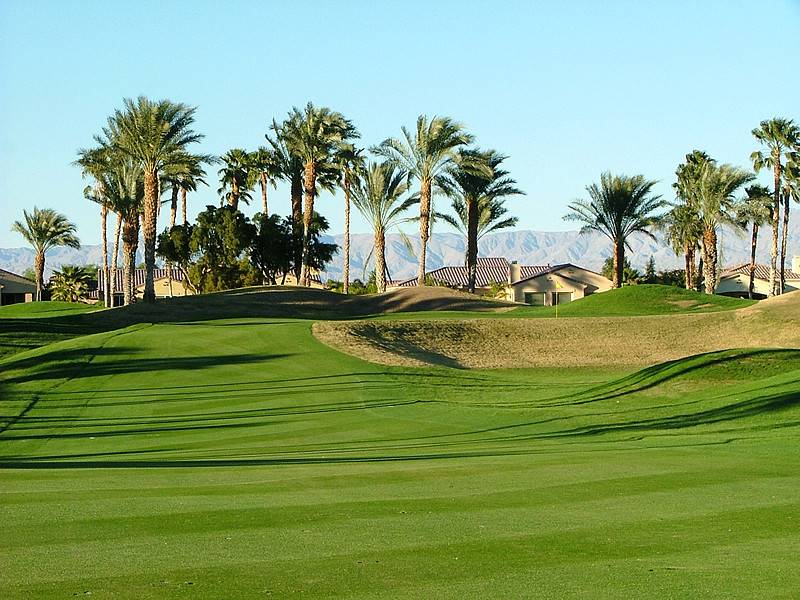
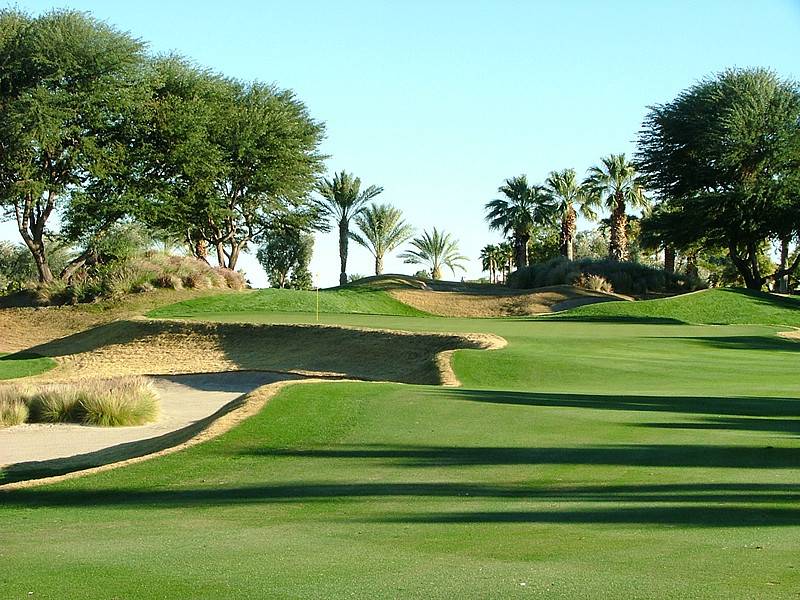
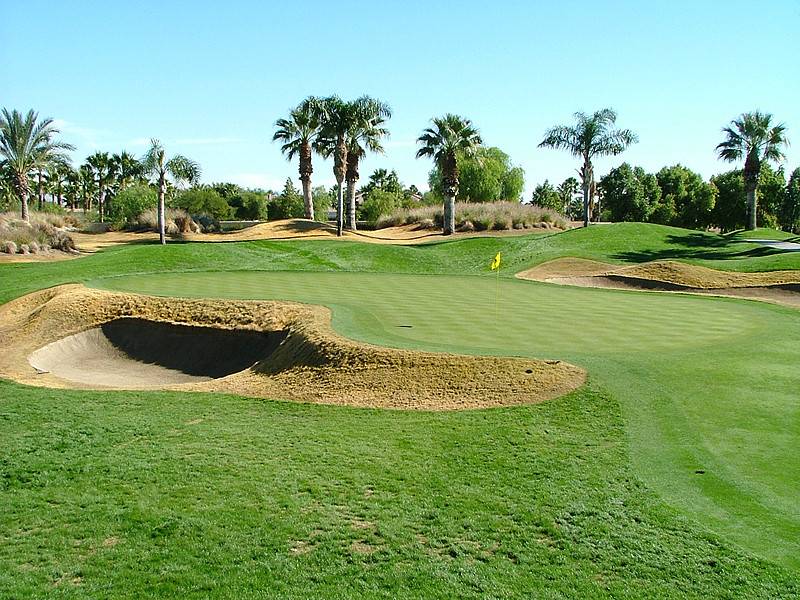
Hole 13 • Second Shot — Typical Nicklaus desert 'elevated' green with deep guarding bunkers; missing short leaves a difficult recovery.
Hole 13 • Green — Firm surface encourages a high, soft landing approach; contours reward proper side of fairway.
Hole 14 • Second Shot — green is subtly downhill and hidden from view.
Hole 14 • Green — Narrow front-to-back target; with many good pins with good scoring opportunities.
Hole 15 • Par 5 Tee Shot — Double fairway option most go down right side; strong drive sets up a go for in two scoring opportunity.
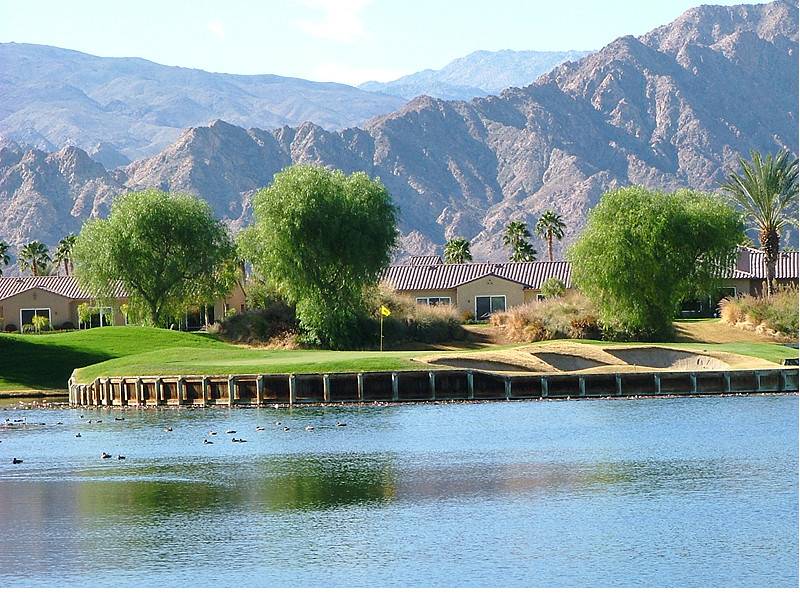
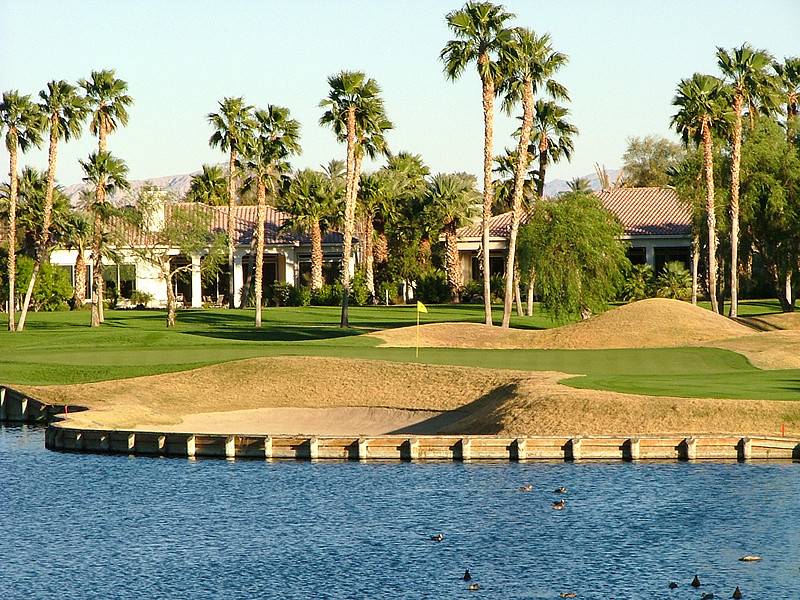
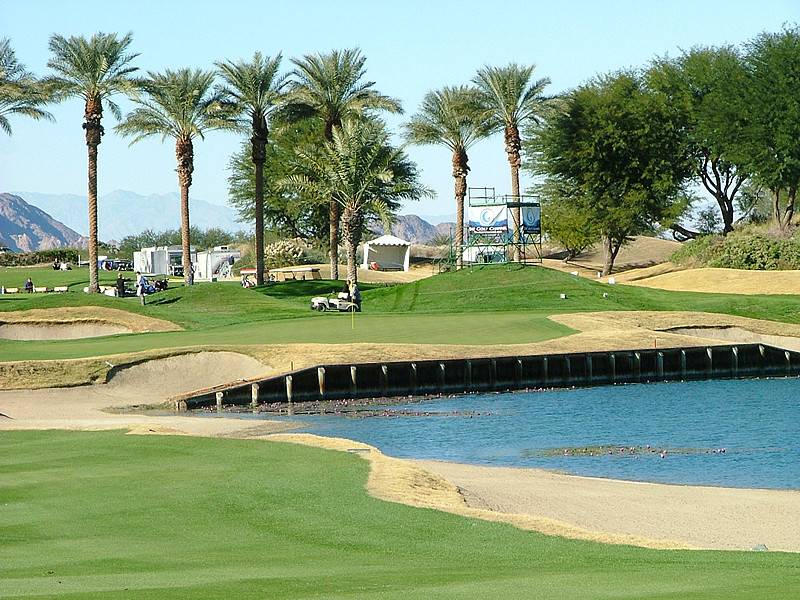
Hole 15 • Second Shot — A good zoomed view with water bulkhead and bunkers; precision second or layup third rewarded.

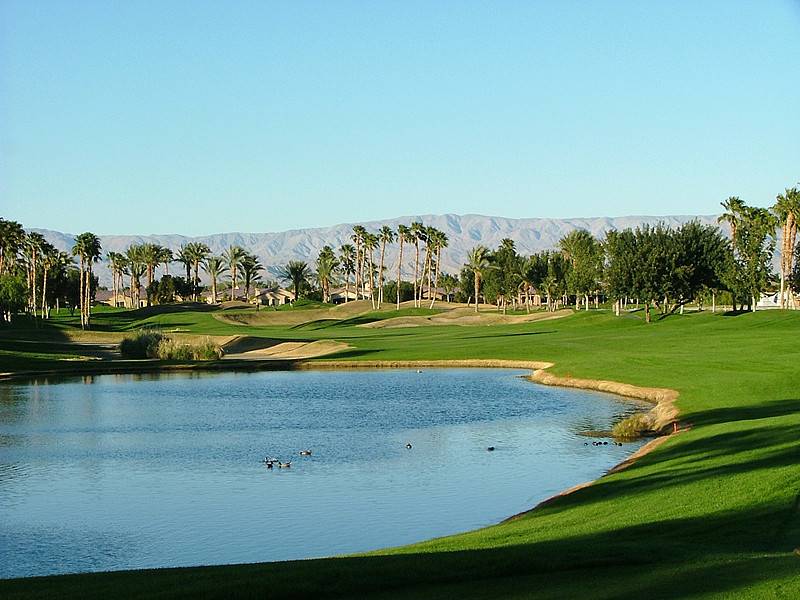
Hole 16 Par 4– Water carry not a big issue but good visual threat for most angle necessary depending on pin location
Par 4 16th 2nd shot – Green is wide and narrow offering many degrees of difficulty approaches
Hole 16 • Green — Longer the drive shorter more accessible in this demanding closing stretch.
Hole 17 • Par 3 — Slight downhill par three hole; commitment to yardage and trajectory is essential.
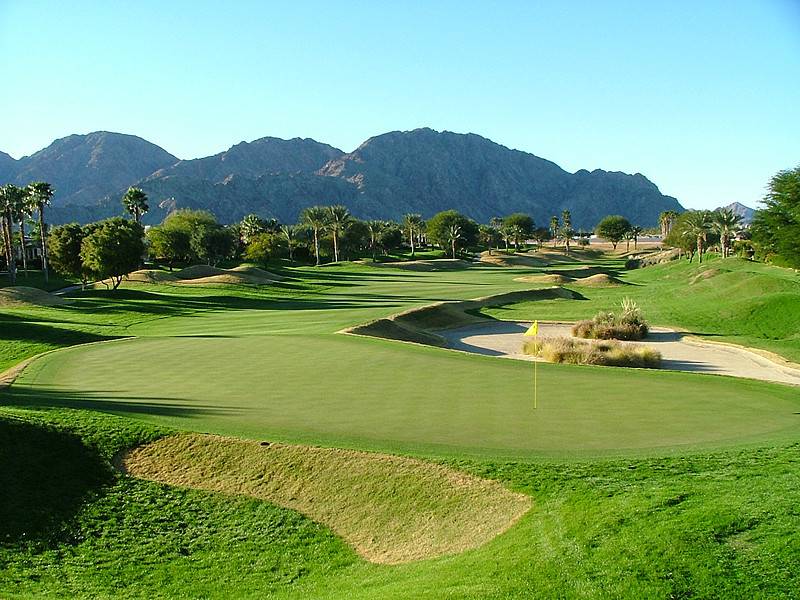
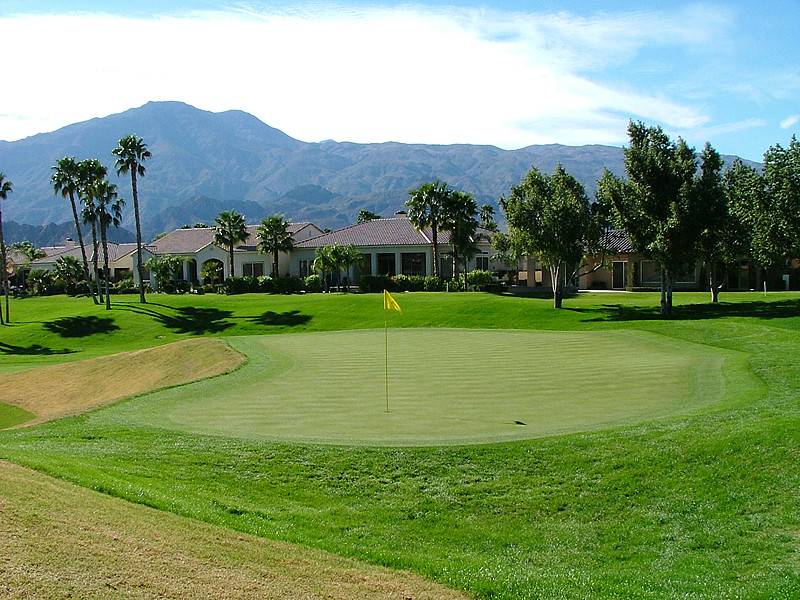
Hole 17 • Green — Large surface with gentle tiers pins tucked over and in front of those bunkers.

Par 4 18th – Fairway sits angled with water sand waste area all down the right side
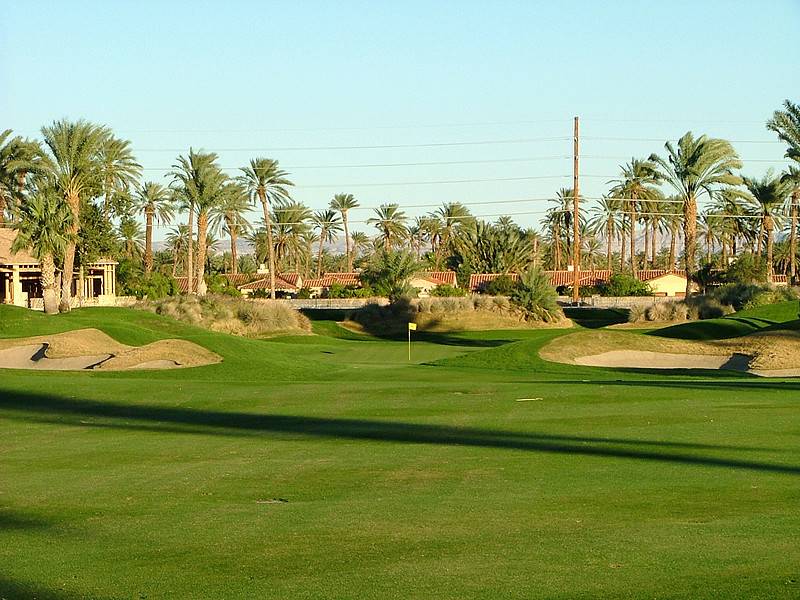
Hole 18 • Second Shot — Approach must fly all trouble; green is narrow with little forgiveness.

Hole 18 • Green — Championship finishing surface figure 8 green with many good tucked pin options.