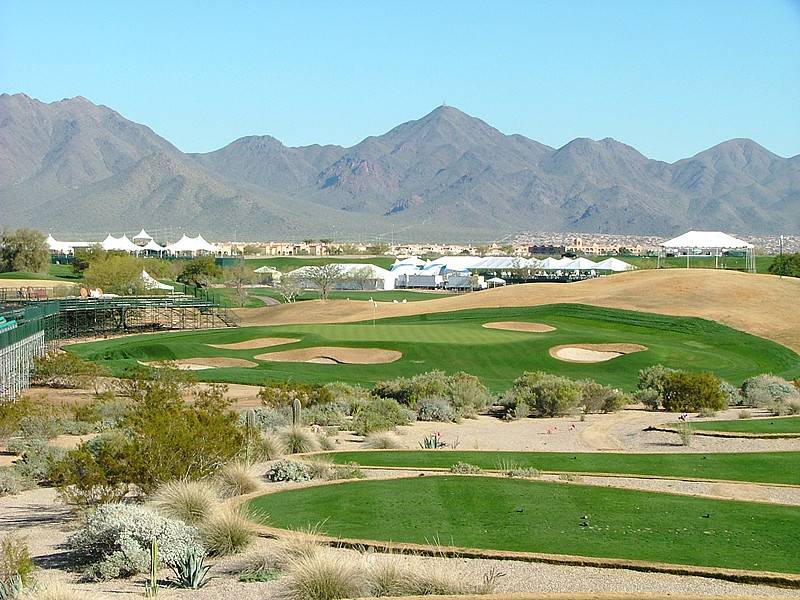
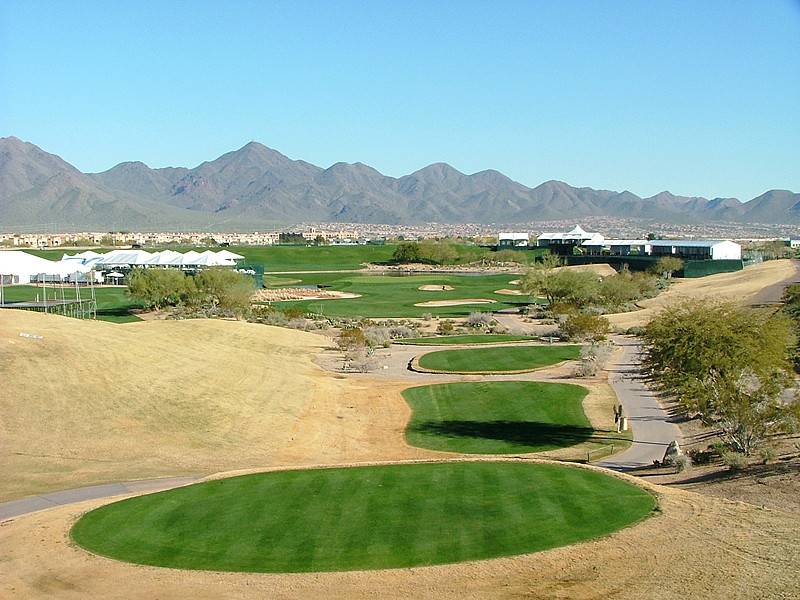
Hole 15 • Par 5 Tee Shot — Reachable par five framed by desert and bunkers
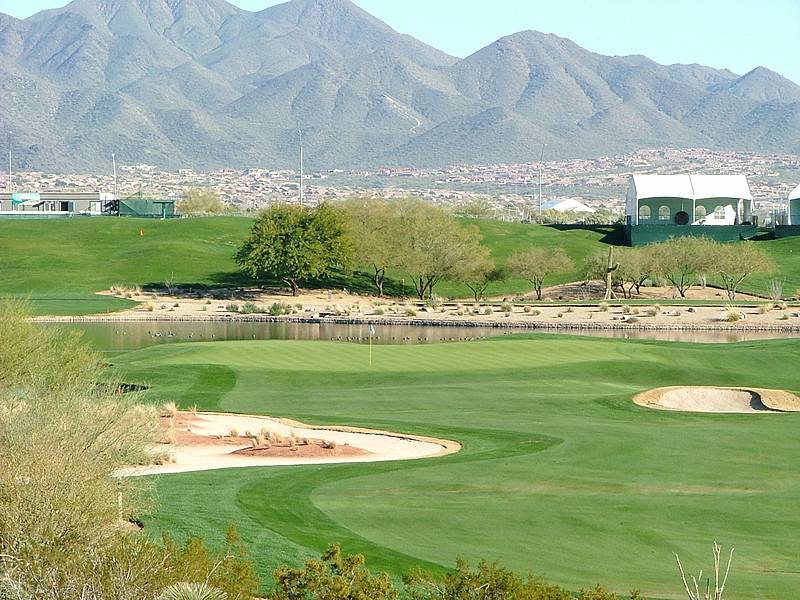
Hole 15 • Second Shot — Aggressive line brings the green into play
Hole 15 • Approach View — Bail-out left favors a safe lay-up
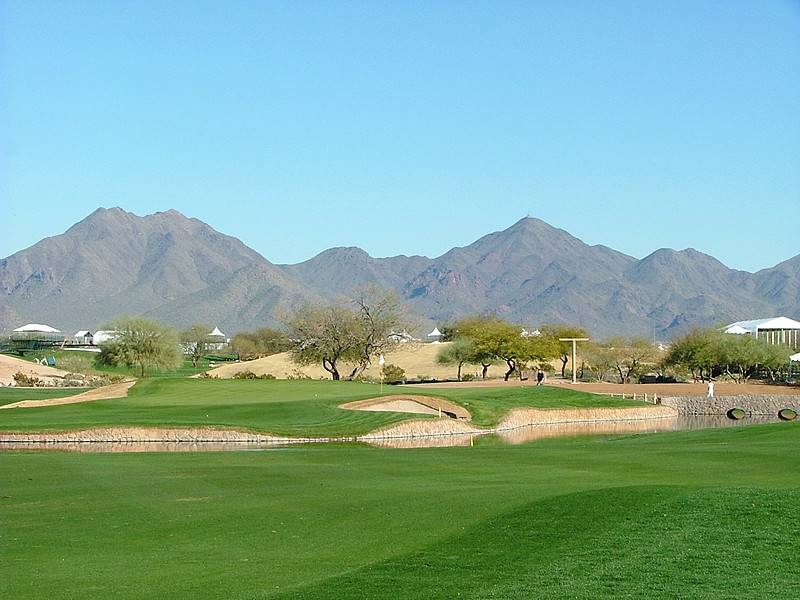
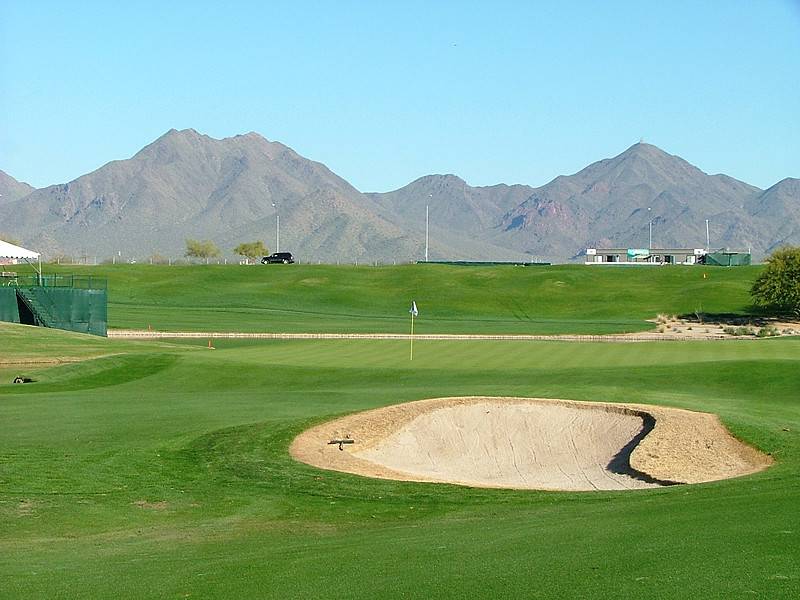
Hole 15 • Green Approach — Subtle contours reward proper angle
Hole 15 • Green — Sloping surface guarded by deep bunkers
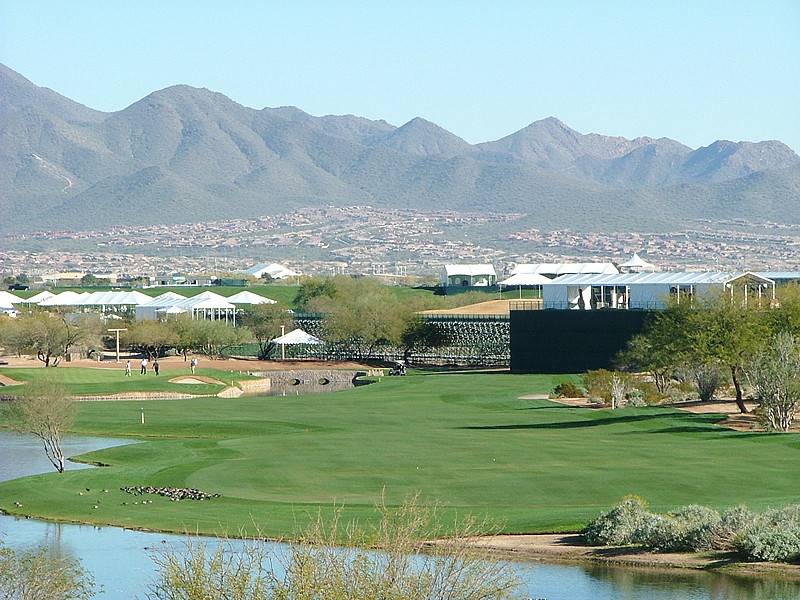
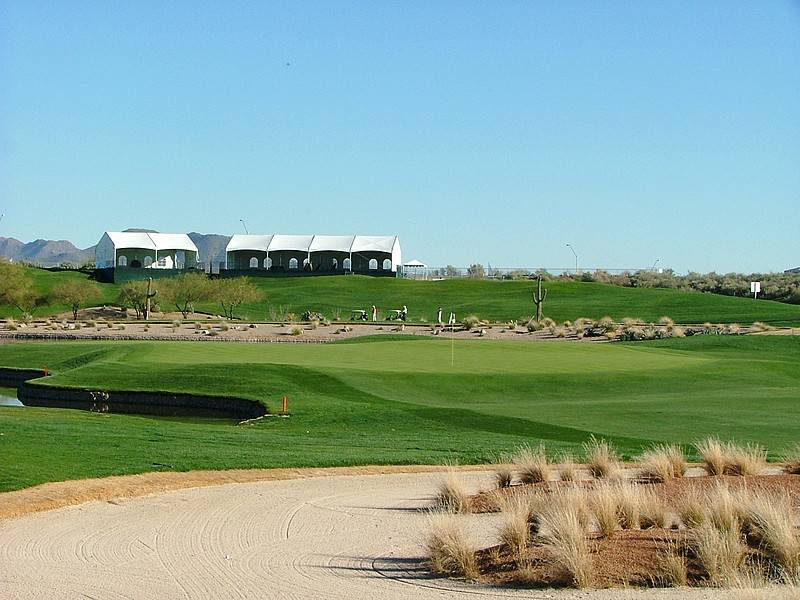
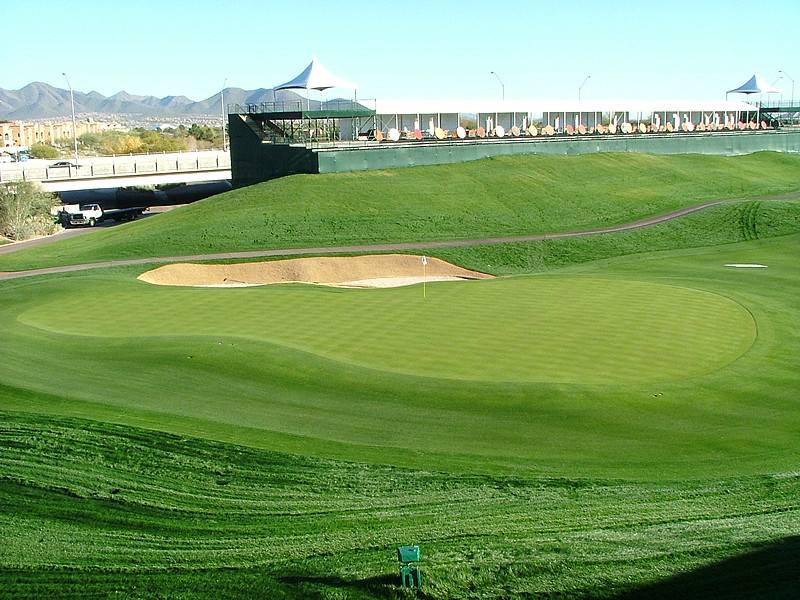
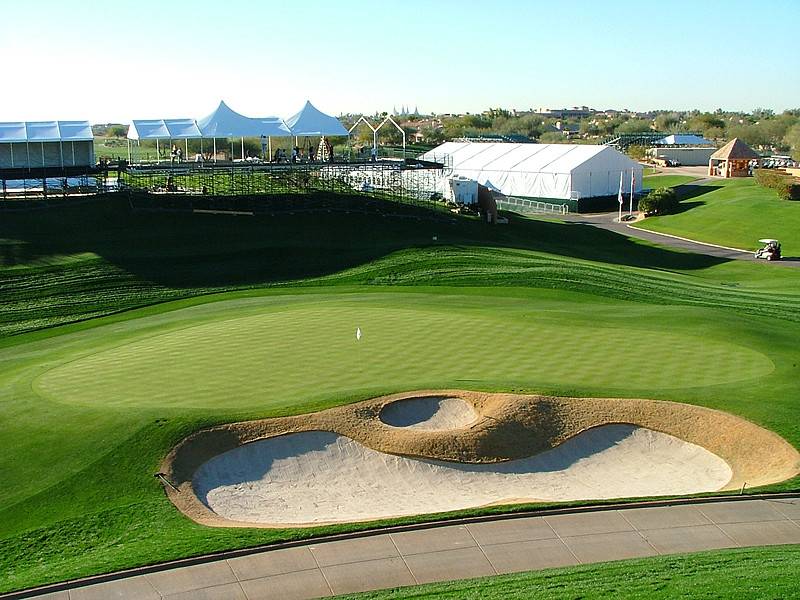
Hole 16 • Par 3 Tee Shot — Stadium hole surrounded by grandstands
Hole 16 • Entry View — Iconic amphitheater surrounds the green
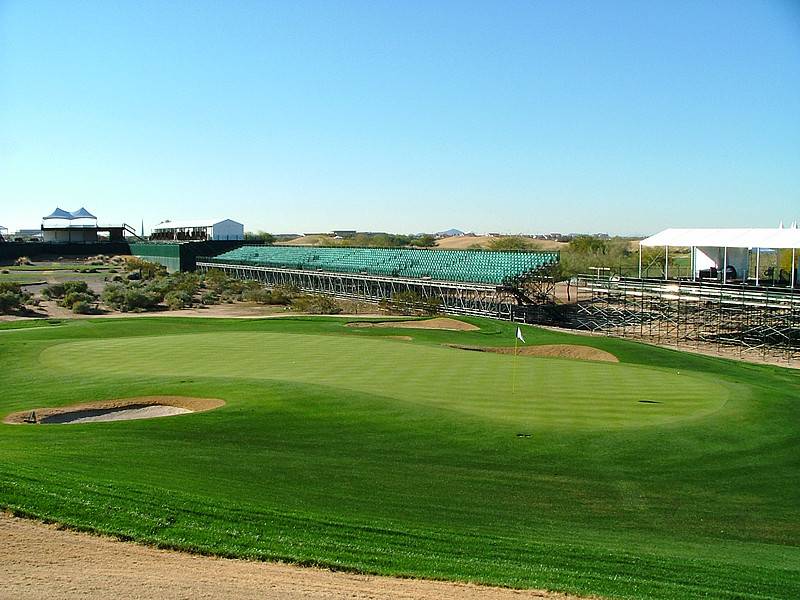
Hole 16 • Green — One of golf’s loudest and most intimidating targets
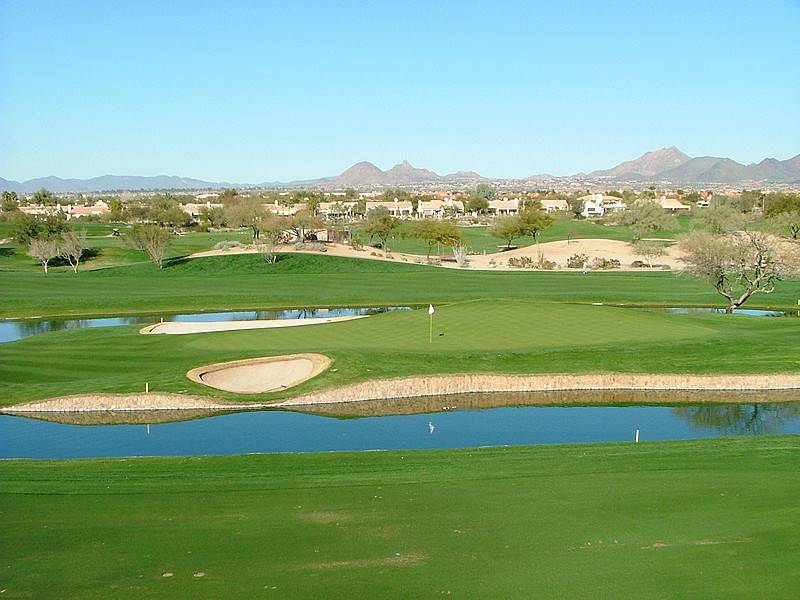
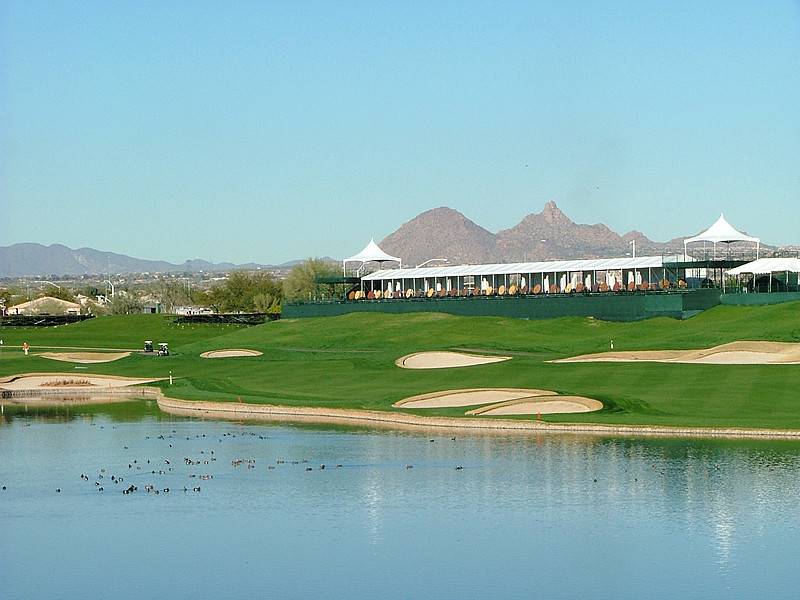
Hole 17 • Par 4 Tee Shot — Water guards the entire left side
Hole 17 • Entry View — Classic risk–reward setup off the tee
Hole 17 • Right Side View — Safer angle away from water
Hole 17 • Left Side View — Aggressive line flirts with penalty

Hole 17 • Green — Precision approach required under pressure

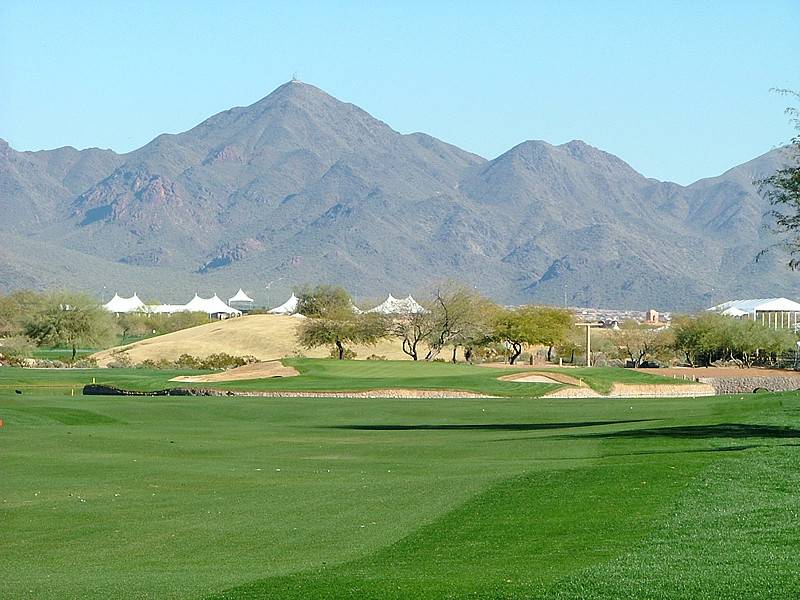
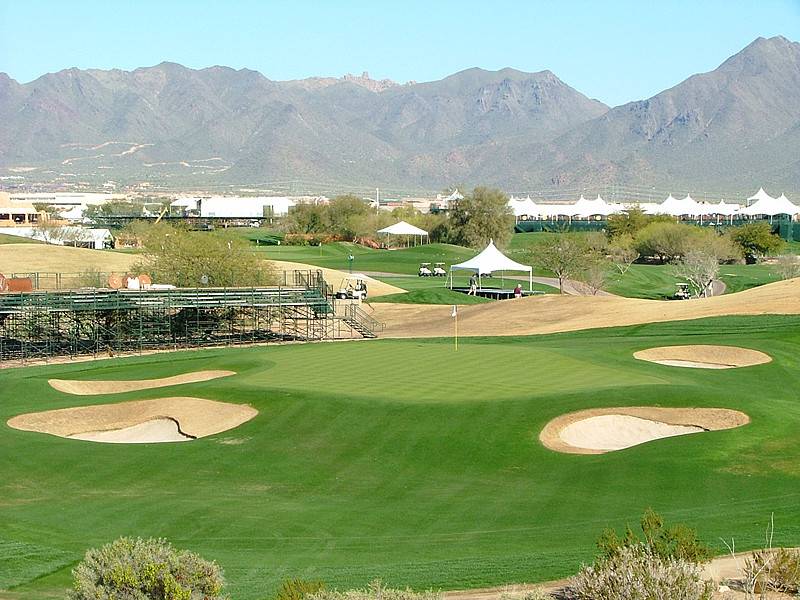
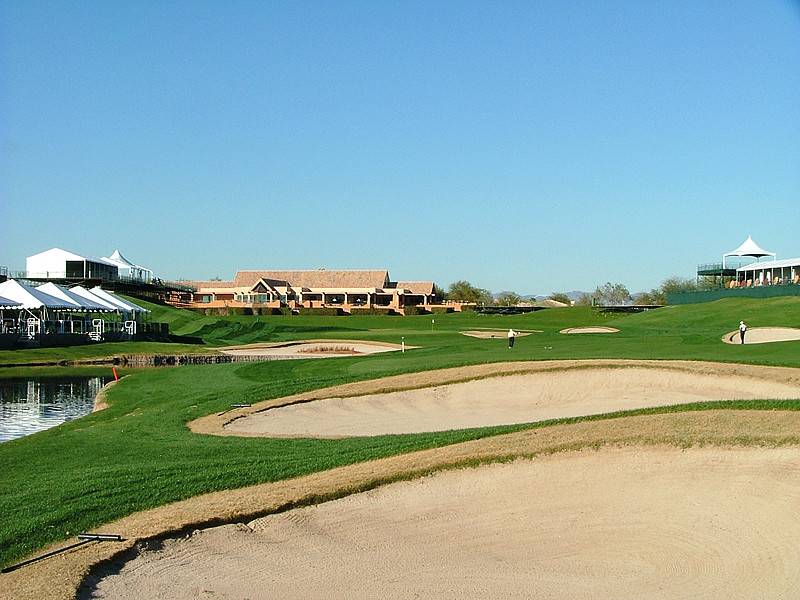
Hole 18 • Par 4 Tee Shot — Water and bunkers frame the landing zone
Hole 18 • Tee Shot — Tournament finishing drive under pressure
Hole 18 • Left Side View — Bunkers guard the green complex
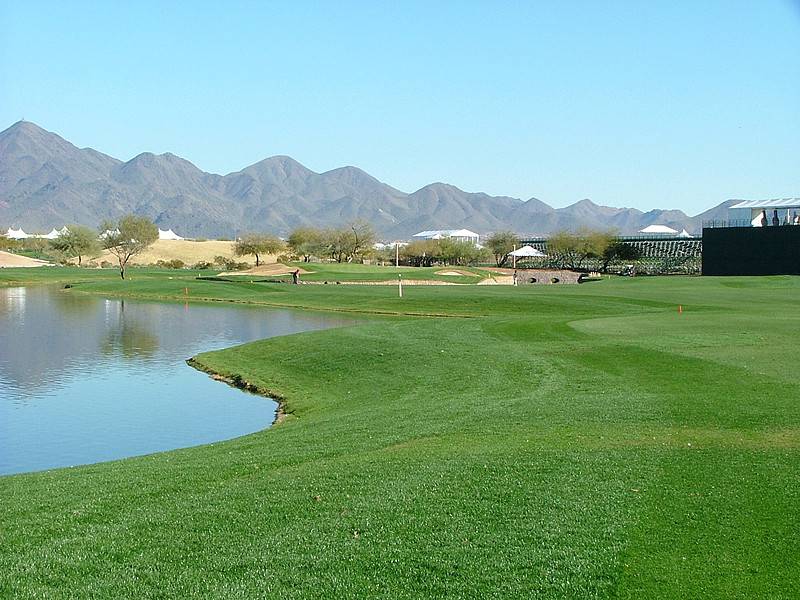
Hole 18 • Right Side View — Water shapes the approach angle
Hole 18 • Side View — Contours funnel misses toward trouble
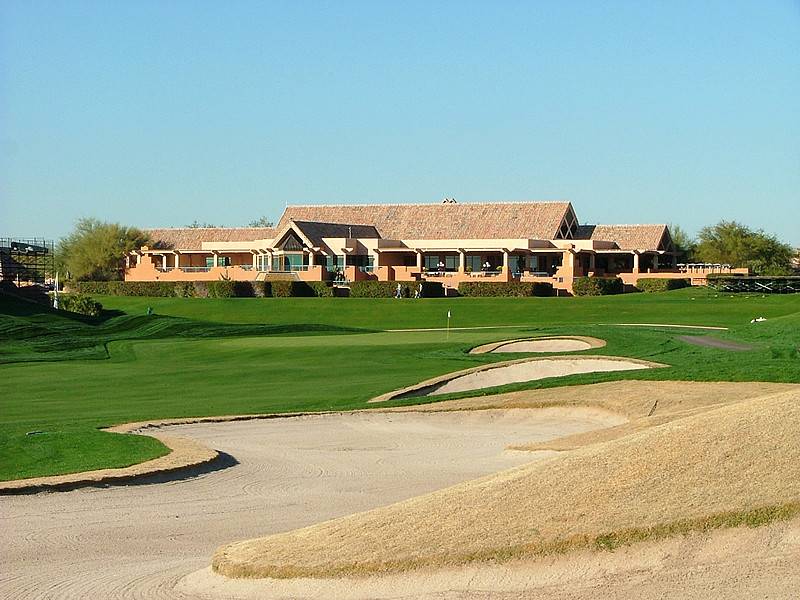
Hole 18 • Green — Classic WM Phoenix Open finish