
Hole 6 Green — Colonial’s subtle dogleg-right sixth finishes at a narrow, tricky green where missing long or right leaves a tough recovery.
Hole 7 Green Entry — A straight tee shot sets up the angle, but the approach must avoid the front-left hazard and back-left bunker.
Hole 8 • Par 3 — A three-tiered green and shifting wind make club selection and landing on the correct level the whole challenge.
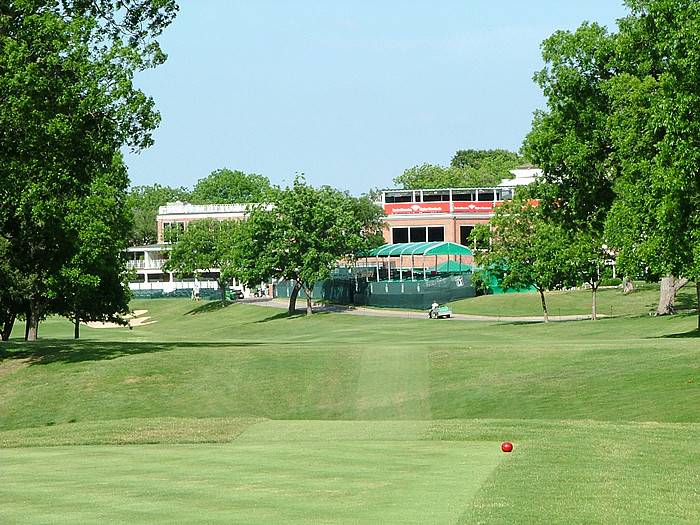
Hole 9 Tee Shot — This demanding par 4 asks players to favor the left side, keeping the right-side trees from blocking the approach.
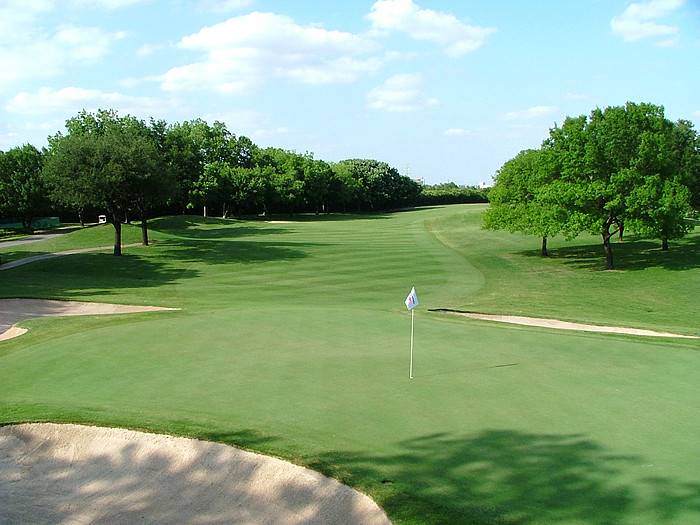
Hole 9 Second Shot — The green is well guarded, so the approach must carry far enough; short misses leave very little room to recover.
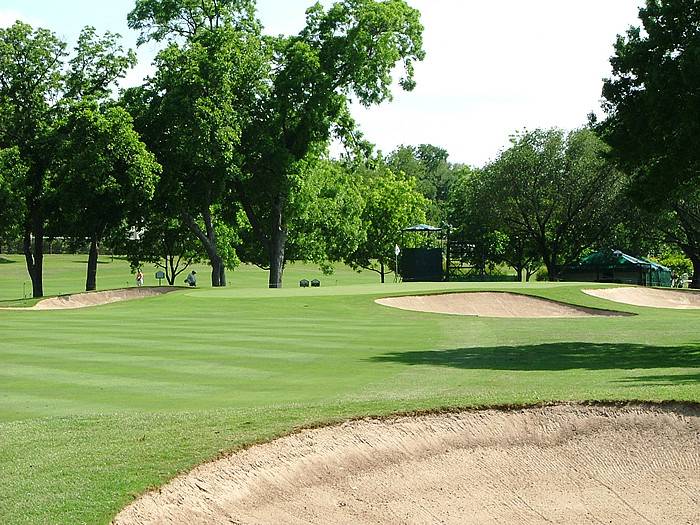
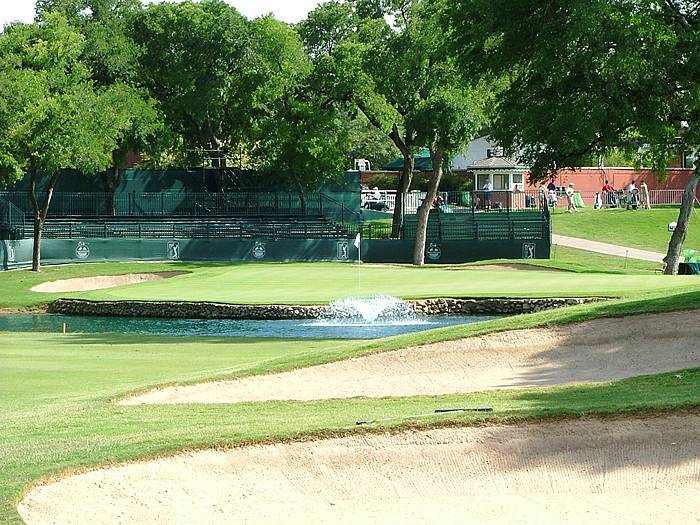
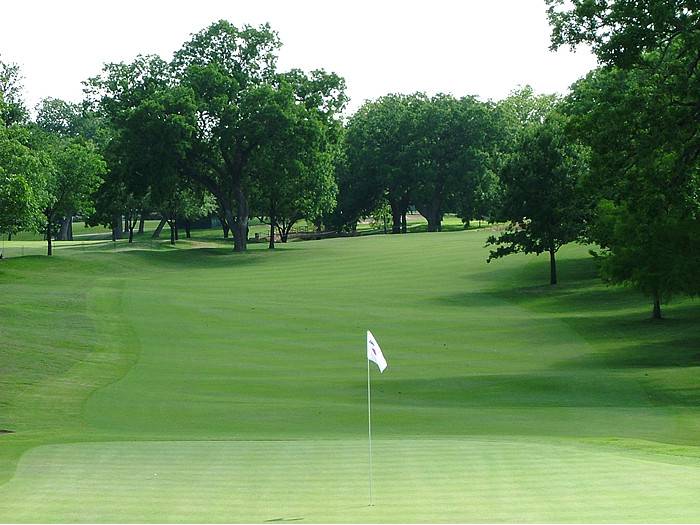
Hole 9 Green — A tough closing hole to the front nine, with wind, bunkers, and a guarded target making par a solid result.
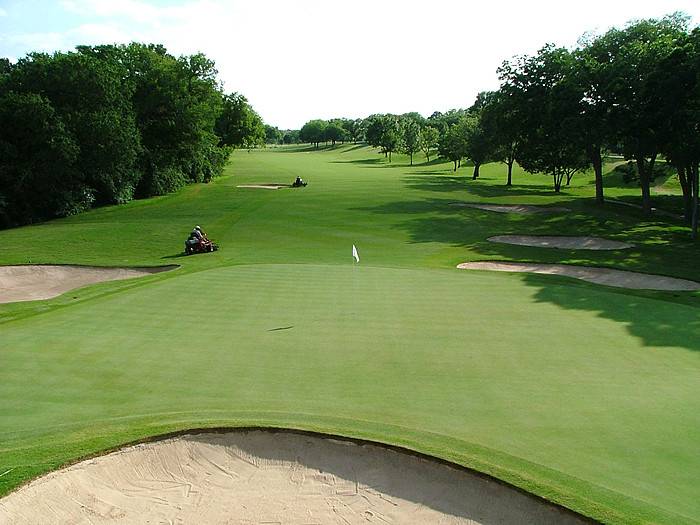
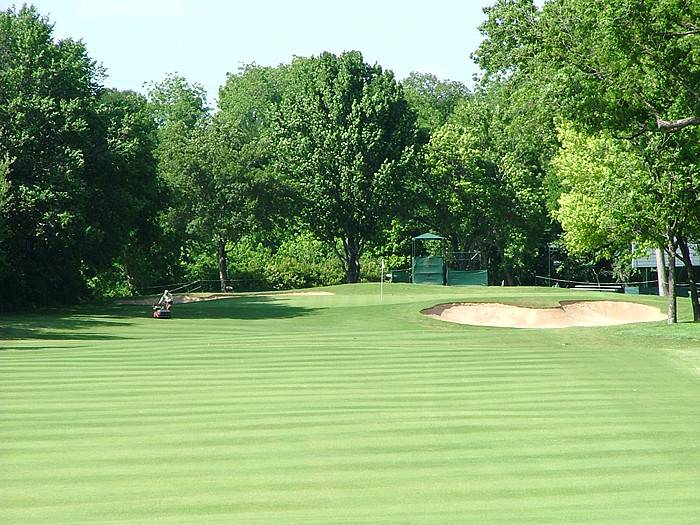
Hole 11 Green — Colonial’s longest hole offers scoring chances, but the green tilts right-to-left and falls sharply over the back edge.
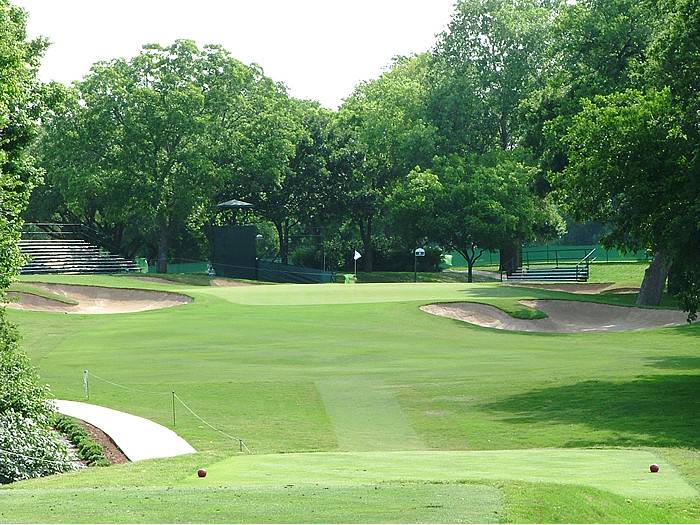
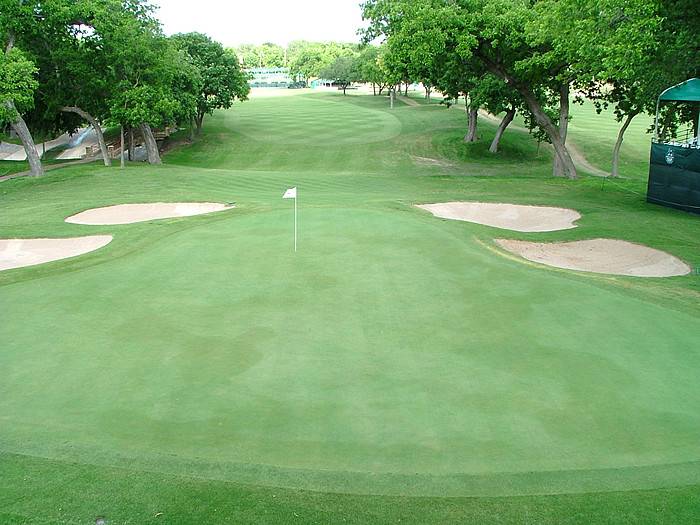
Hole 12 Green — The smallest green on the course rewards a precise approach to the correct tier and punishes loose misses around the edges.
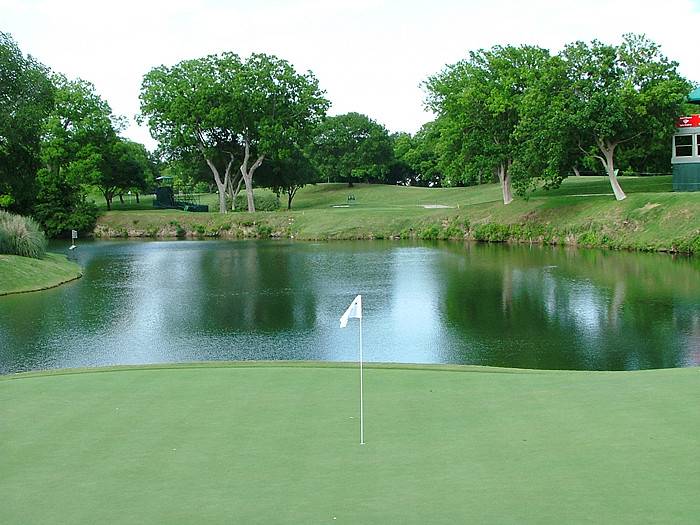
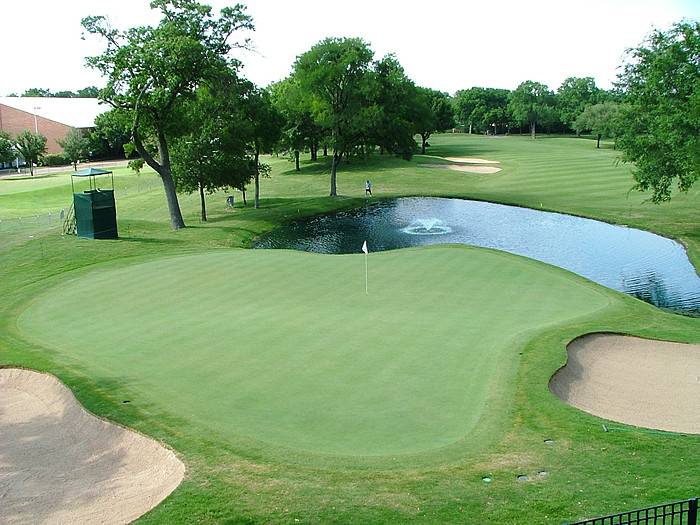
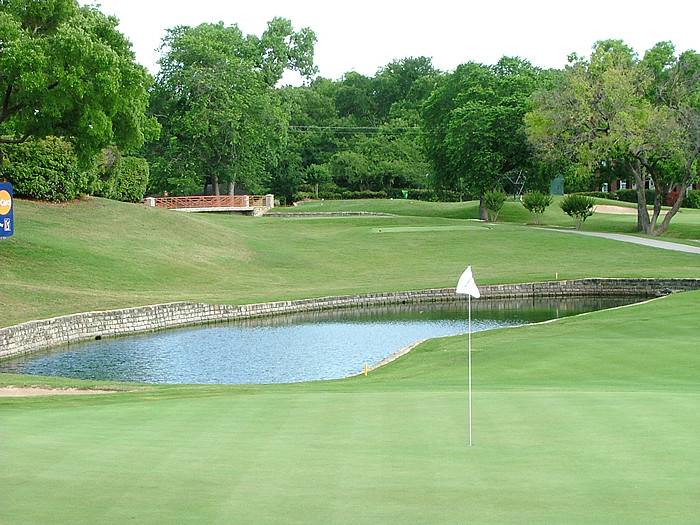
Hole 13 • Par 3 — A water-guarded par 3 where the smart play is left of center, avoiding the bunkers and the dangerous short-side miss.
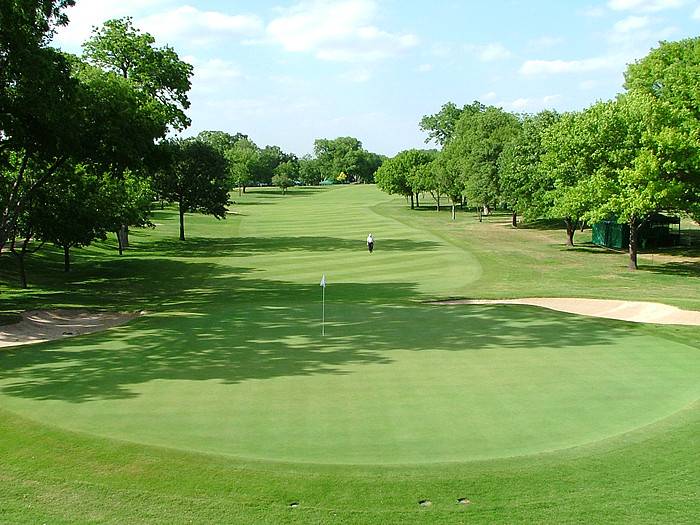
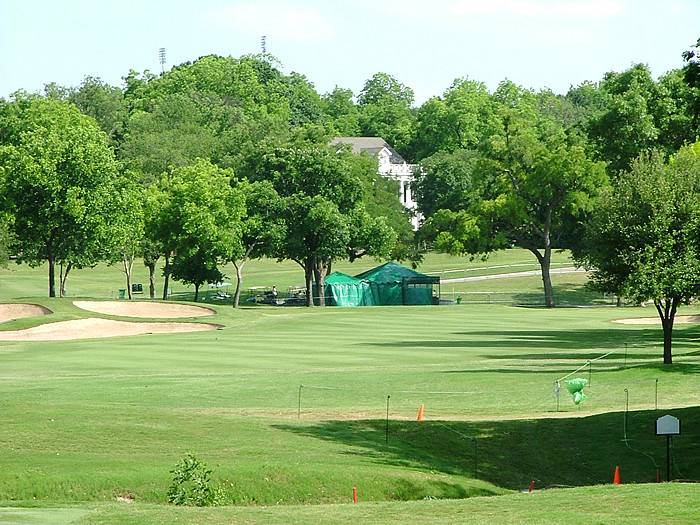
Hole 14 — The longest par 4 on the back nine favors a drive up the right side, away from the trees and bunkers left.
Hole 15 Tee Shot — Left-center is the preferred driving lane, setting up an approach where the creek and bunkers guard the green.
Hole 15 Green — The creek protects the entire left side, and the back chipping area can feed shots toward the water.
Hole 16 • Par 3 — Wind and elevation make this club choice tricky, with water near front-right pins and out-of-bounds to the right.
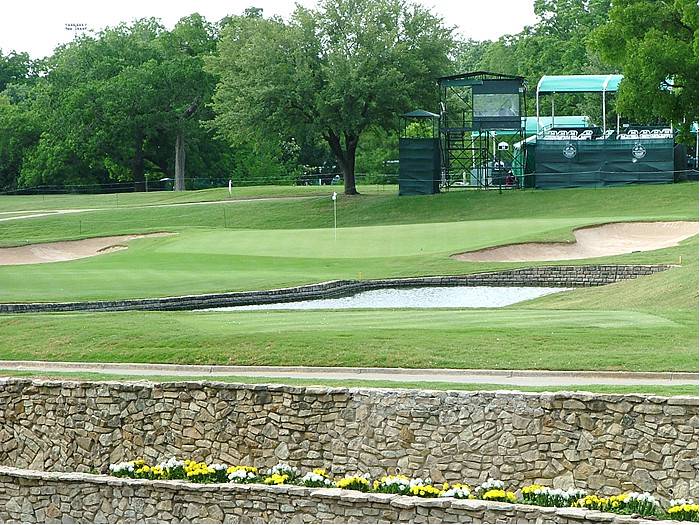
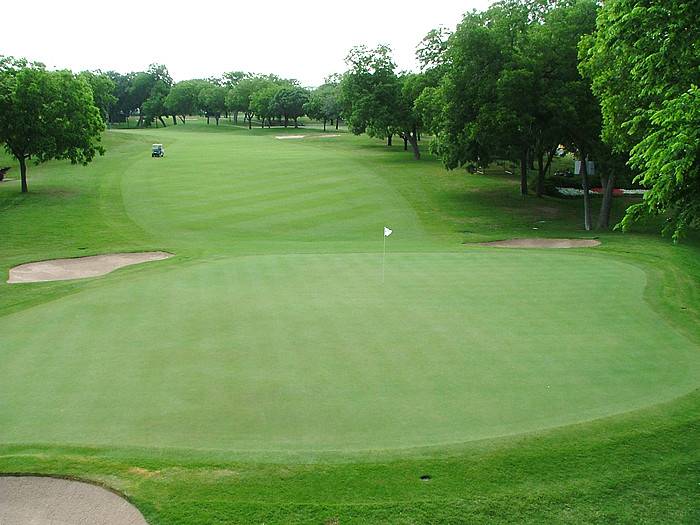
Hole 16 — One of Colonial’s toughest green complexes, where the undulation makes the safe landing number more important than the flag.
Hole 17 • Par 4 — A sneaky placement hole where long iron or fairway wood short-left opens the best angle into the green.
Hole 18 Tee Shot — Colonial’s dogleg-left finisher favors a right-to-left tee ball through the valley while avoiding trouble to the right.
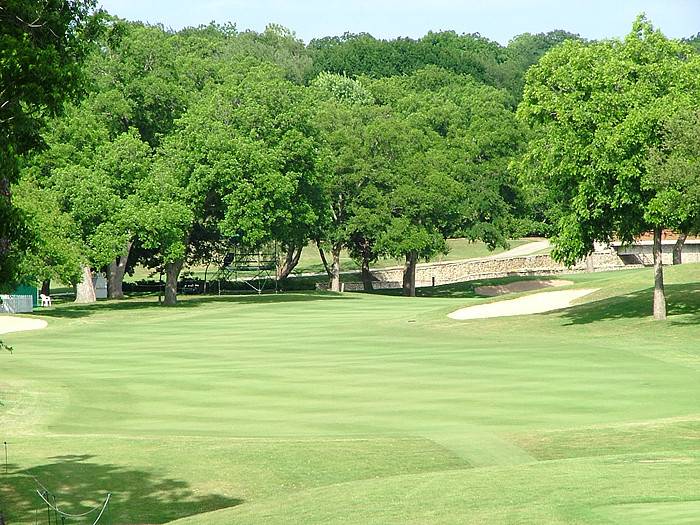
Hole 18 Second Shot — The side-hill approach can work the ball toward Crampton’s Lake, making left of the green the big danger.
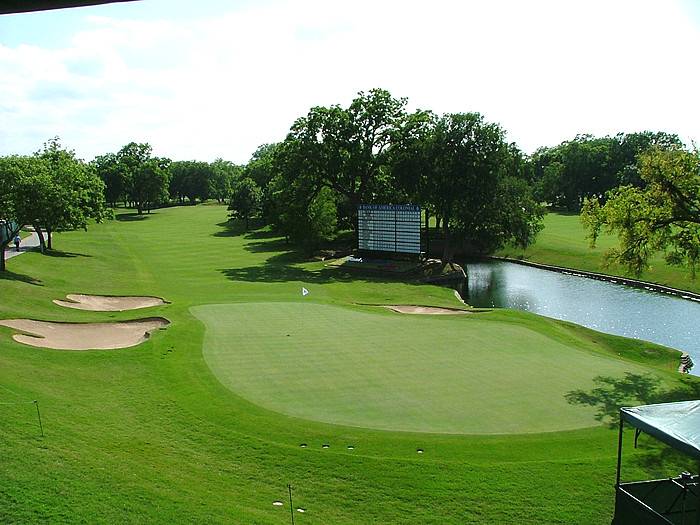
Hole 18 Green View — A classic Colonial finish, where water near the green has decided plenty of Charles Schwab Challenge drama.
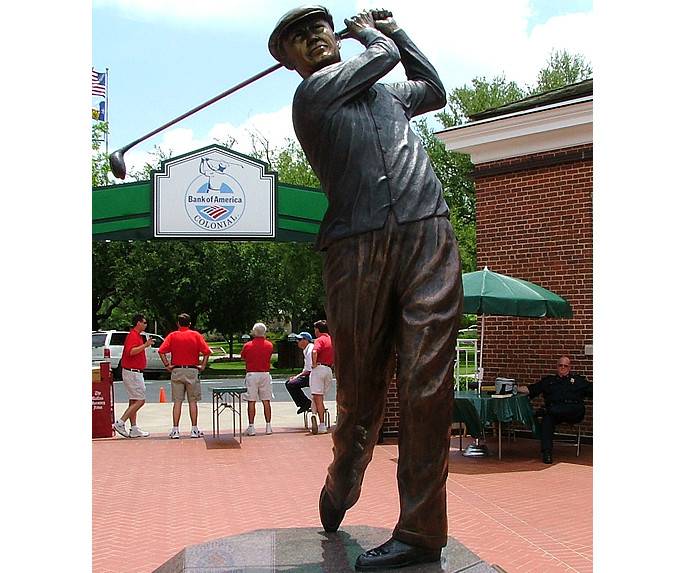
Ben Hogan at Colonial — A fitting final image for “Hogan’s Alley,” where Colonial’s shotmaking test still defines the tournament.