
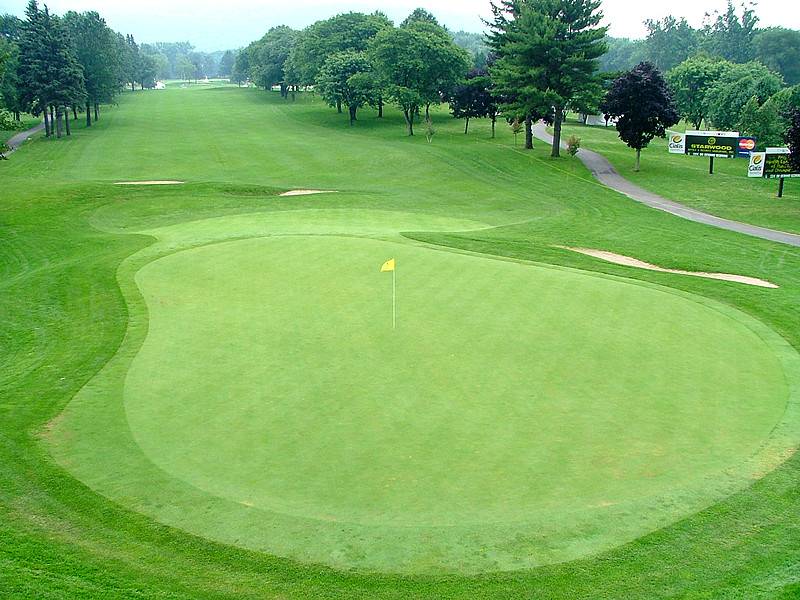
Hole 5 • Par 5 — A tree-lined parkland par 5 with bunkers short of the green, shown from behind the putting surface looking back down the reachable hole.
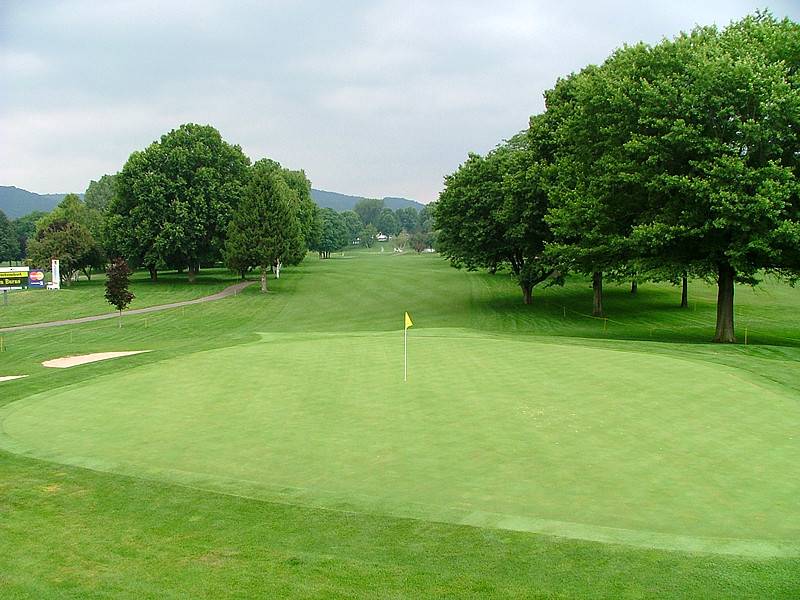
Hole 13 • Par 4 — From behind the green, the tree-lined 13th shows how corner pin locations can tighten the angle and make the approach more exacting.
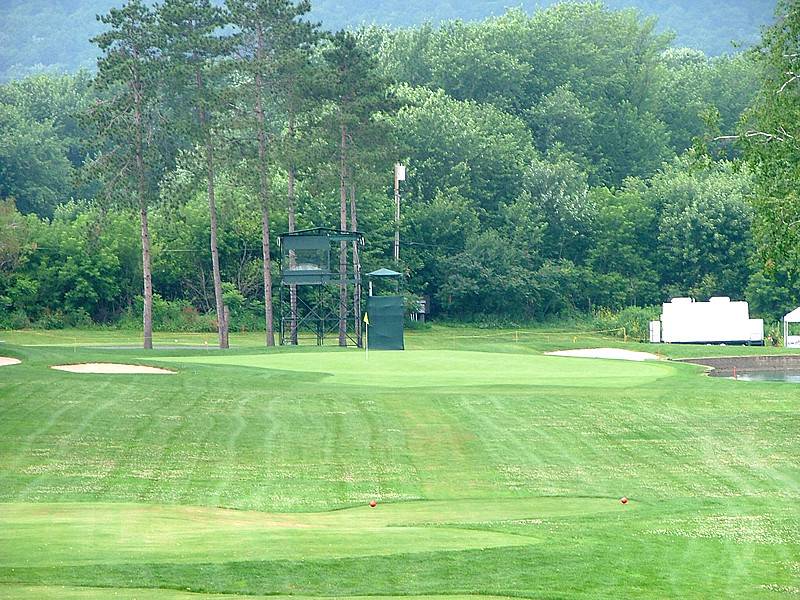
Hole 14 • Par 3 — The tee shot has to account for bunkers around the target and water waiting to the right, making distance control and start line critical.
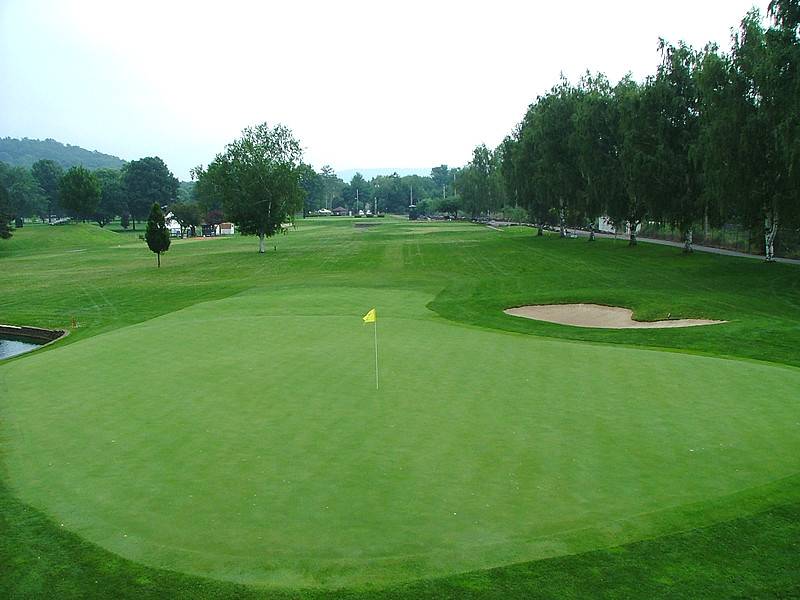
Hole 14 • Green — A closer look at the 14th green shows the kind of short-hole target where misses can quickly turn a par 3 into a scrambling test.
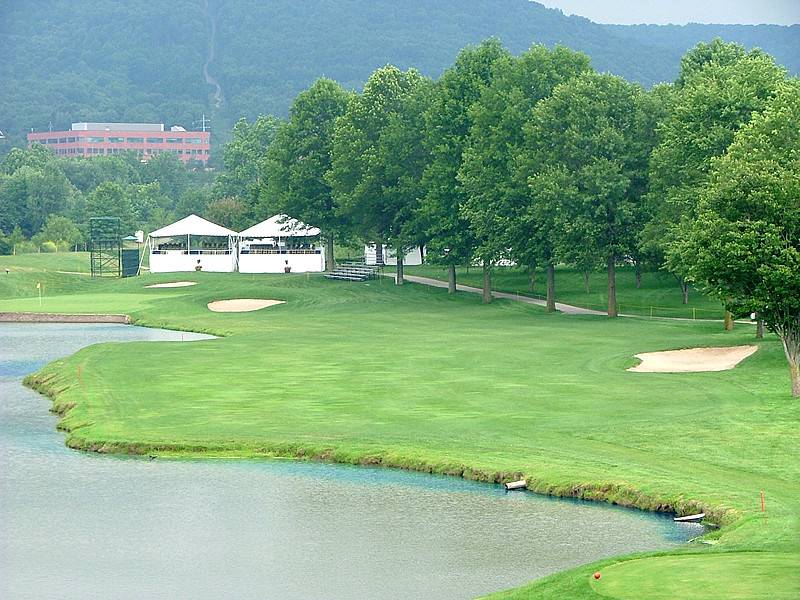
Hole 15 • Tee Shot — This par 4 asks for a committed drive with water running down the left side and continuing into play in front of the green.
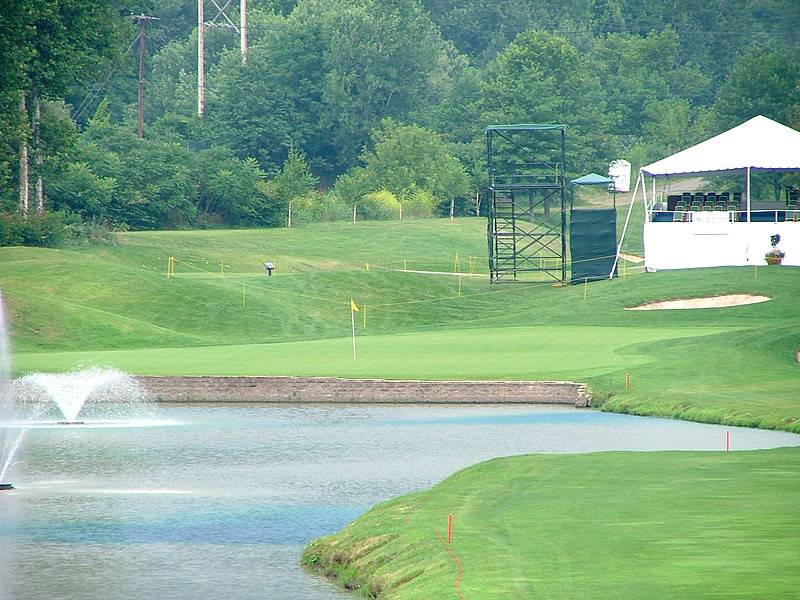
Hole 15 • Green Entry — The approach into 15 brings the water back into the player’s eye, especially near the front of the green where a cautious miss can still be costly.
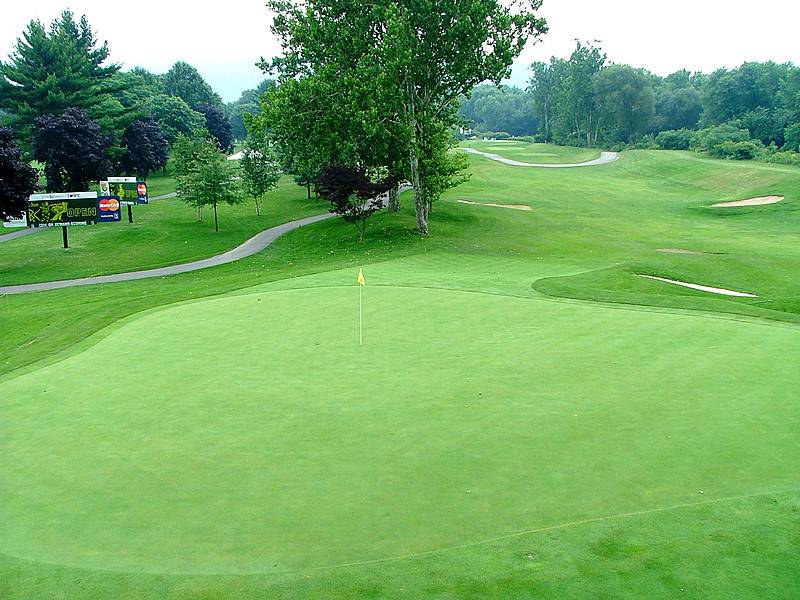
Hole 16 • Drivable Par 4 — From behind the green looking back, the 16th shows the choice clearly: challenge the trees and chase the green, or lay up for a controlled wedge.
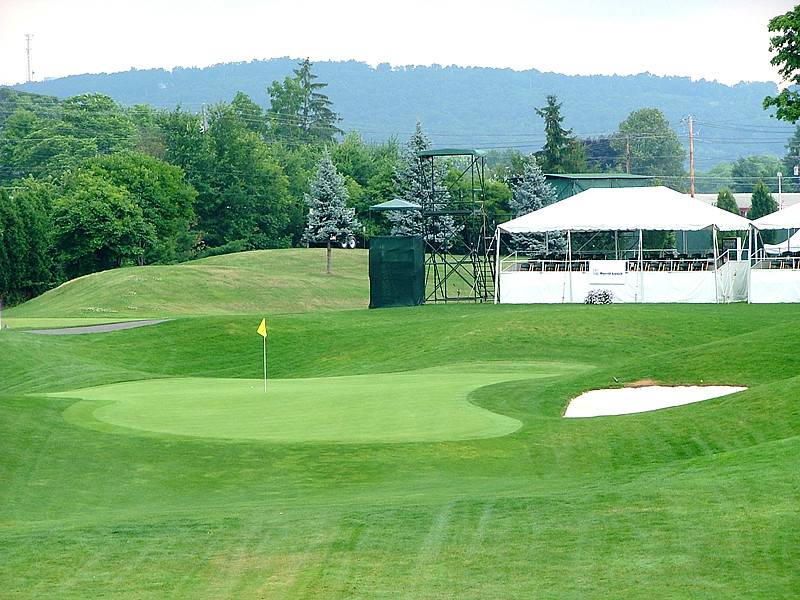
Hole 17 • Par 3 — A long, narrow green creates several good pin positions, with slope across the surface making the correct section just as important as finding the green.
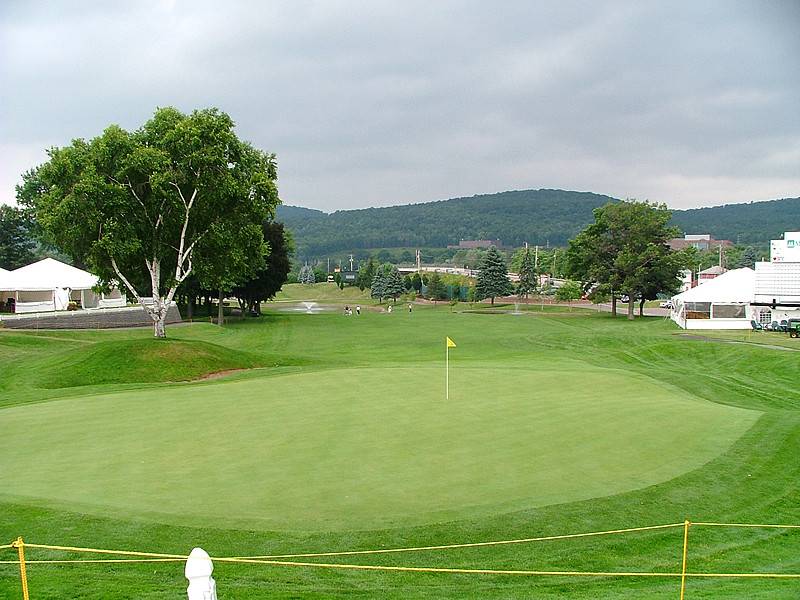
Hole 18 • Green View — Looking back down the tree-lined closing par 4, the tight uphill drive leads to a slightly elevated green with multiple pin options.