
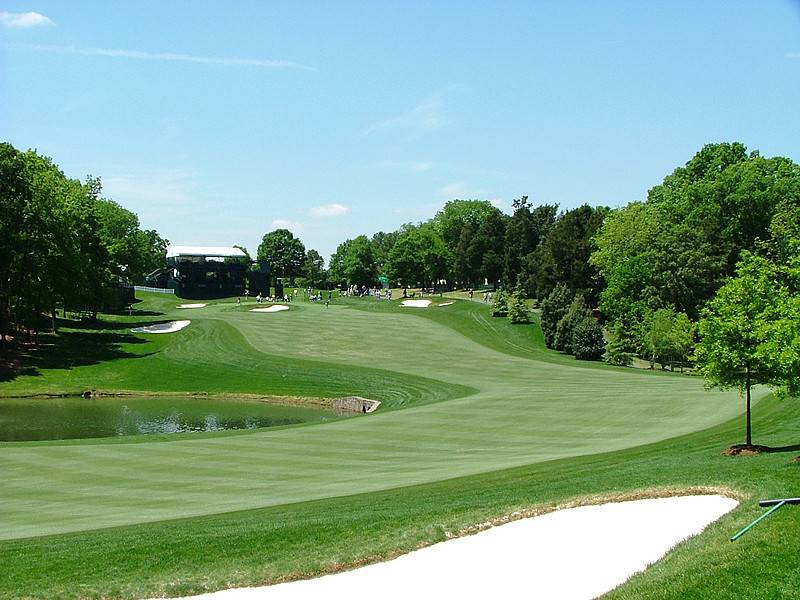
Hole 10 • Par 5 — Caddie view of Quail Hollow’s longest par 5, where the preferred tee shot works right-to-left while avoiding the big left fairway bunker.
Hole 10 • Second Shot — The approach or layup must respect the bunker short of the green and the severe closely mown runoff guarding the front-right side.
Hole 11 • Par 4 — Dogleg-left tee shot where the bold line challenges the deep left-side bunkers to create the best angle into the raised green.
Hole 11 • Second Shot — Uphill approach to a raised target with left bunkers, a false front, and a green that gets tougher when the hole is cut deep.
Hole 11 • Green View — Behind-the-green look showing the raised surface, center ridge, and the back section that can run away from incoming shots.
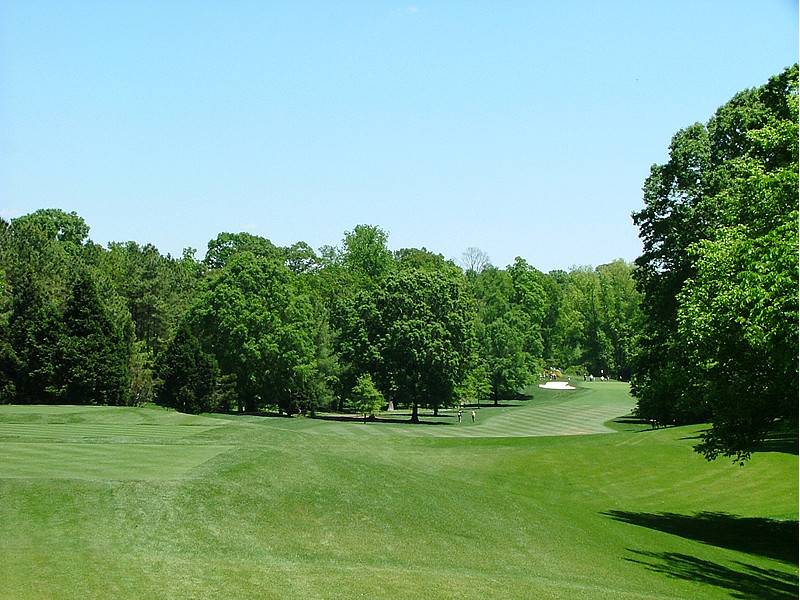
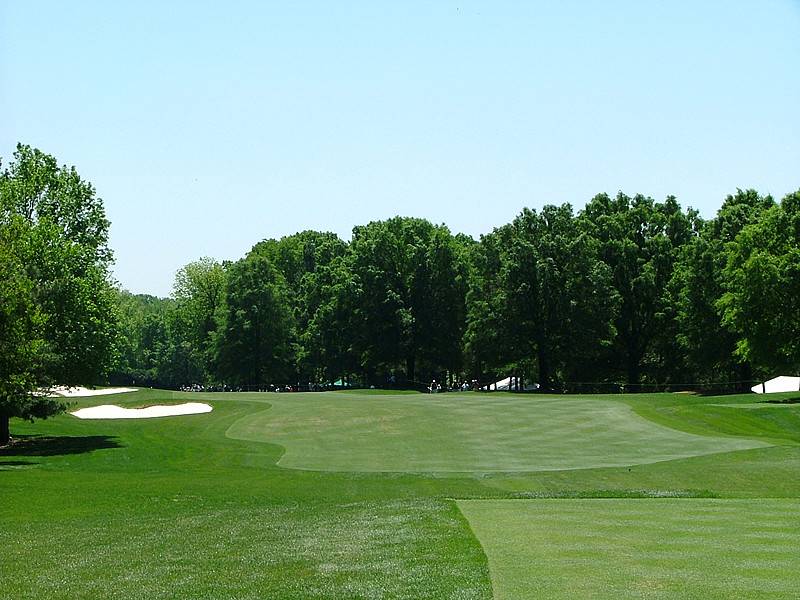
Hole 12 • Par 4 — Demanding driving hole that asks for a left-to-right shape through a narrow, tree-lined fairway corridor.
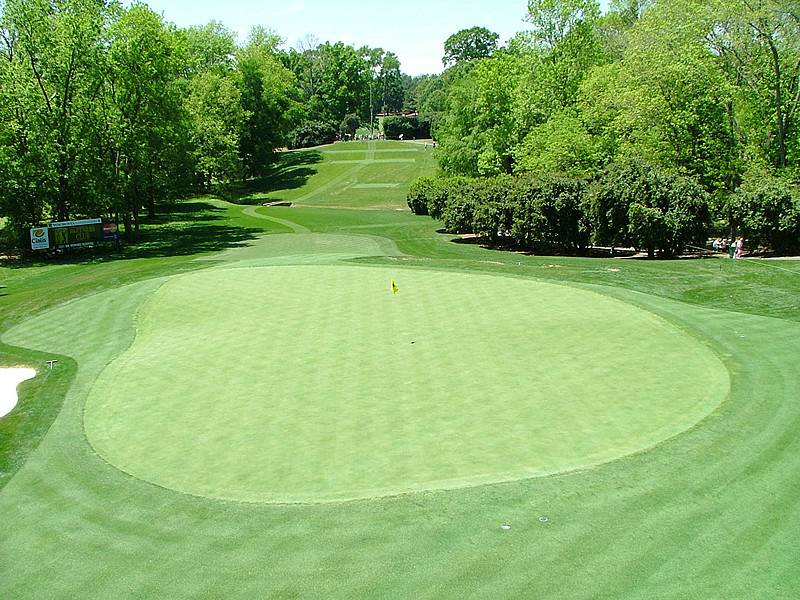
Hole 12 • Second Shot — Caddie angle into one of Quail Hollow’s trickier greens, where the false front and tiered surface can reject shots short.

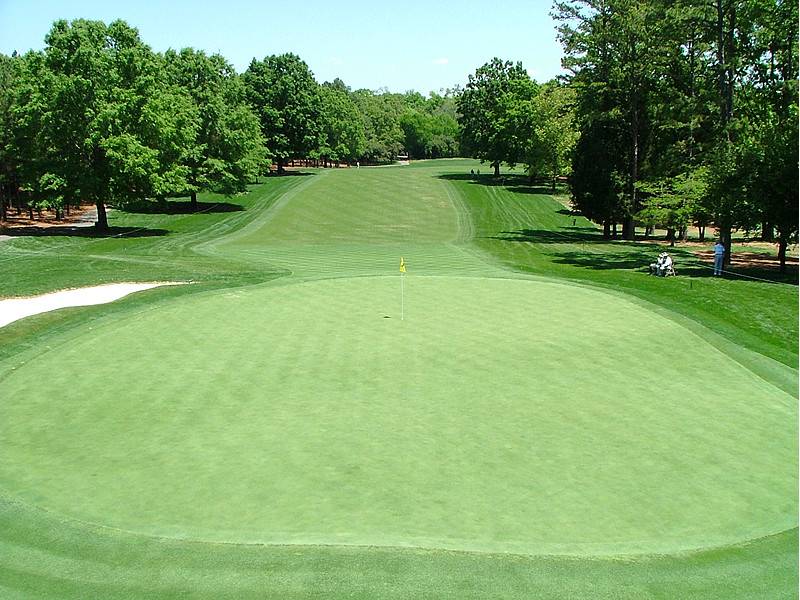
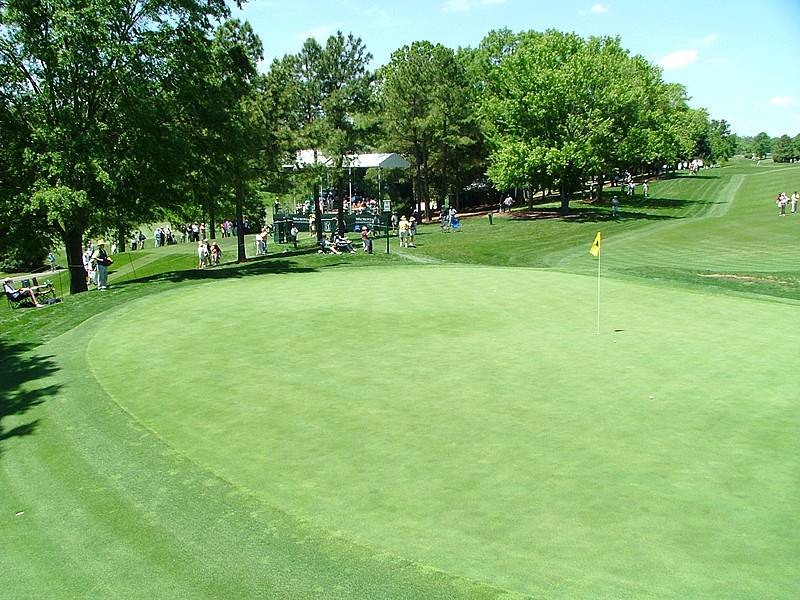
Hole 12 • Green View — The ridge splits the front and back sections, making back-tier hole locations especially demanding for distance control.
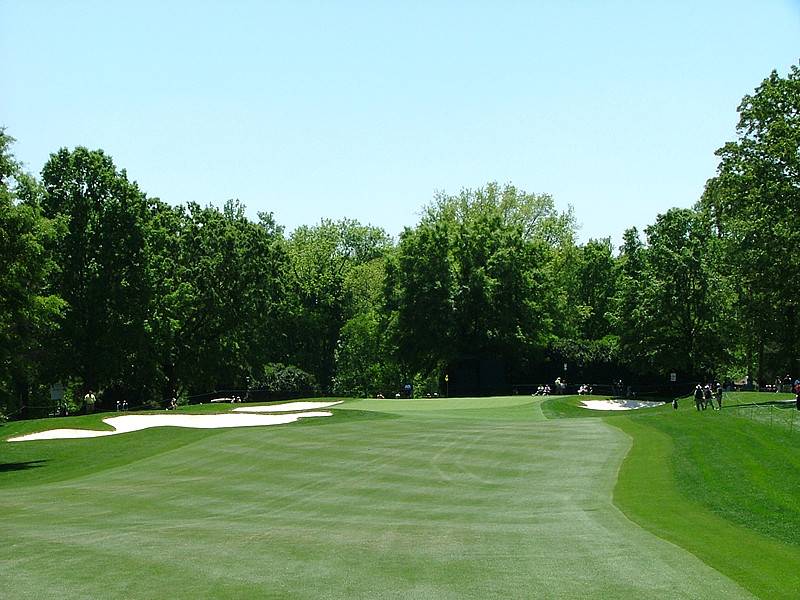
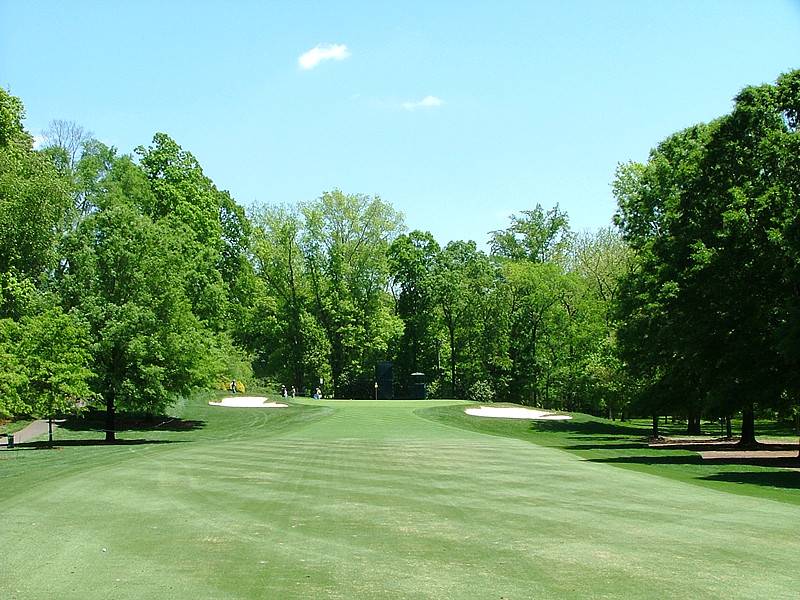
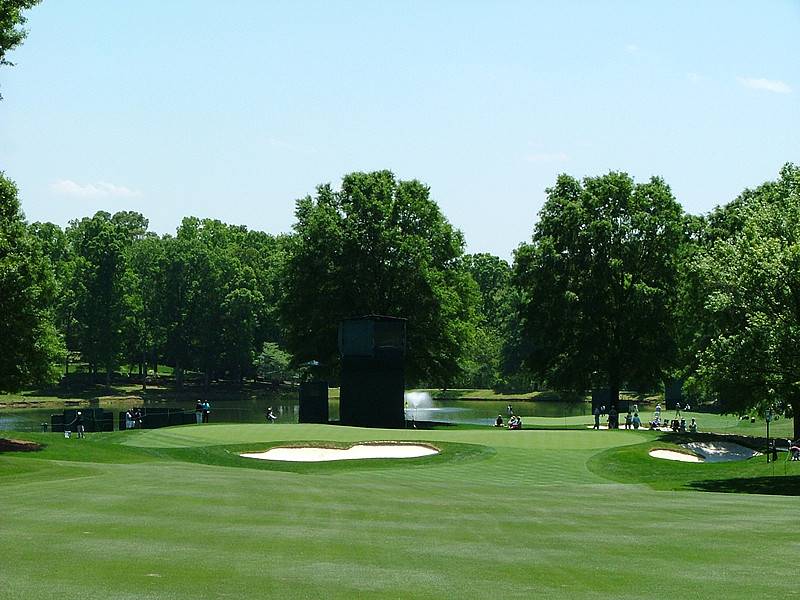
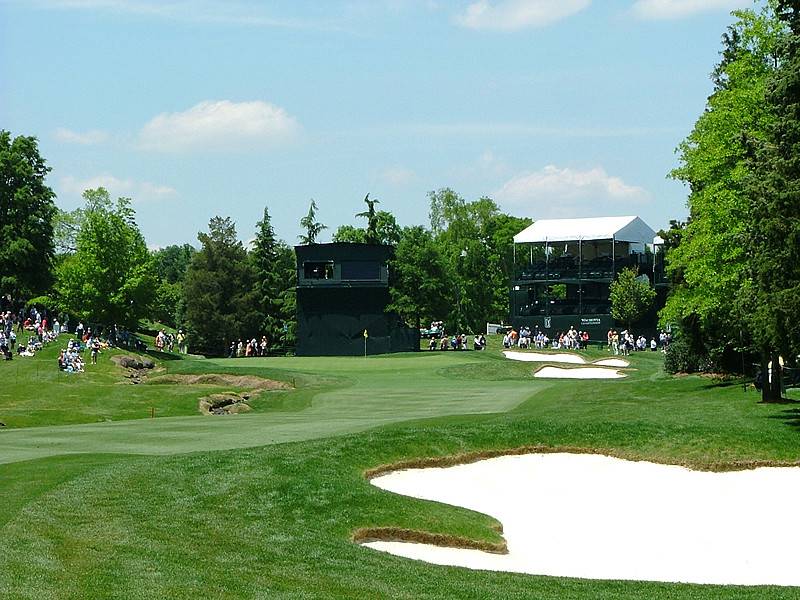
Hole 13 • Par 3 — Long par 3 with a severe false front, where shots coming up short can feed well back down the approach.
Hole 13 • Green View — Back-to-front pitch and a closely mown right-side collection area make this green a tough hold from the tee.
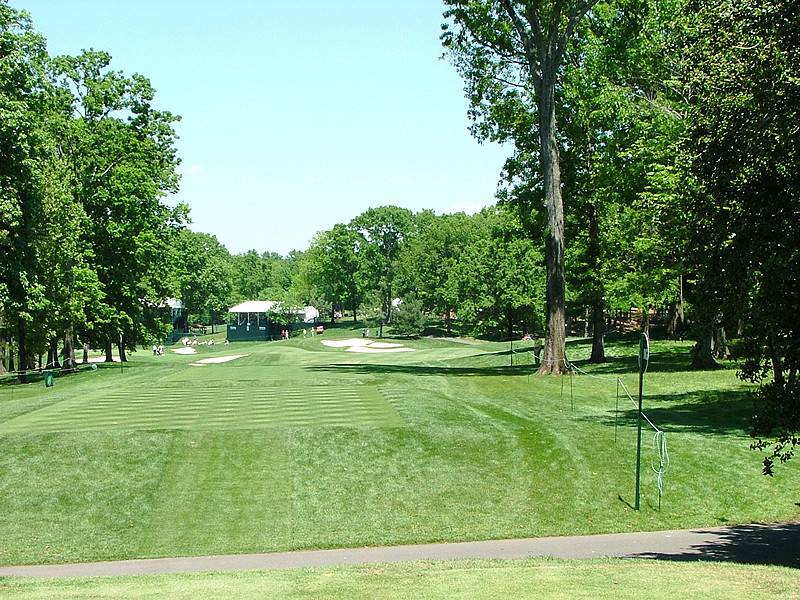
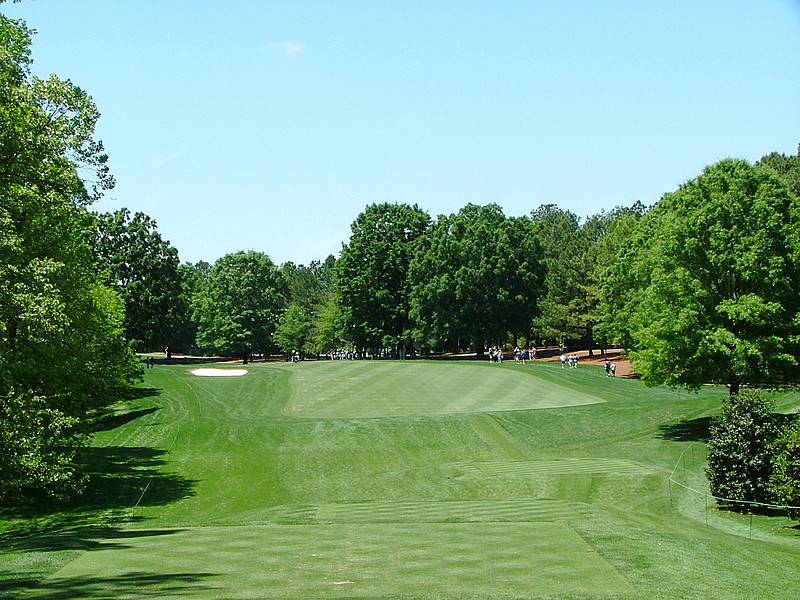
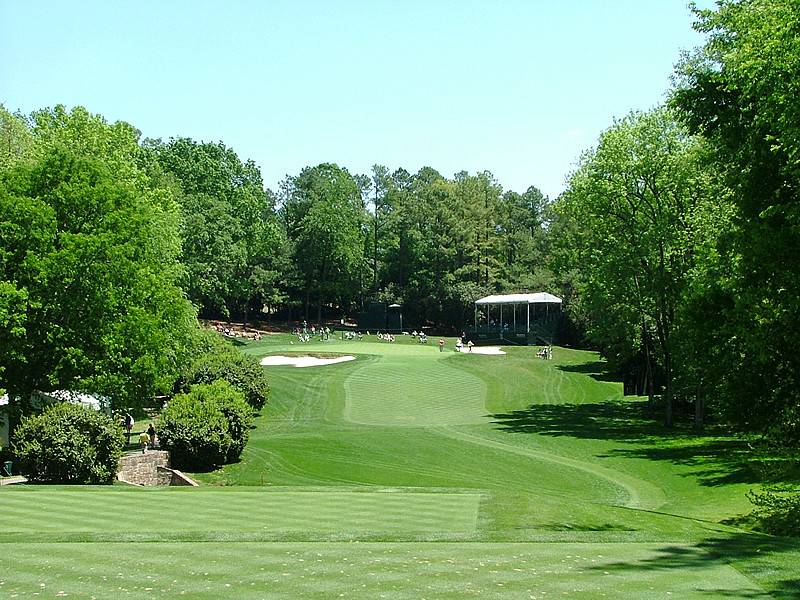
Hole 14 • Par 4 — Short risk-reward hole where players can lay up short of the trouble or chase the green with the right shape.
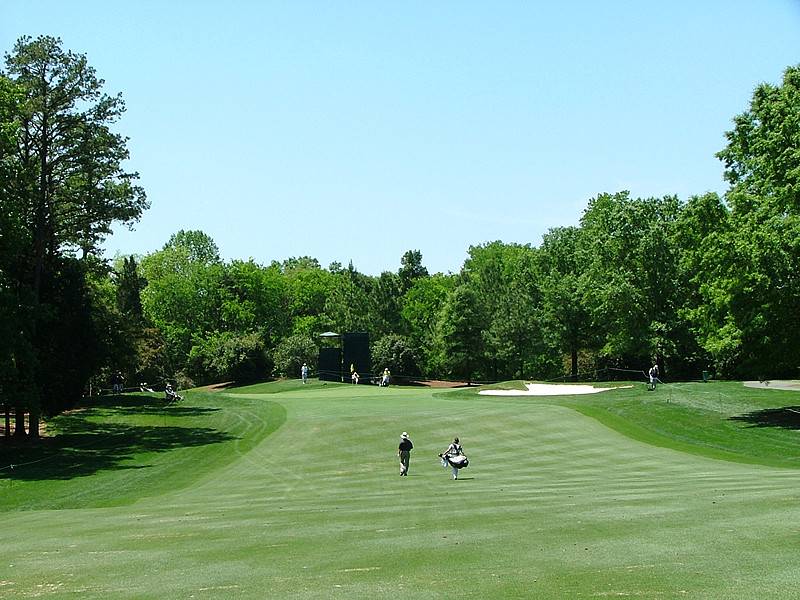
Hole 14 • Second Shot — Precise wedge or pitch into a long, narrow green protected by water left, bunkers, and a front-right runoff.
Hole 14 • Green View — Caddie look at the danger-packed target, where anything missing left can release all the way toward the water.

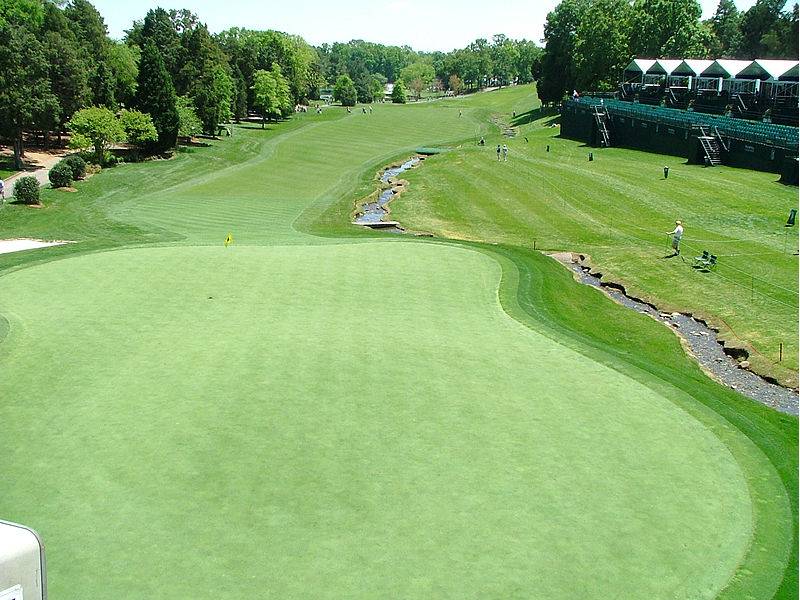
Hole 15 • Par 5 — Open tee shot that still favors a right-to-left move down the left side to set up the uphill second.
Hole 15 • Second Shot — Uphill second or layup zone with a left bunker in play and a demanding green complex waiting ahead.
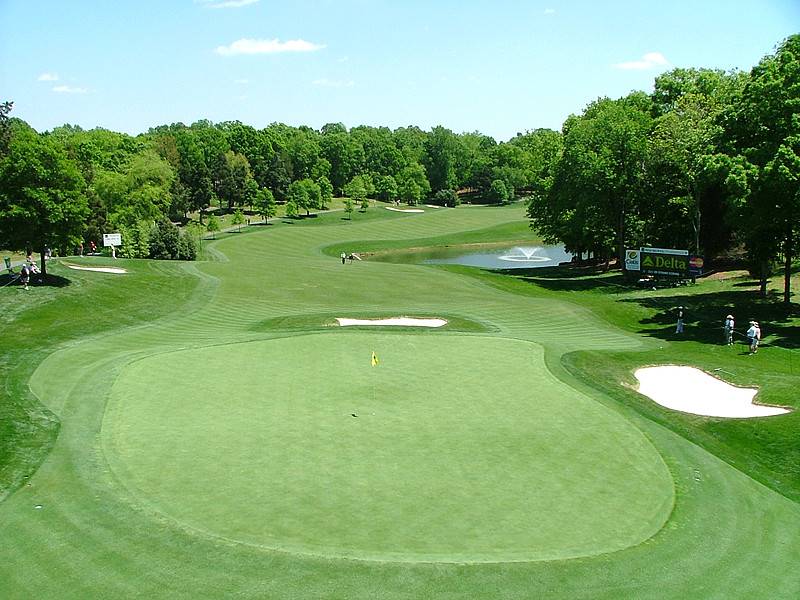
Hole 15 • Green View — Back-to-front green with a center front bunker, closely mown edges, and a spine that splits front pin positions.
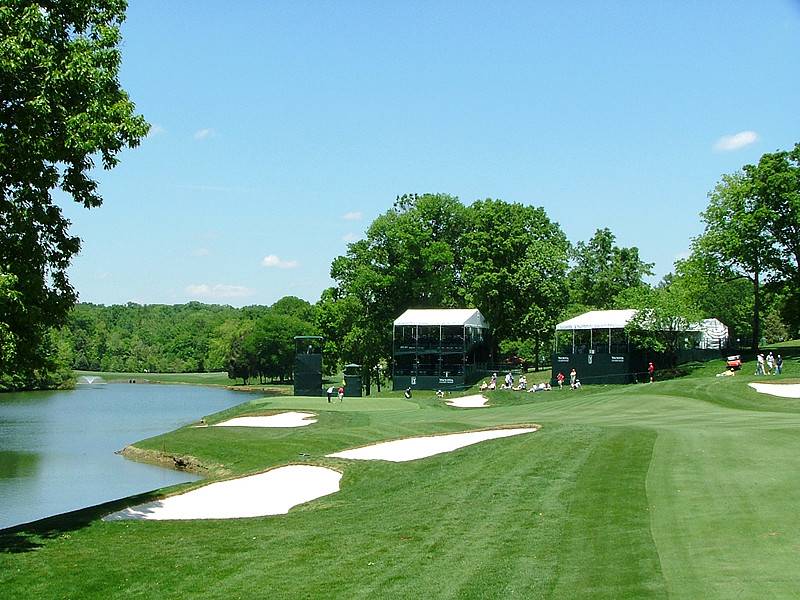
Hole 16 • Par 4 — Demanding tee shot where a controlled left-to-right flight avoids the right bunker and the steep left side near water.
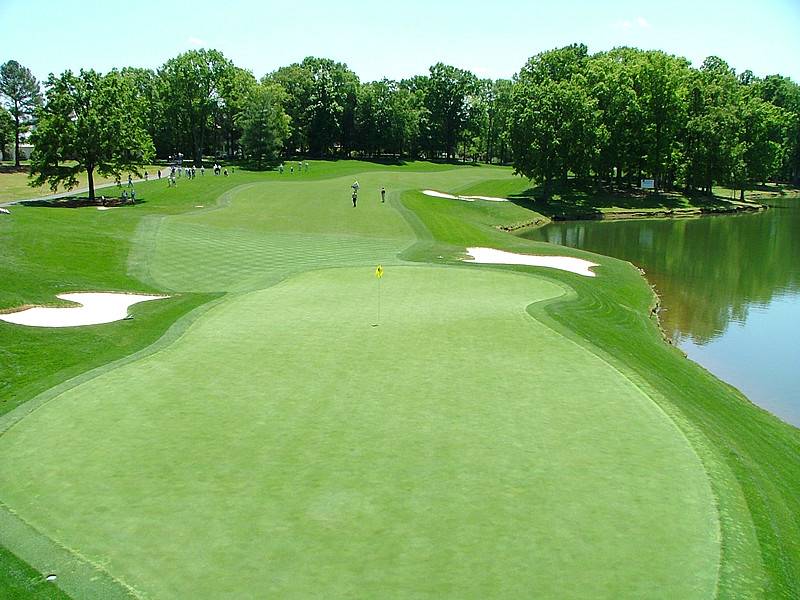
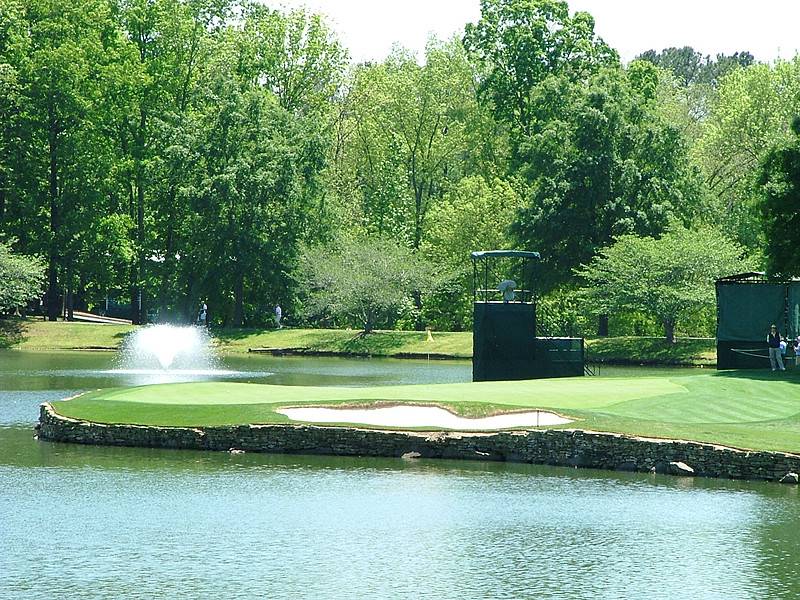
Hole 16 • Second Shot — Downhill approach to a peninsula-style green with water left and long, making distance control the caddie’s first concern.
Hole 16 • Green View — Large target, but the water and right bunker make the proper landing number more important than the size suggests.
Hole 17 • Par 3 — Treacherous par 3 with water in front and along the left, forcing a committed tee shot to the correct tier.
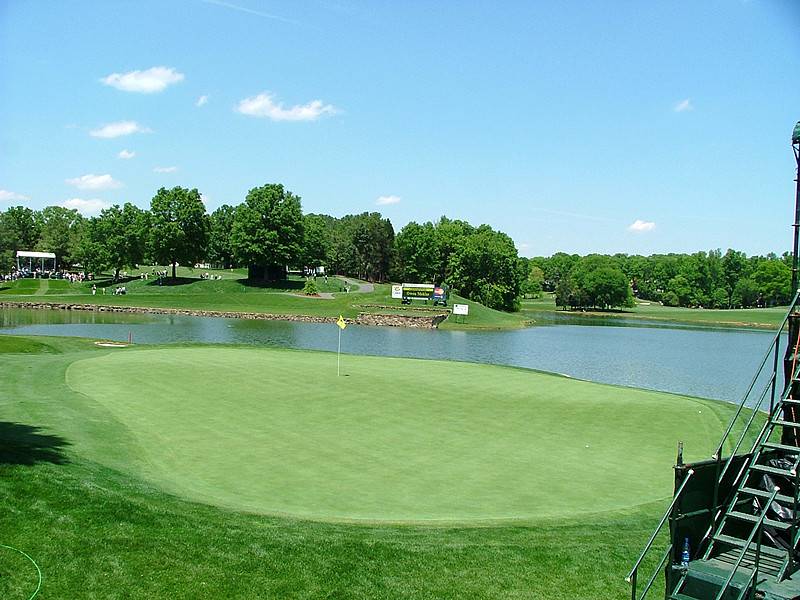
Hole 17 • Green View — The right bailout leaves a pitch to a green running away toward water, so the safe miss still demands touch.
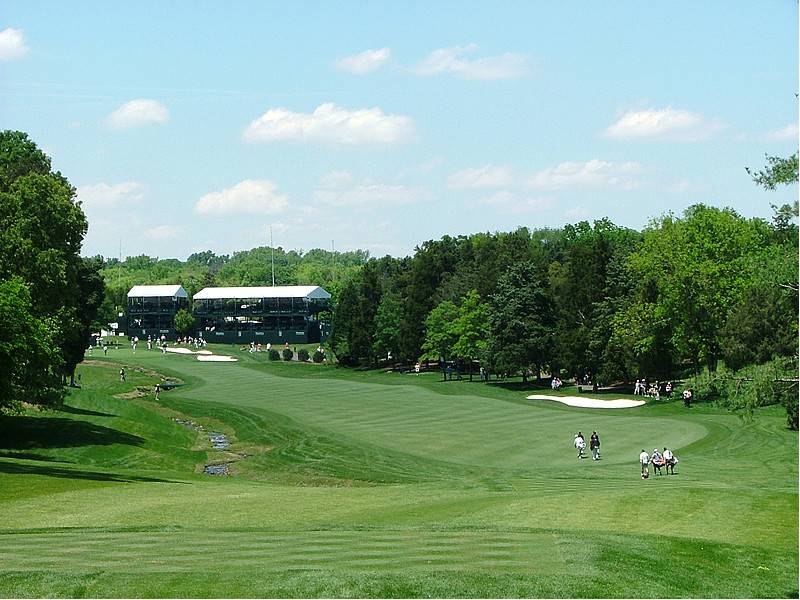
Hole 18 • Par 4 — One of Quail Hollow’s toughest finishers, with a downhill tee shot, right bunker, and creek tracking the entire left side.
Hole 18 • Second Shot — Slightly uphill approach where the creek tightens the left side and the right bunkers guard the safer-looking miss.
Hole 18 • Green View — Final green features a false front and central ridge, splitting the target into two demanding finishing sections.