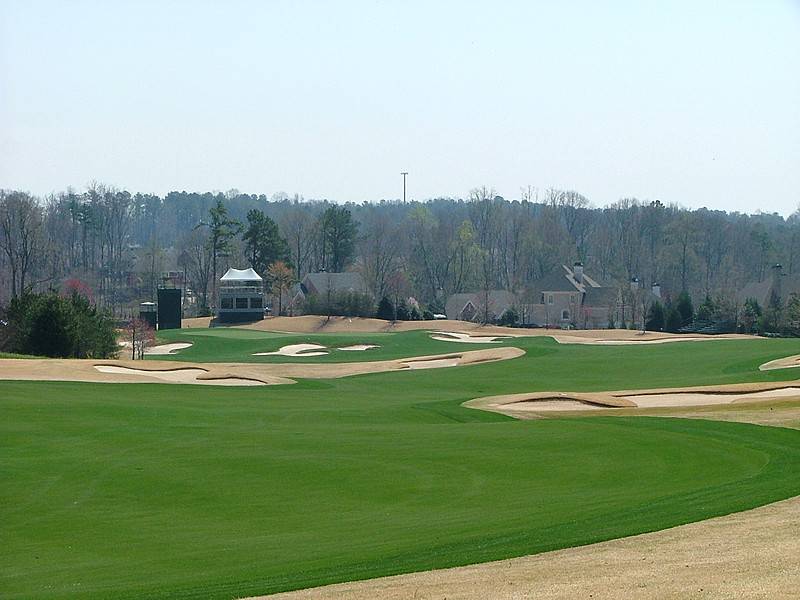
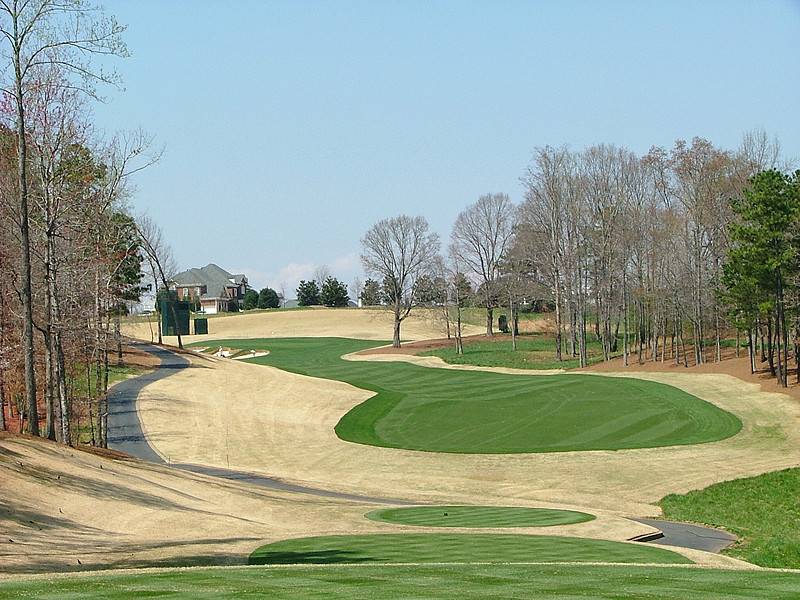
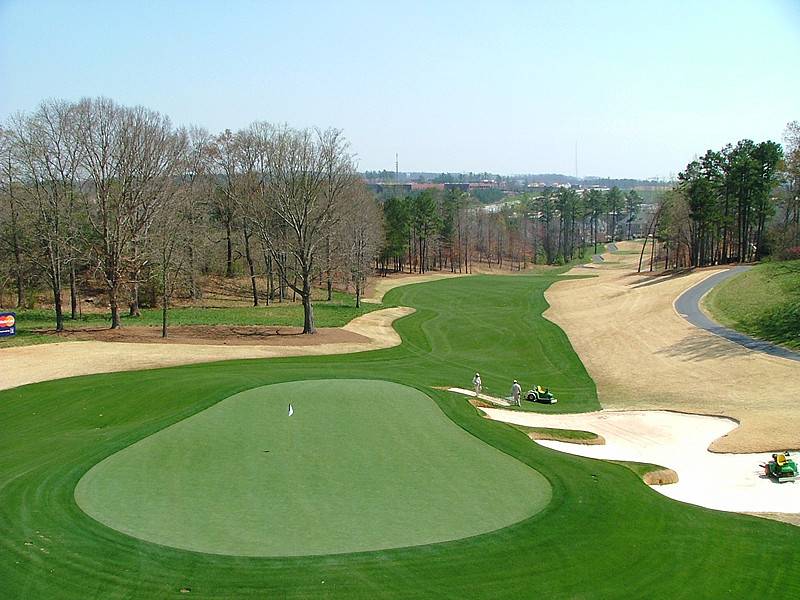
Hole 10 • Par 5 — Long par 5 dogleg. Second shot view—bunkers in view off the tee, bunkers carried in view for a layup shot.
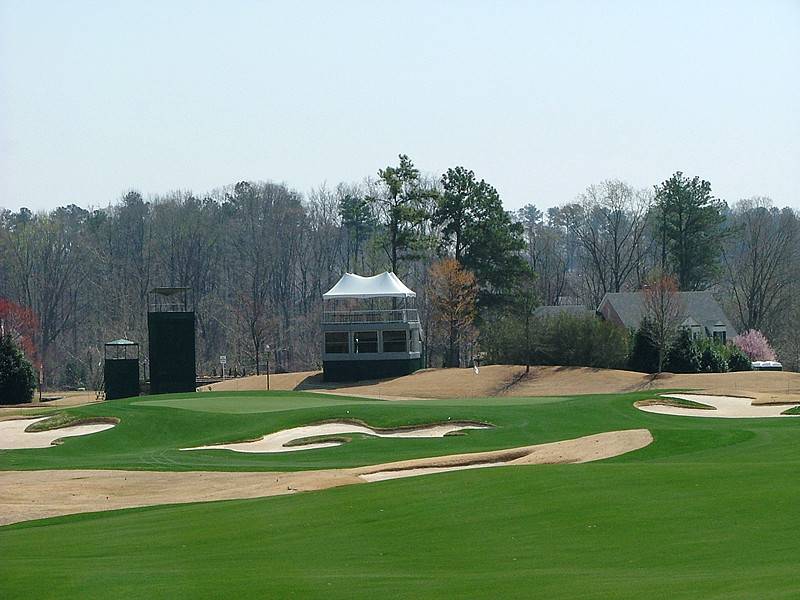
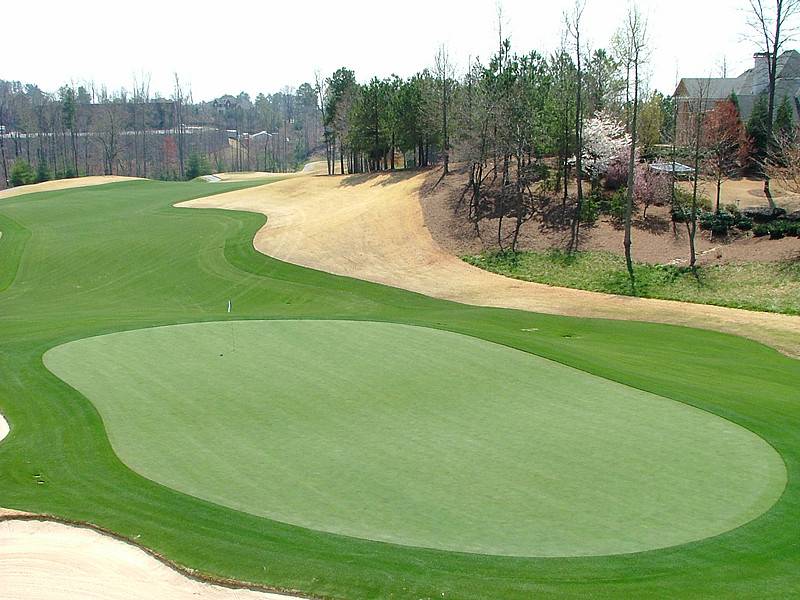
Hole 10 • Layup View — Third shot view to an elevated front green on the right, green that goes away from front right to back left, multiple tiers.
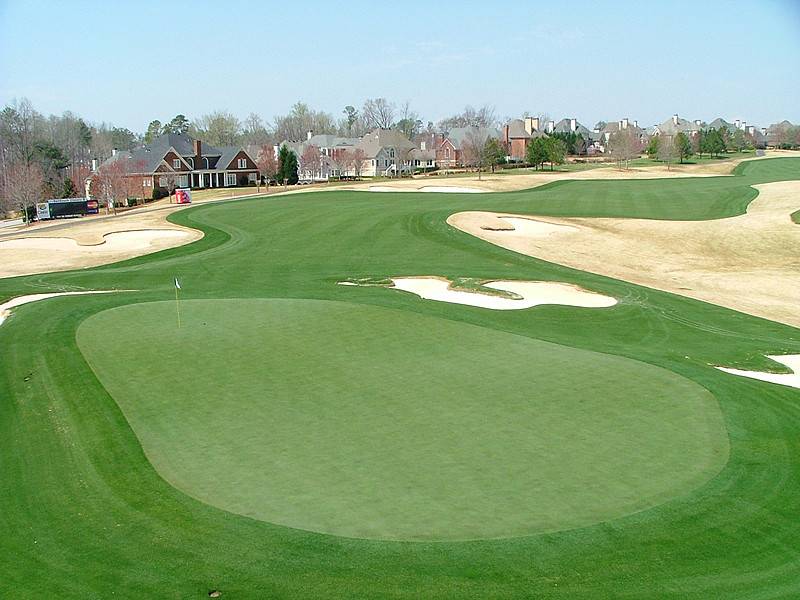
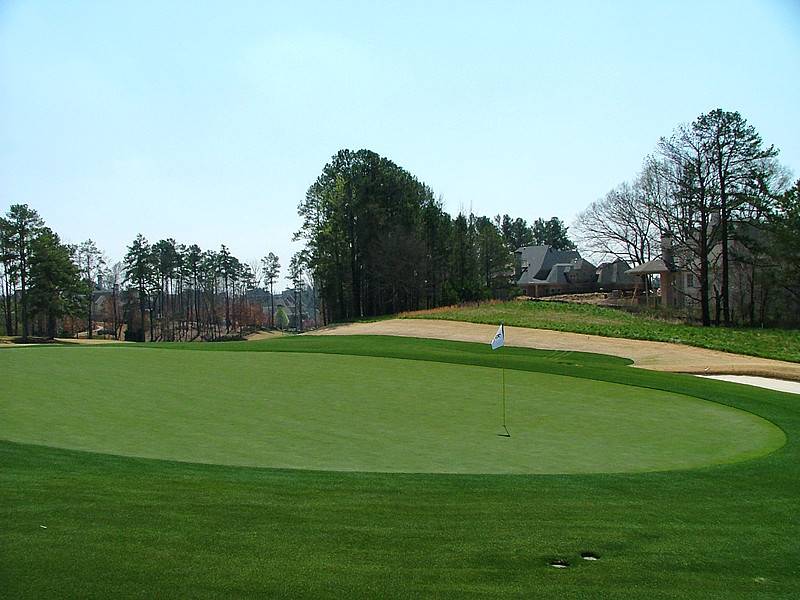
Hole 10 • Green — Behind-green Above and behind green, front right to back left, green tapers away.
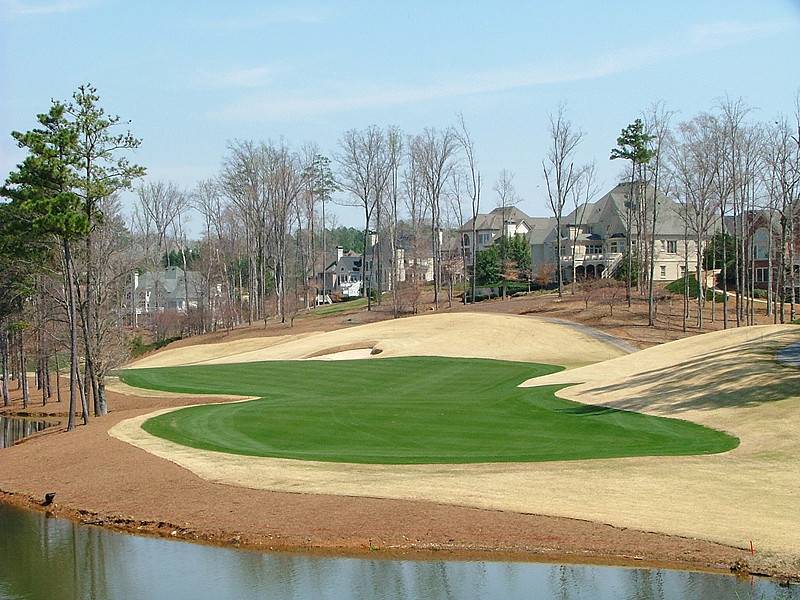
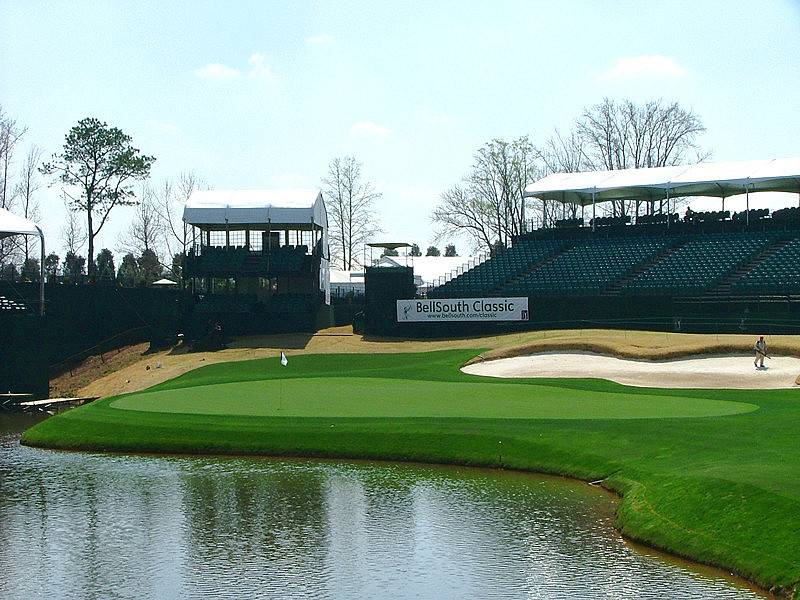
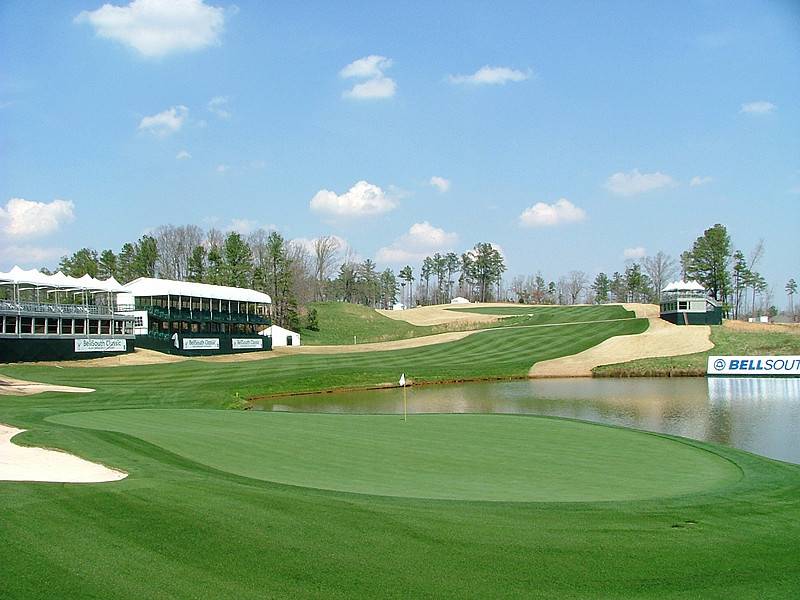
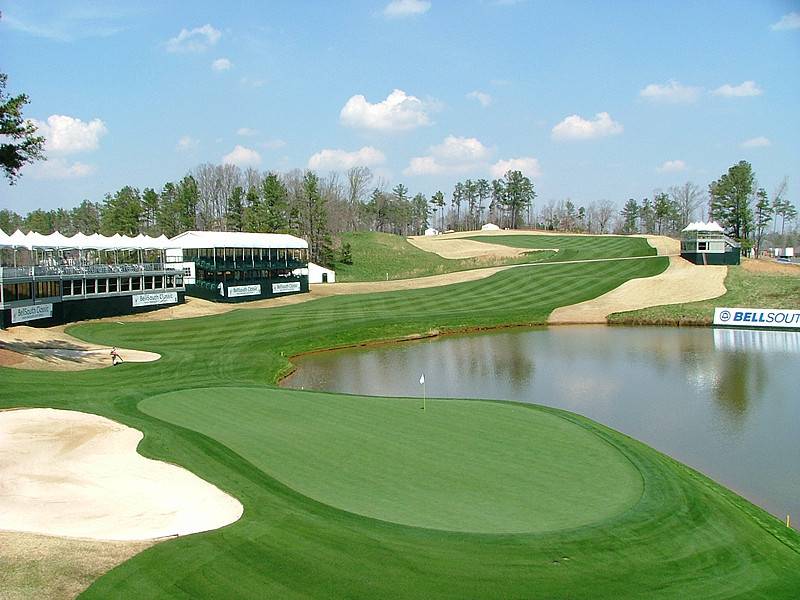
Hole 11 • Par 3 — Par 3 with multiple tees behind a lake, looking into a green guarded by water front left and all the left side, with a bunker front right and completely behind the back left, and completely behind the entire green.
Hole 11 • Green — Behind-green View of front left and back left pins guarded by water, and a tier into a back right and front right pin.
Hole 12 • Par 4 — Moderate par four, uphill, dogleg left with bunker straight up, trees guarding the left side.
Hole 12 • Second shot — Downhill second shot view to a green guarded by a creek on the right side with bunkers left and right, and a green that tends to fall away from you in the back.
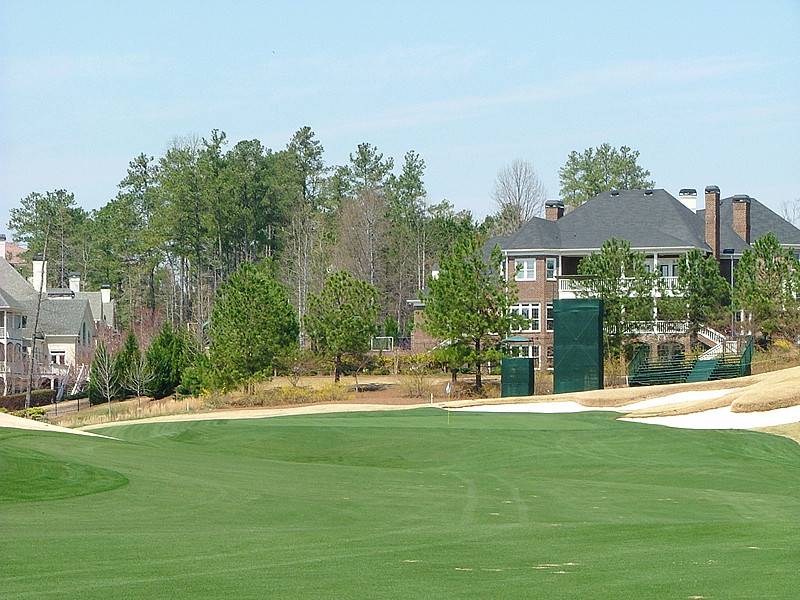
Hole 13 • Par 4 - Gradual uphill par 4, bunkers all down the right side with a carry, bunker carry on the left side to a green that sits up, obscured from view.
Hole 13 • Green - Uphill to this green partially obscured from view falls away front to back.

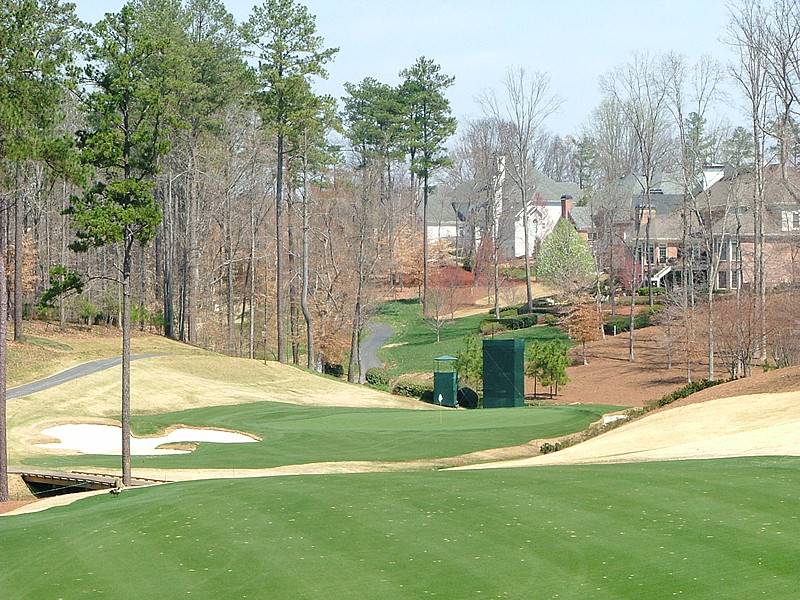
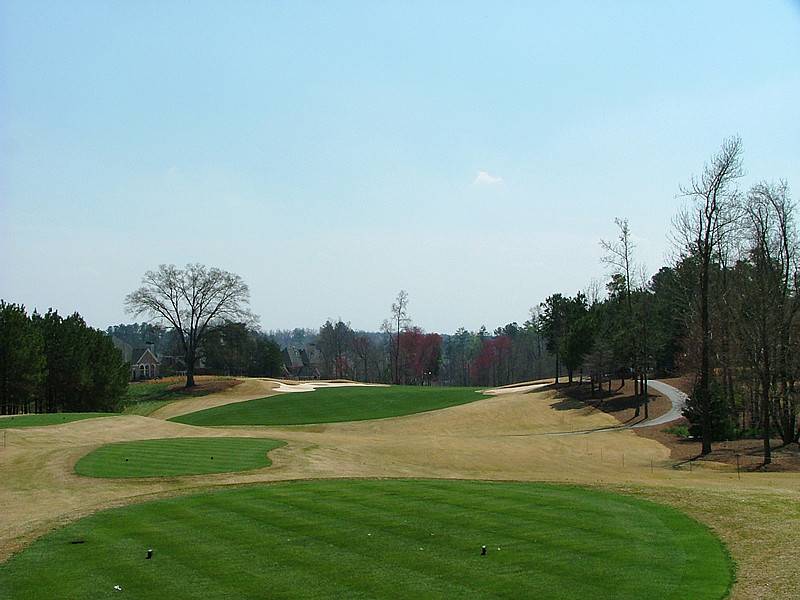
Hole 14 • Tee shot — Uphill dogleg left Flight uphill tee shot, guarded by sloping, hard sloping fairway and bunker on the left, and a bunker straight out on the right to a crowned fairway.
Hole 14 • Second shot - Second shot, view into the green, bunkers on mid-right, back-right with a fall off to the left.
Hole 14 • Green — Green view from above and behind. Green, long green front to back, multiple pins, front right and left, and back with a fall off on the left bunkers through on the right side.
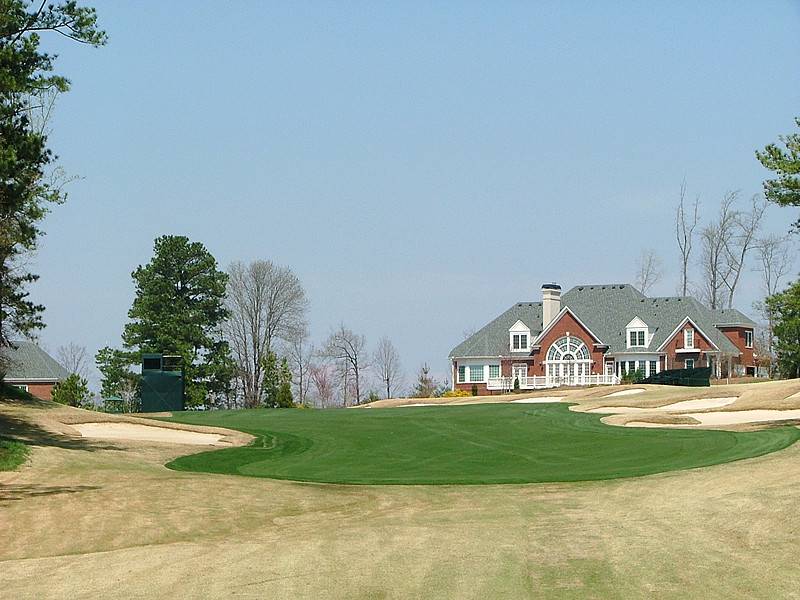
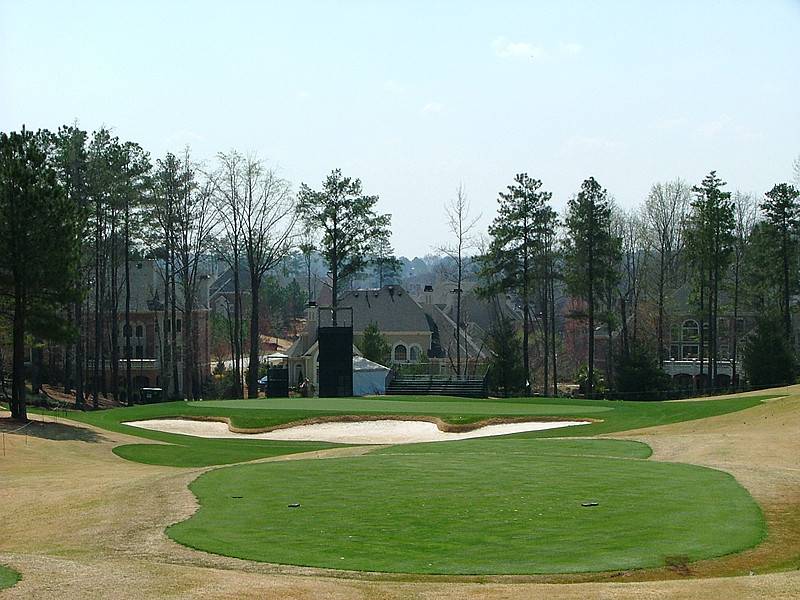
Hole 15 • Par 4 — Long par 4 uphill from green to tee to green to an elevated green with trees through and on the right as the baby doglegs uphill.
Hole 15 • Green — Second shot view of the green from behind the green. It's an elevated green. It's a narrow pin on the front with a deep bunkers on the front left all the way through the middle of the green with fall-offs back right and behind.
Hole 16 • Par 3 — relatively flat hole to a green that goes away from front left to back right, many pins with bunker guarding that front left to back right.
Hole 16 • Green — A view of the green from above and behind, you can see the elongation of the green, the narrow front right pin, and all the pins on the back left and back of green falling away from the player.
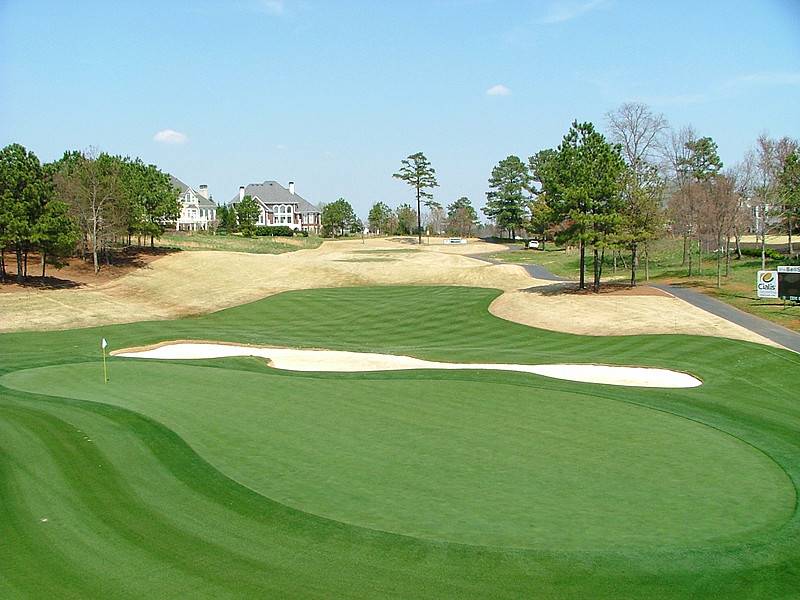
Hole 17 • Par 4 — Par 4 17th hole with bunker straight out and right to rain falling right to left and to a tiered fairway.
Hole 17 • Second shot view into a green. Second half slightly elevated, slopes from right to left, falls off back left, guarded by a bunker from the front of the green all the way around to the mid-left. The miss is on the right side..
Hole 17 • Green — A view of the green from above and behind, bunkering from the front all around to the mid-back left, with a flatness on the right side miss and a fall-off back left multiple pin options.
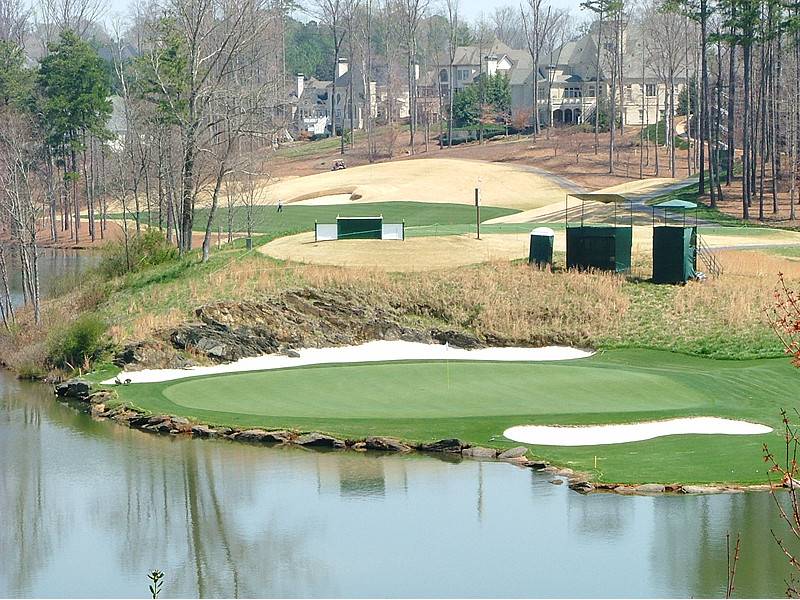
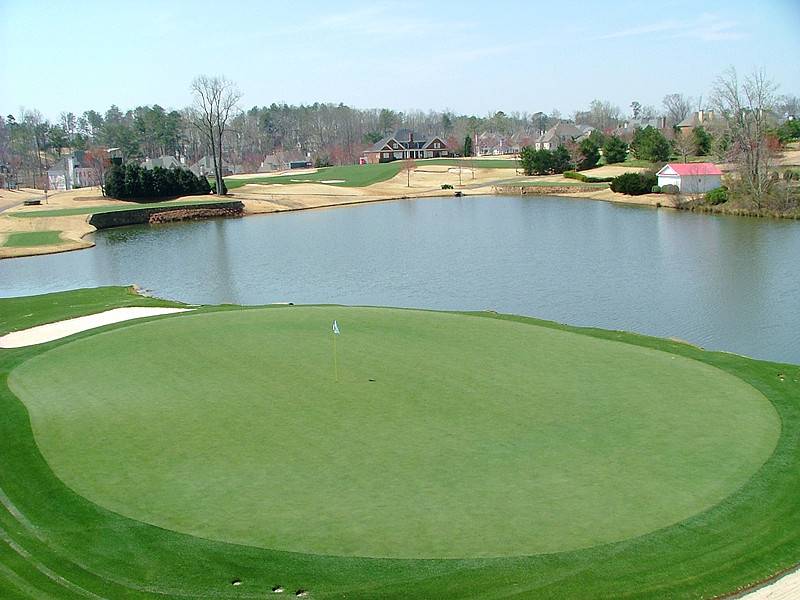
Hole 18 • Par 5 - After a long dogleg right 90-degree par 5, this is the second shot long view, downhill with a green guarded by water all along the front and left side with bailout on the right and buckering. Tricky layup, big drop, probably 40, 50 yards from the second shot view down to the green.
Hole 18 • This is a better view from the landing zone to how blind and obscure the second shot layup would be, or the go-for-it view into the green.
Hole 18 • This is a third shot view zoomed of the tight front right pins guarded by a bunker behind, and all left-hand pins guarded by water, front, middle, left, all the way around the back of the green.
Hole 18 • This is a look from behind the back right of the green, looking back up at the second, third shot layup areas and a green that's falling away to back left pins as it slopes away with water guarding it.
Hole 18 • View of the 18th green and the hole all the way back up to the second, third shot and layup areas and bailout areas with a pond in front, showing the elevation and the importance of picking the correct club to select your landing zone, layup area, or go for it, miss zones.