
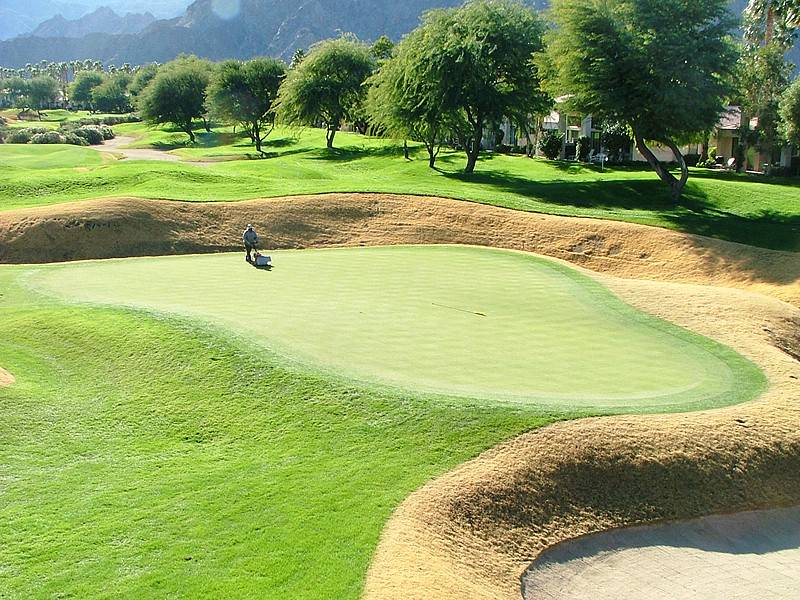
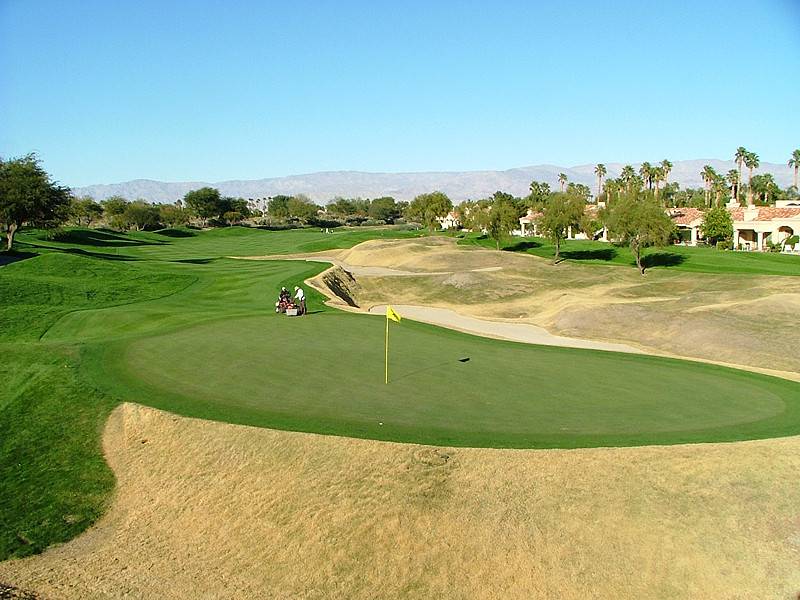
Hole 9 • Par 4 Green — Elevated view looking back from behind the green
Hole 10 • Tee Shot — Precision placement framed by water and desert

Hole 10 • Second Shot — Demanding approach into a guarded green
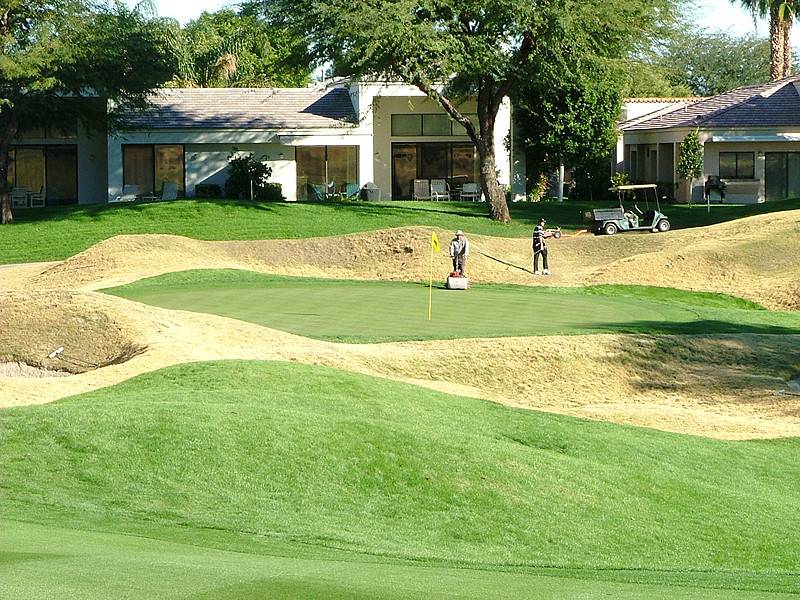
Hole 10 • Green — Subtle slopes reward the correct angle

Hole 11 • Tee Shot — Strategic drive sets up a testing hole
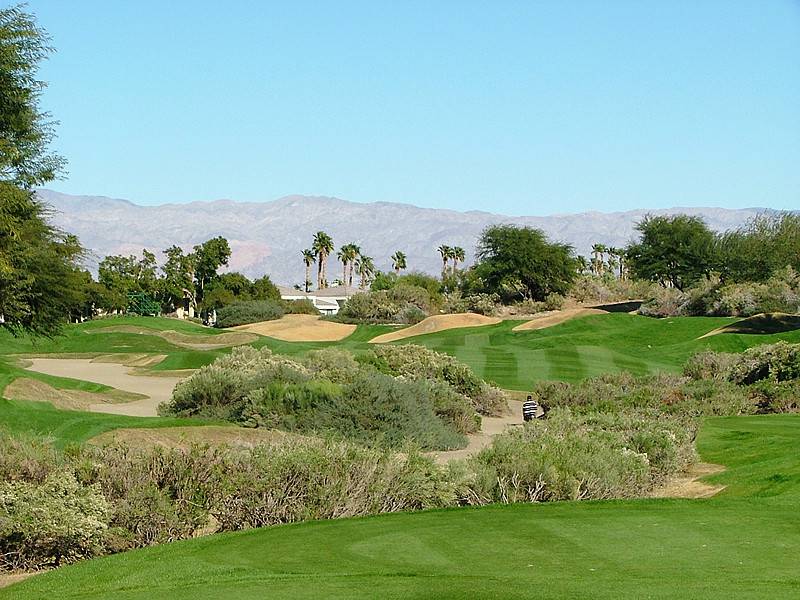
Hole 11 • Second Shot — Accuracy required to avoid deep bunkers

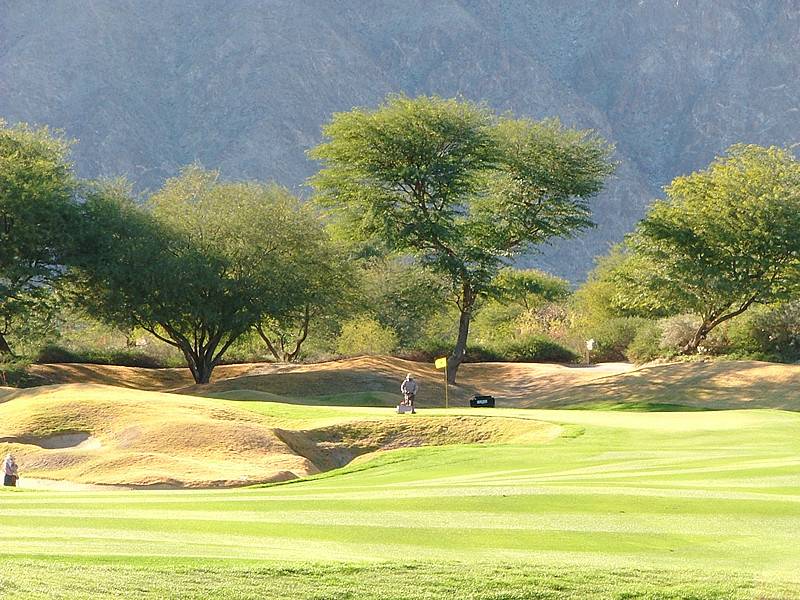
Hole 11 • Green — Firm surface with subtle movement
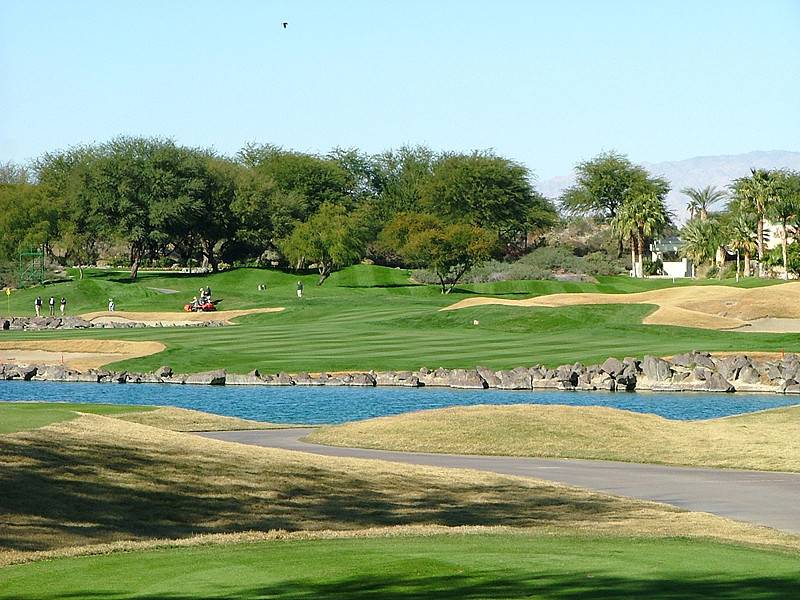
Hole 12 • Tee Shot — Visual intimidation from water and rock

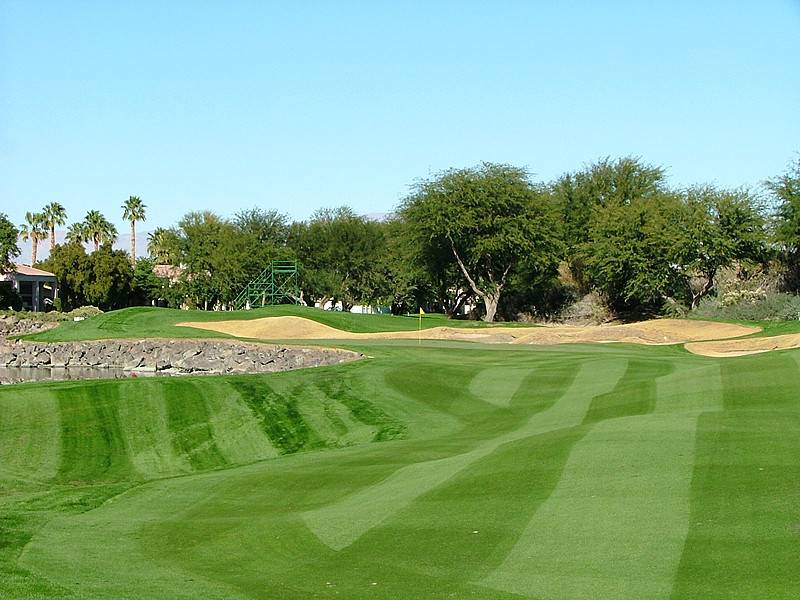
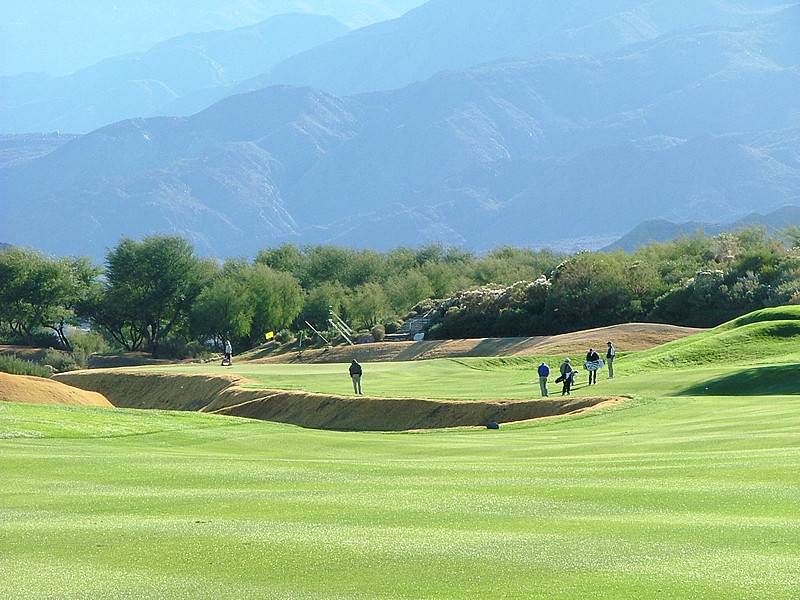
Hole 12 • Second Shot — Precise distance control required
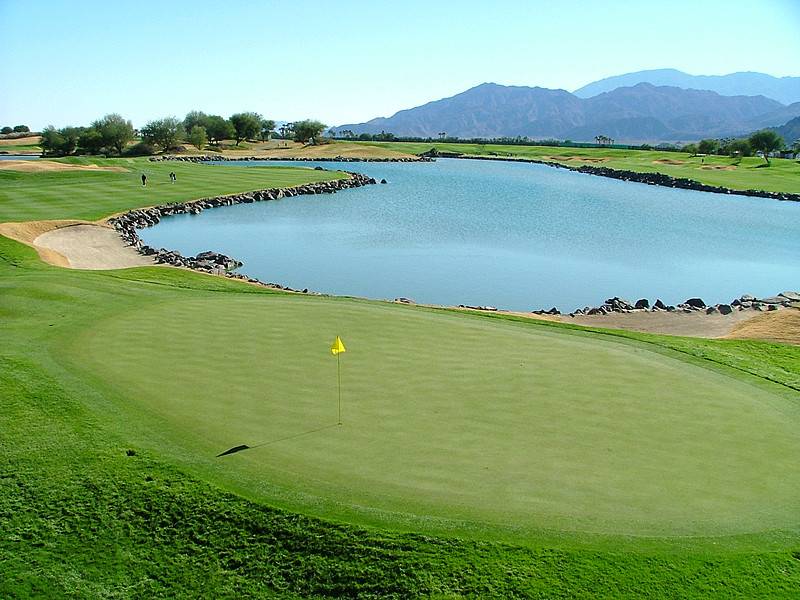
Hole 12 • Green — Contoured putting surface punishes misses

Hole 13 • Par 3 Tee Shot — Long carry over water to a narrow green

Hole 13 • Green — Exposed surface demands touch

Hole 14 • Tee Shot — Risk–reward positioning off the tee
Hole 14 • Second Shot — Approach framed by water and bunkers

Hole 15 • Tee Shot — Demanding line with little margin
Hole 15 • Second Shot — Controlled approach to a guarded green

Hole 16 • Tee Shot — Long par 5 begins with a challenging drive
Hole 16 • Second Shot — Decision point to lay up or attack
Hole 16 • Green — Slopes demand precise distance control

Hole 17 • Island Green Tee Shot — Stadium Course signature hole
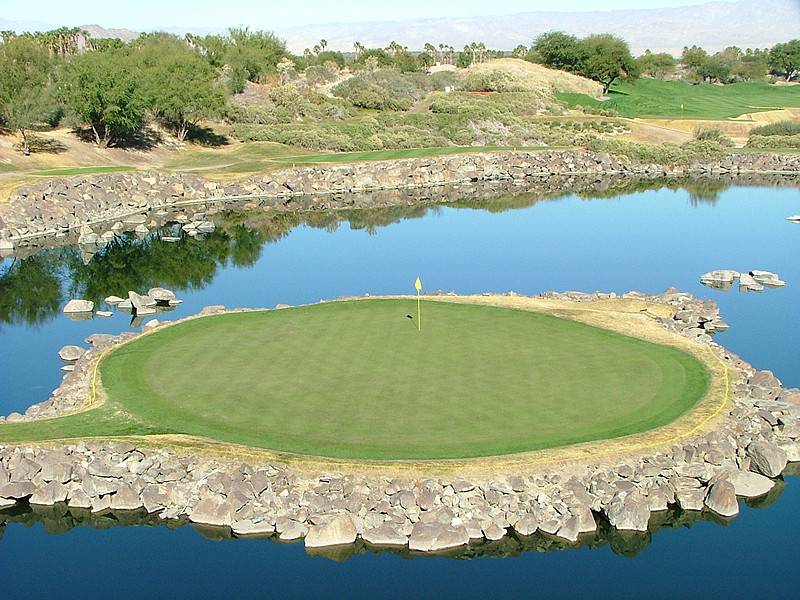
Hole 17 • Green — One of golf’s most intimidating targets

Hole 18 • Tee Shot — Tournament finishing hole with water in play
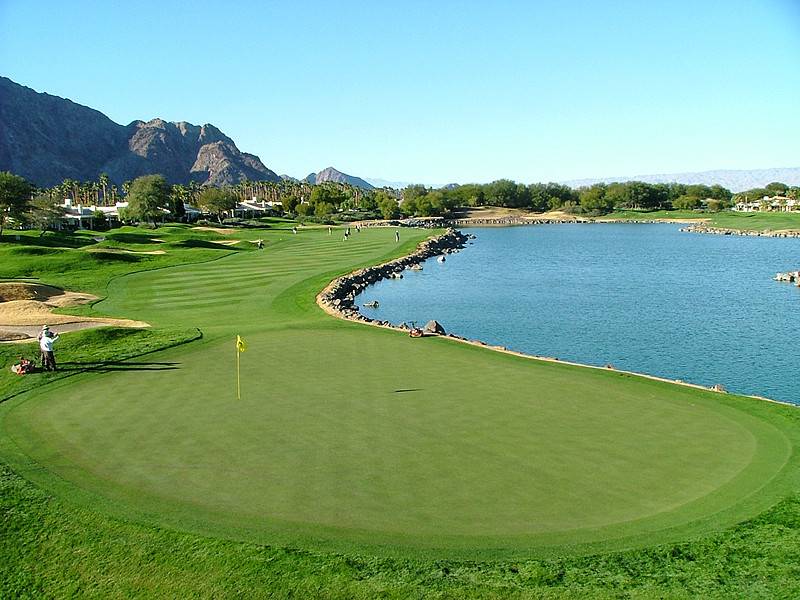
Hole 18 • Green — Classic Stadium Course finish under pressure